Term 1
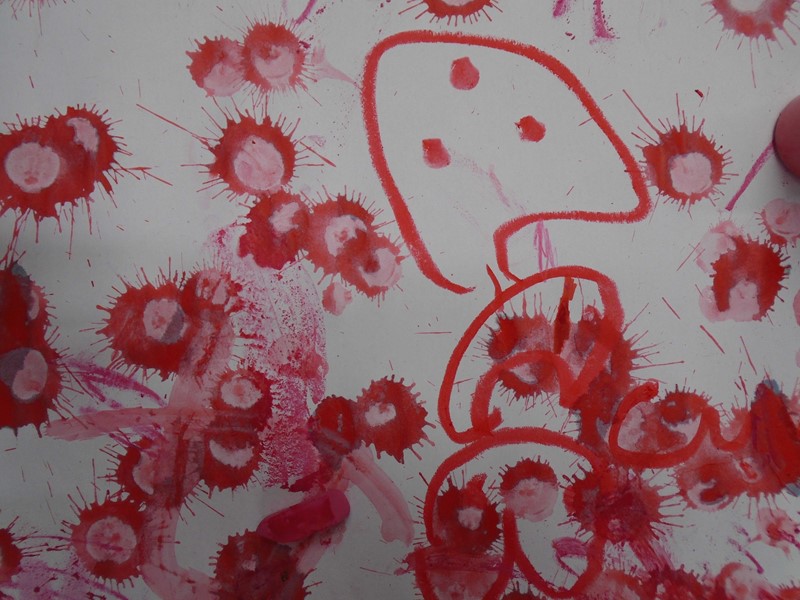
In art this term our focus has been on colour. We started off by looking at a selection of objects. We had to try to think about what they had in common. We worked out that they were all red! Then Mrs Clarkson showed us how to use lots of materials like felt-tip pens, oil pastels, drawing pastels, paint dabber bottles, poster paint, paint sticks, chalk, colouring pencils and powder paint. We had a super time experimenting with all the different materials on huge pieces of paper.
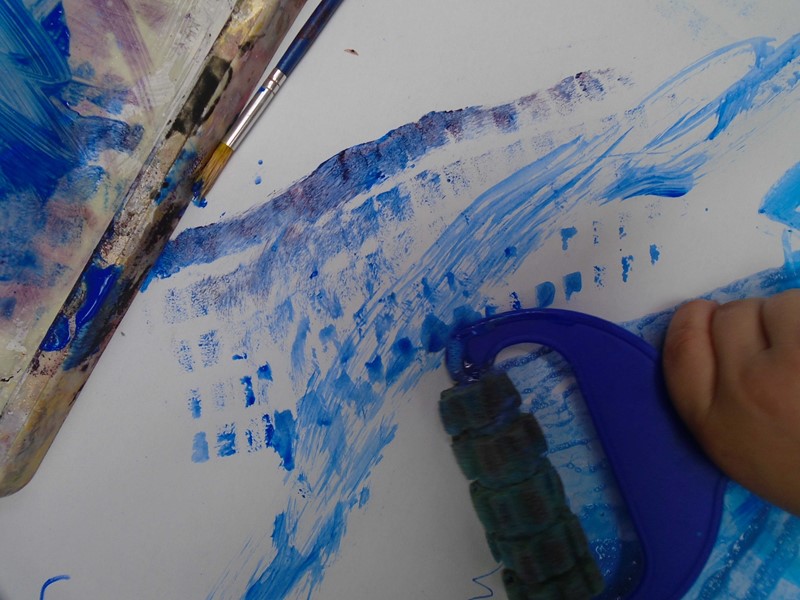
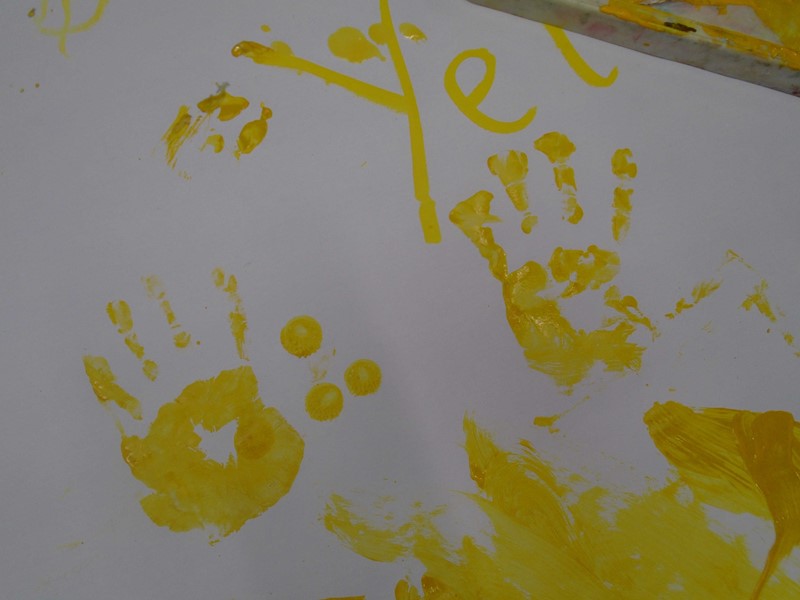
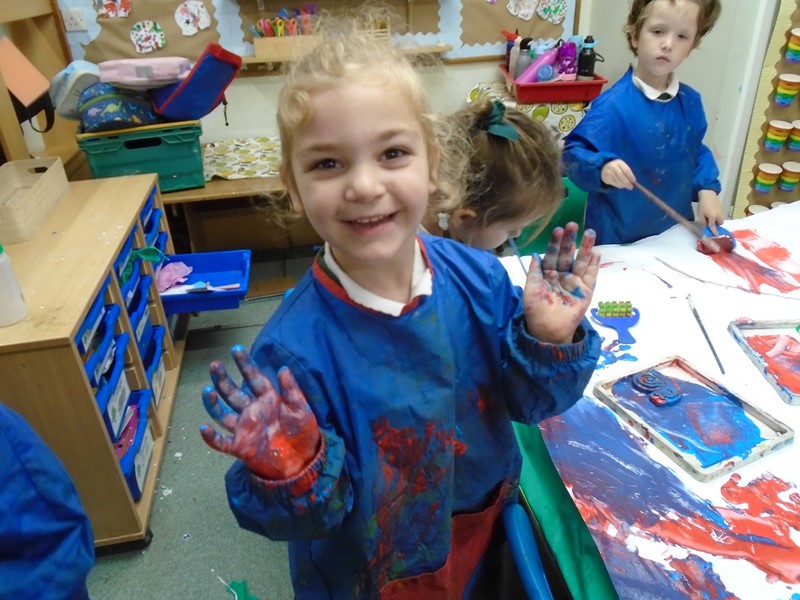
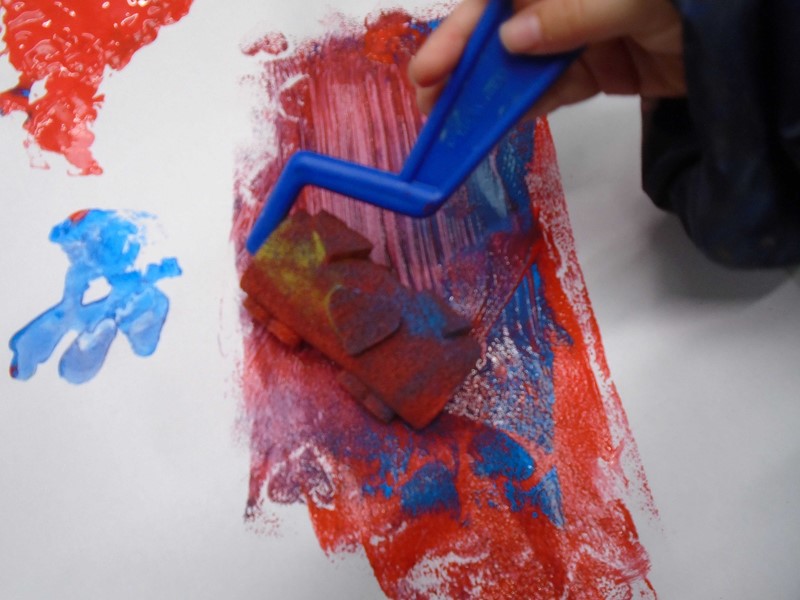
Over the next couple of weeks we repeated this activity using yellow and blue. We talked about what we could use to apply paint such as paintbrushes, sponges, fingers, hands, paint dabber bottles and paint sticks. We had a brilliant time making patterns with different rollers and trying everything out.
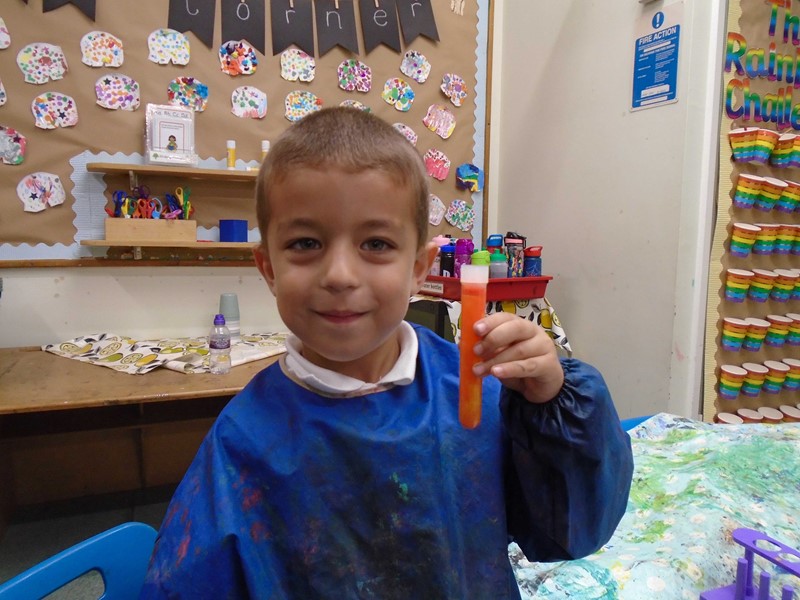
After that we looked at colour mixing. We did colour mixing in all sorts of different ways – using watered down paints in test-tubes and mixing them using pipettes, using cardboard to mix the colours together, using our hands and fingers, using brushes etc. We found out we could make different colours like purple, orange, green and brown. We also talked about how we could make these colours different by adding different quantities of the paint.
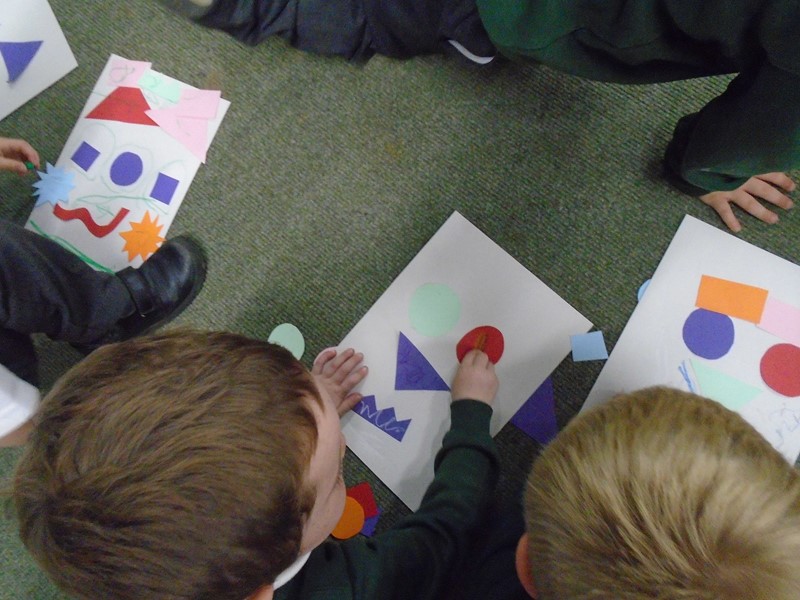
Finally, we looked at some self-portraits by Picasso. We talked about the similarities and differences between them. We used pre-cut shapes to make our own abstract self-portraits and then drew patterns over the top of them.
Term 2
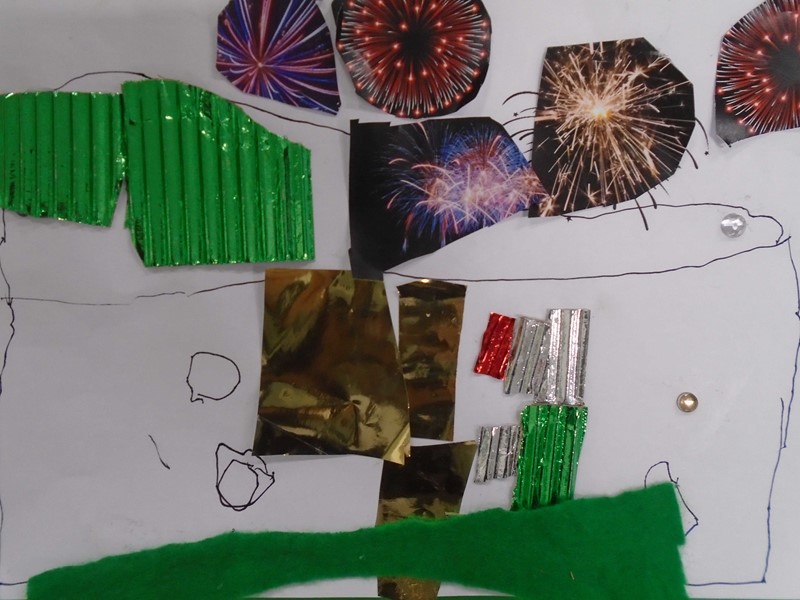
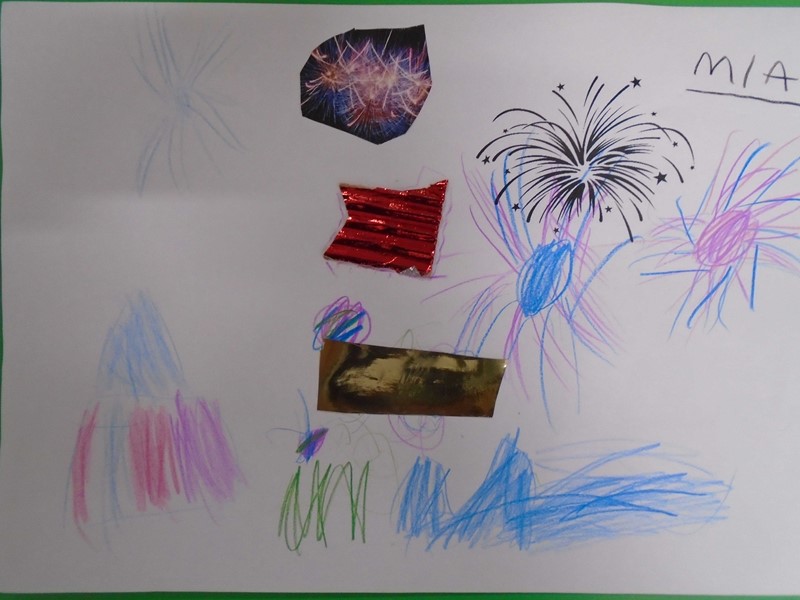
We started off the term by watching a video and talking about what fireworks look like. We were all given a sheet of paper with one firework on it and had to decide what else would be in the sky and what would be on the ground underneath the fireworks. We looked at some photos of fireworks over Leeds Castle, in London and over water and all chose our own scene. Then we had the choice of materials to create the rest of the picture. Some of us drew them and some of us used collage materials.
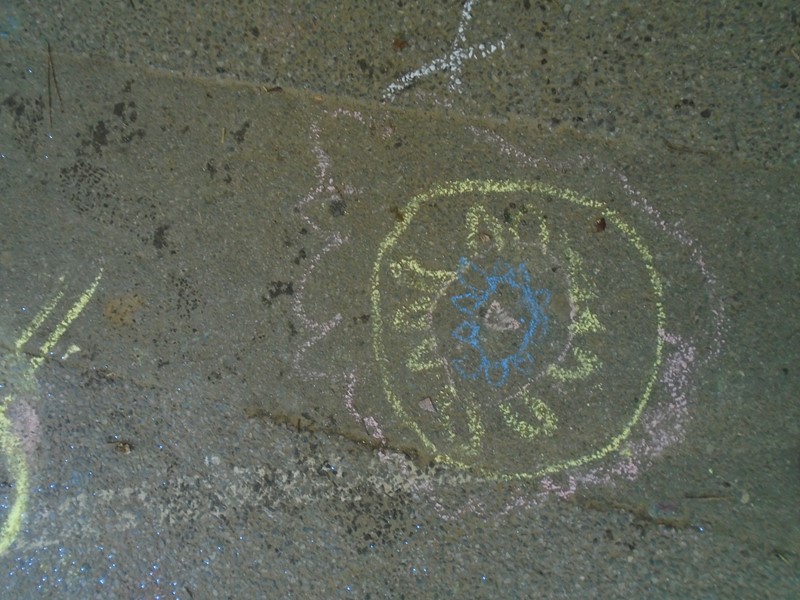
The following week we were learning about Diwali. We looked at a selection of rangoli art and drew rangoli patterns outside on the ground using chalks and also in pastels on black card. We also worked in small groups and had a walk around the school finding lots of shapes that were circles. We took photos of them on the Ipads.
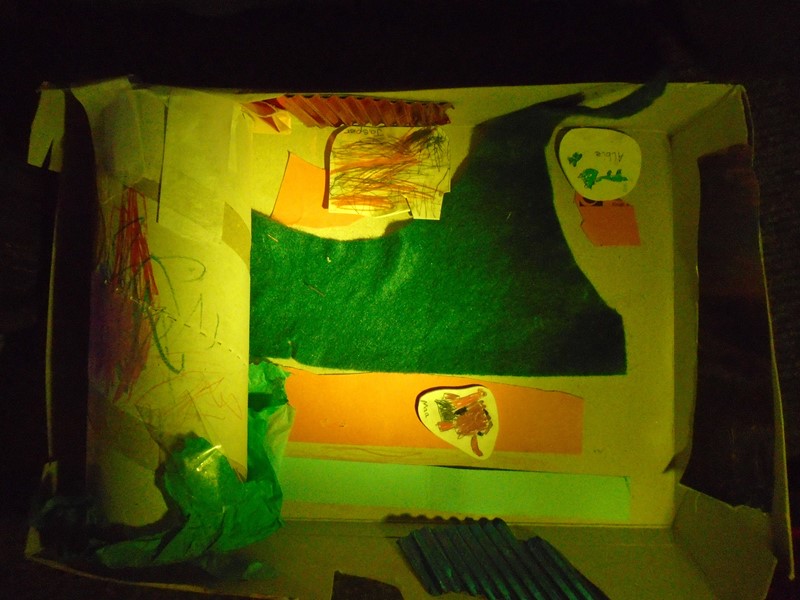
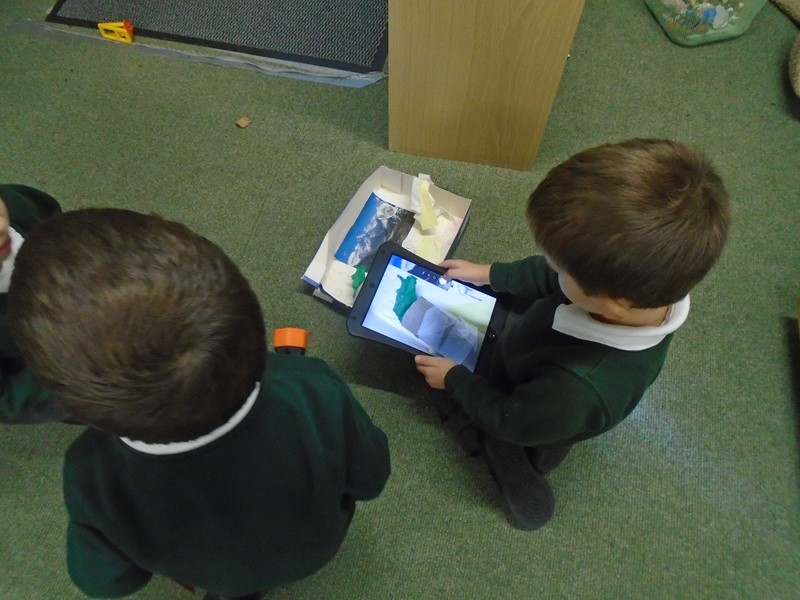
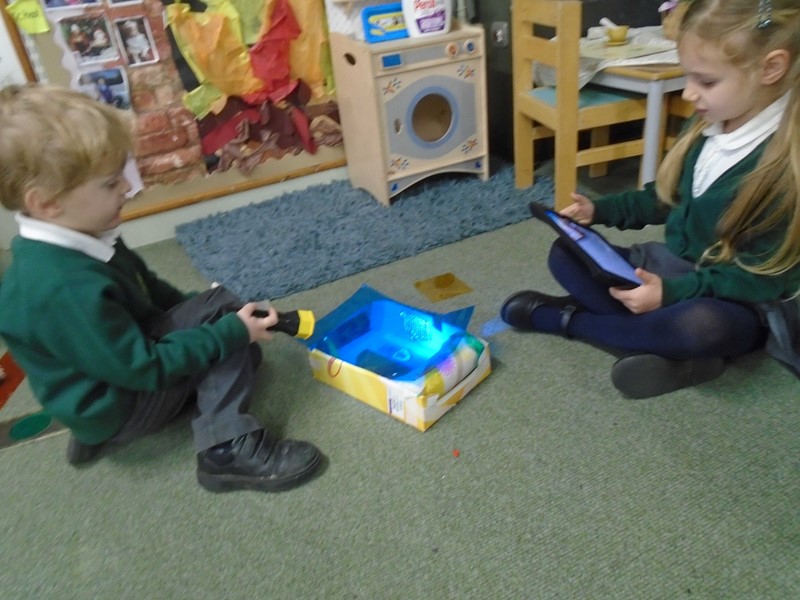
We then started looking at dinosaurs. We drew dinosaurs on Shrinkle paper and put them in the over to make them shrink. We talked about how to make 3D settings for the dinosaurs to stand in, using cereal boxes with the fronts cut off. We had to think about how to make the trees stand up, how to join materials together and how we could make the flying dinosaurs stay in the air. Once we had made everything we put all the parts together and photographed them using the Ipads. We also looked at shining coloured torches at the work to change the effects.
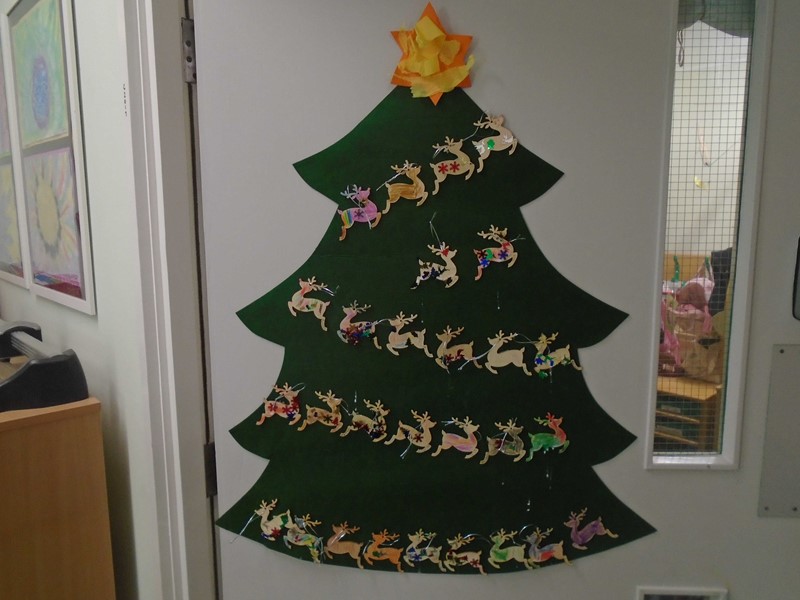
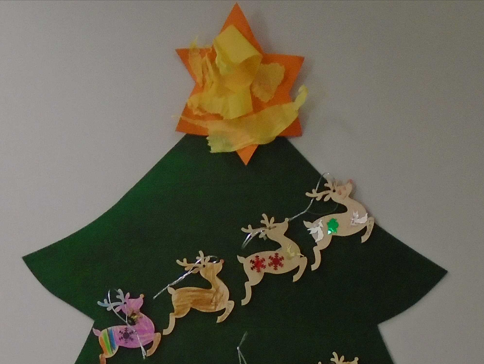
At the end of the term we learnt about Christmas and did some Christmas crafts. We all enjoyed decorating wooden reindeer decorations and making Christmas baubles.
Term 3
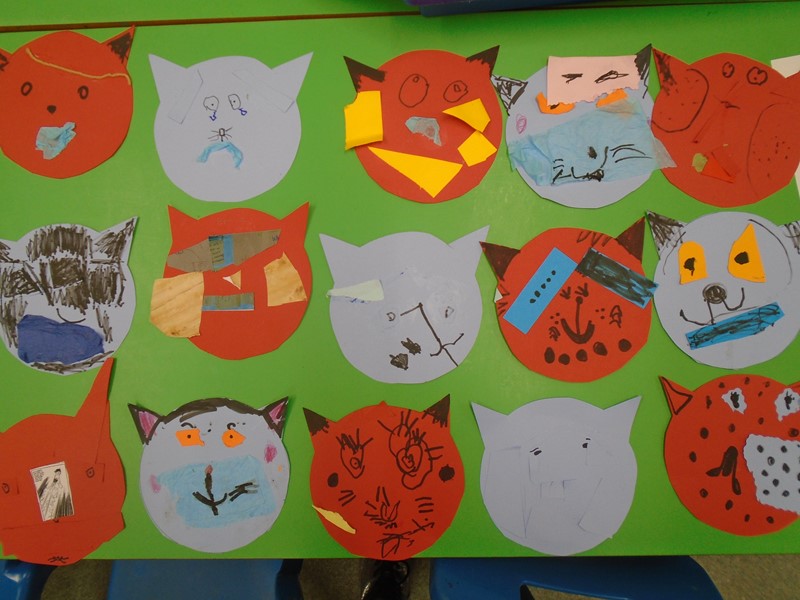
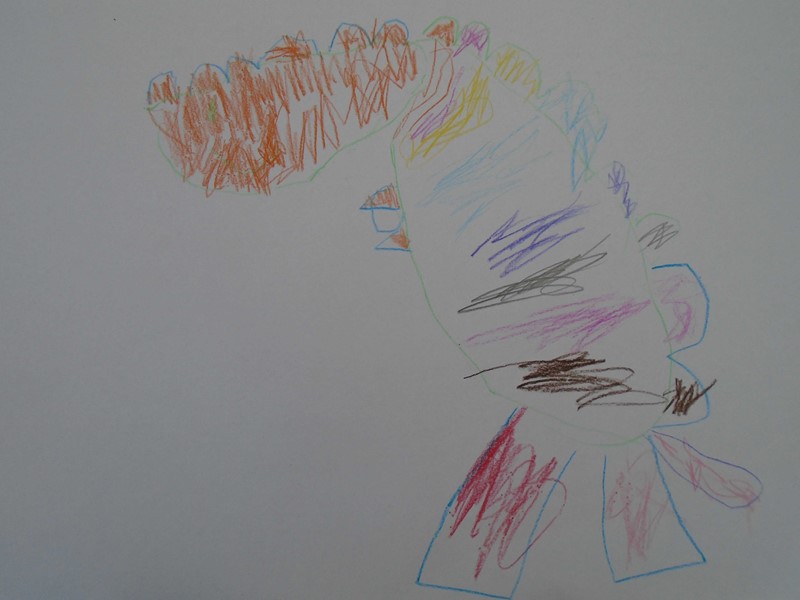
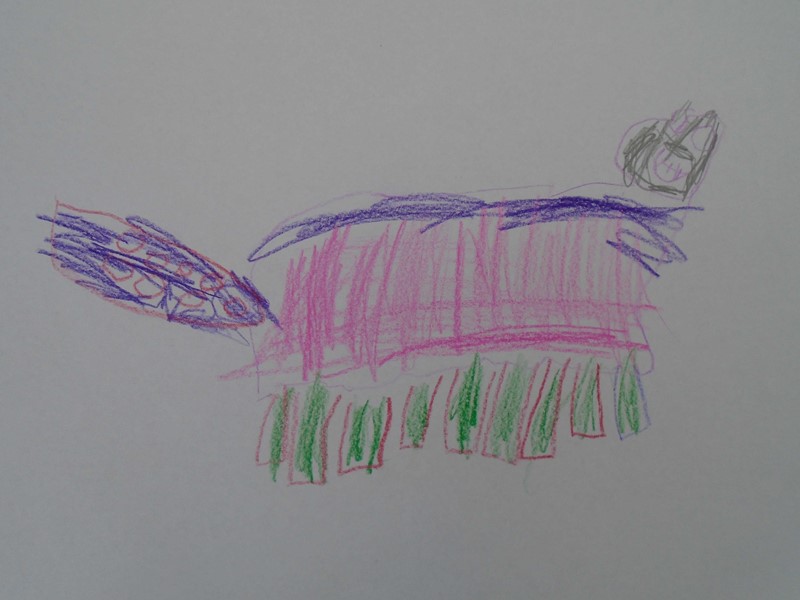
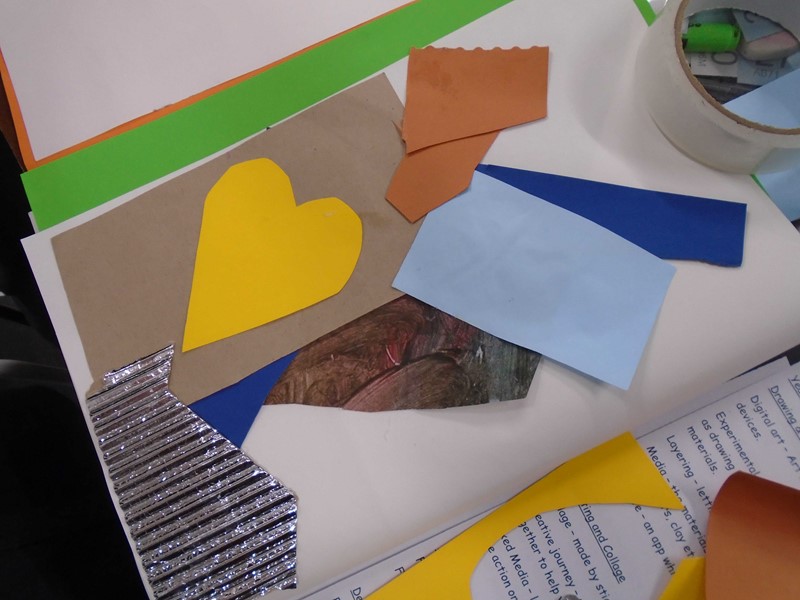
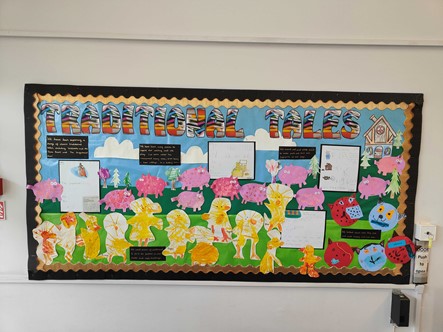
This term our art has been based around different story books. We started off the year by reading Mog’s Bad Thing. We talked about how Mog was feeling throughout the book and then looked at the painting Johnny the Jaguar by Mark Bradford. We discussed how his colours made us feel. After that we looked at two pictures of Mog the cat and discussed how Mog was feeling in each picture and the colours that were used. We then had a go at making our own angry or calm cat collage and talked about how these could be abstract and didn’t need to look exactly like a cat.
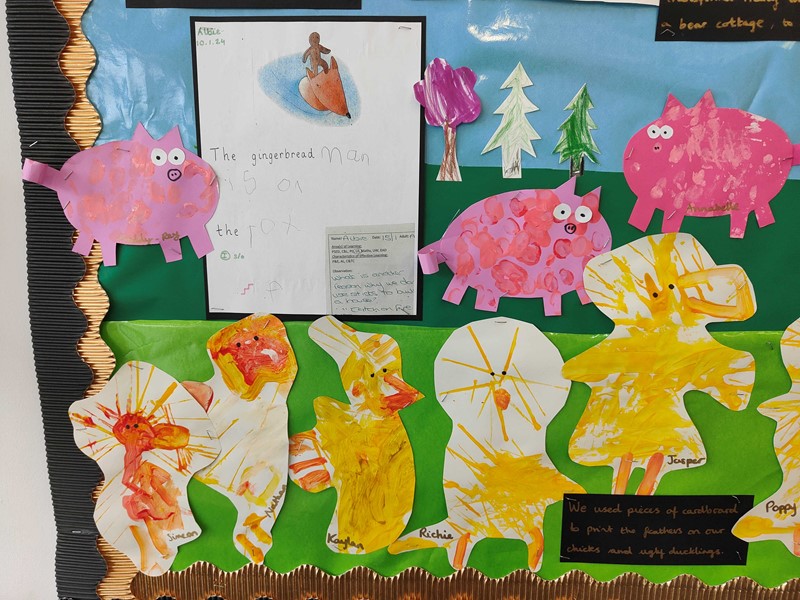
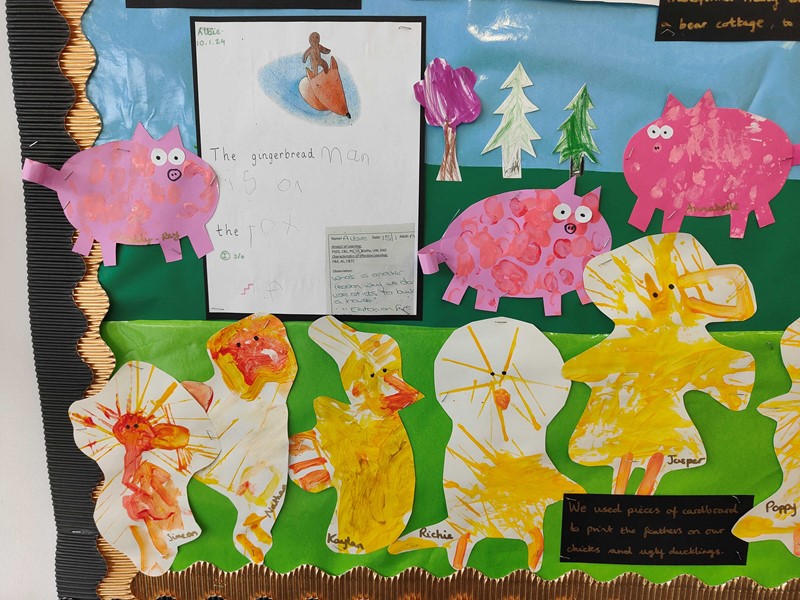
The following week we talked about the illustrations in Chicken Licken and The Ugly Duckling. We learnt how to use forks and the edges of card to make fine lines and used these to create fluffy looking birds. We then painted the legs and beaks on, mixing our own colours.
After that we read The Big Bad Pig. We talked about how we could mix pink by using red and white and experimented by making lighter and darker colours. We then used our fingers to print onto pig shapes to make our own Big Bad Pigs.
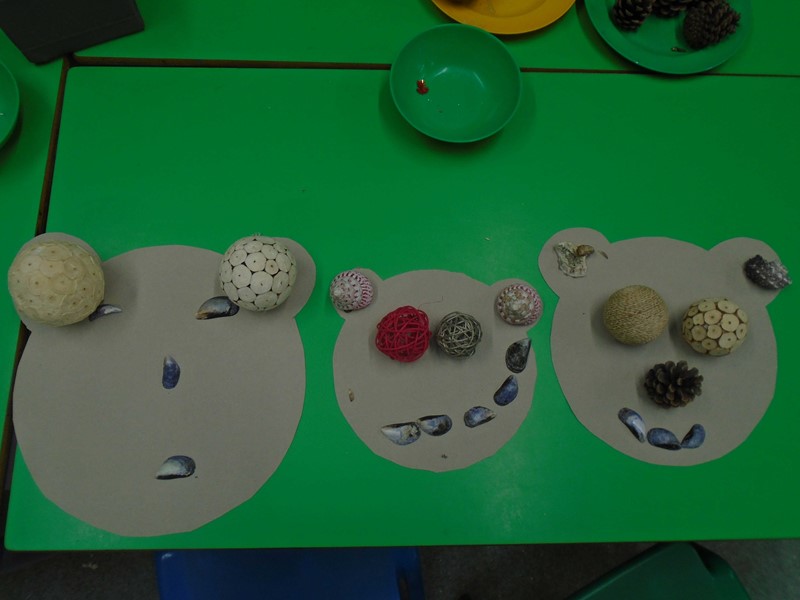
Then we read the story of Goldilocks and the Three Bears and we created collages of them. We worked with a partner for this work, learning to work collaboratively and share ideas and resources. We then read The Emperor’s New Clothes. We were given a picture of the Emperor’s head and had to design clothes for him to wear. The children go to choose which resources they wanted to use for this artwork.
We were very excited as Mrs Clarkson put our work on display at Shepway library. We went to the library to read some books and were very proud to see our work was on display like real artists!
Finally we read some stories about dragons. We made our own 3D dragons using junk materials. Mrs Clarkson showed us an idea of how to make one and then we could either use her idea or our own ideas. We had to include wings, a face and a tail for our dragons.
Year 1
Term 1
We started off the term by doing lots of experimental work. We used wax crayons, candles and water colour paints to try out wax resist and we also explored mixing the water colour paints together to make new colours. Some of us made repeating patterns in our work.
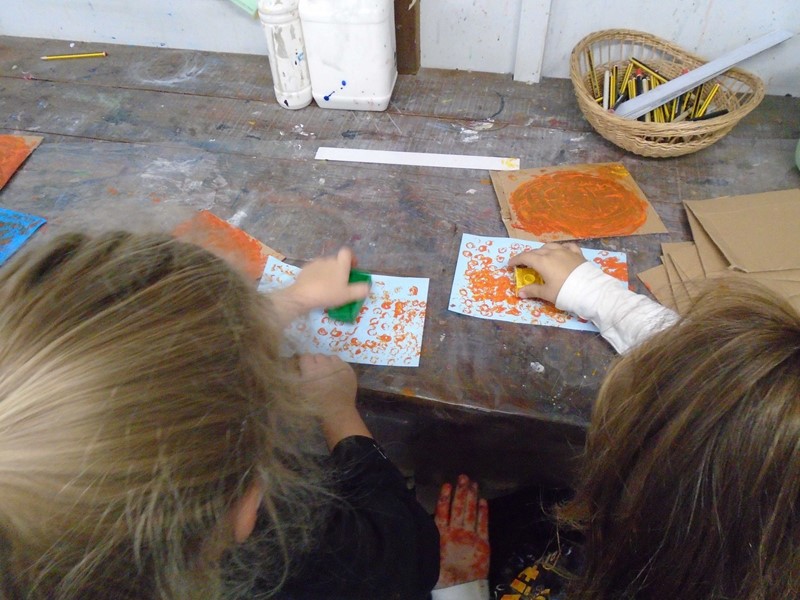
We also looked at printing using Duplo bricks. We dipped the bricks into primary colours and mixed the colours together to make secondary colours. We printed these onto coloured paper to make brick paper.
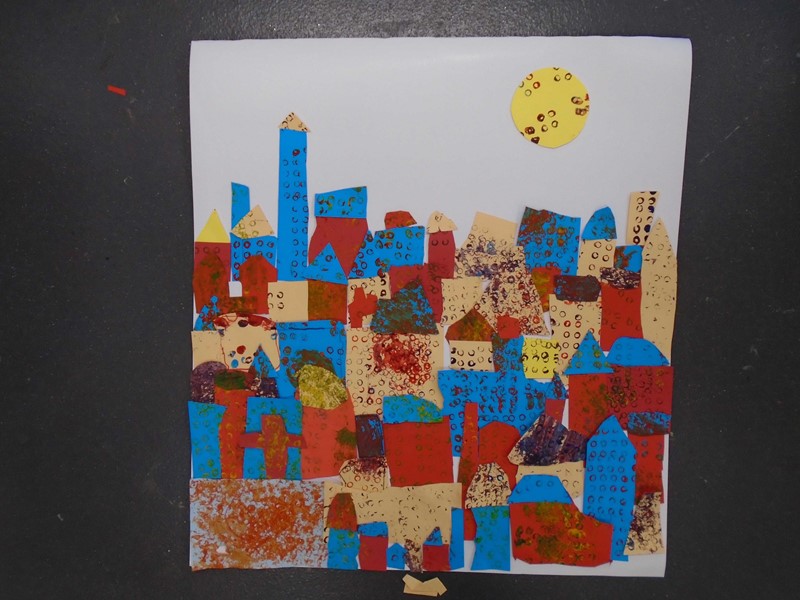
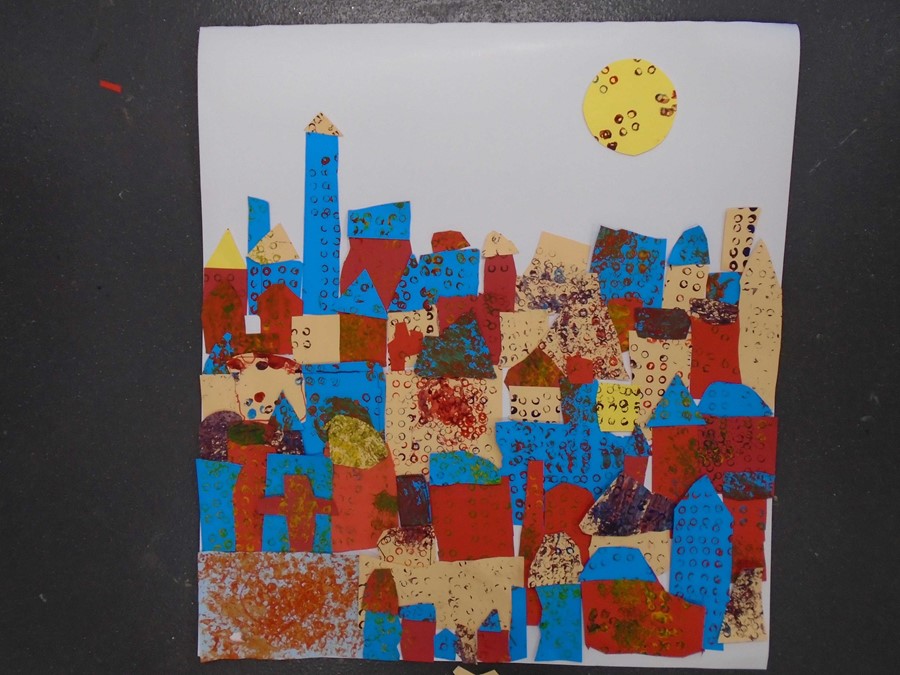
We looked at the painting Burg and Sun by Paul Klee. We talked about what the painting reminded us of and what shapes we could see in the painting. We used the paper that we had printed on and drew around 2D shapes and cut the shapes out. Then we worked as a team to position them on the page to turn them into buildings.
Miss Munday took photos of us pretending to be superheroes. We had to get ourselves into a position so that we’d look the part. We cut the photos out and then everyone positioned their photo into our artwork to create a superhero scene. We evaluated our work by drawing or sticking an emoji onto a photo to show what we thought of our work.
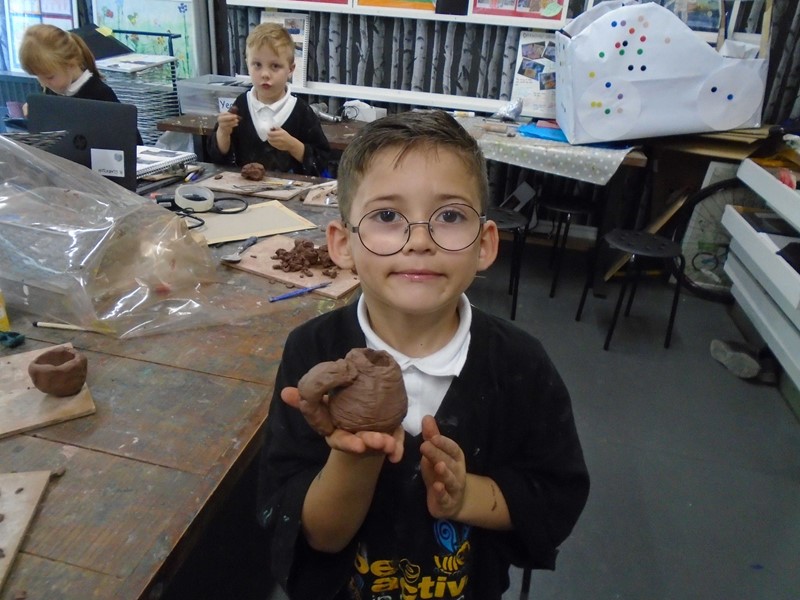
Finally, we developed our modelling skills using clay. We learnt how to make pinch pots and looked at mark making using the different tools. We talked about the verbs we could use to describe the different ways that we could manipulate the clay.
Term 2
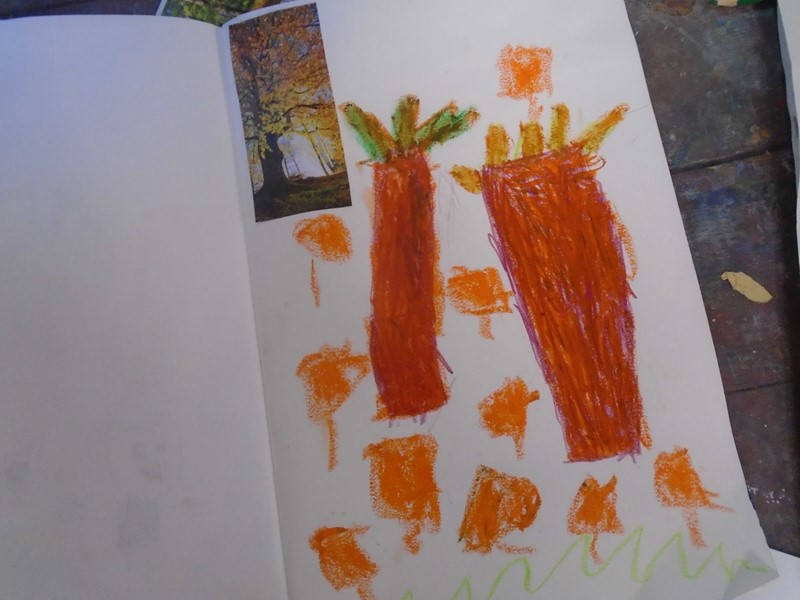
We started off the year by developing our drawing skills. We collected lots of autumnal objects and sat on the floor to draw them on A3 paper. We learnt how to do continuous line drawings where we weren’t allowed to take our pencils off the paper. We then squiggled over the drawings to show where the shadows would be. We had the choice of hard and soft pencils, graphite sticks and charcoal.
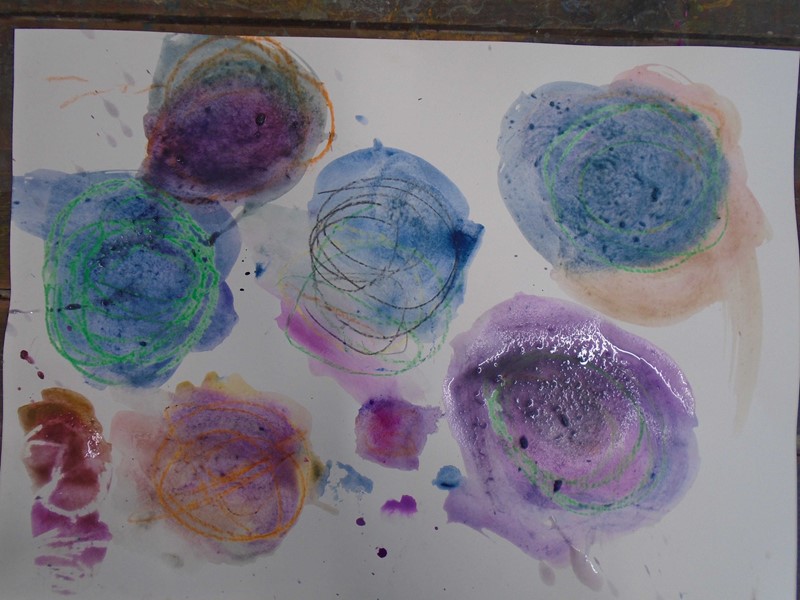
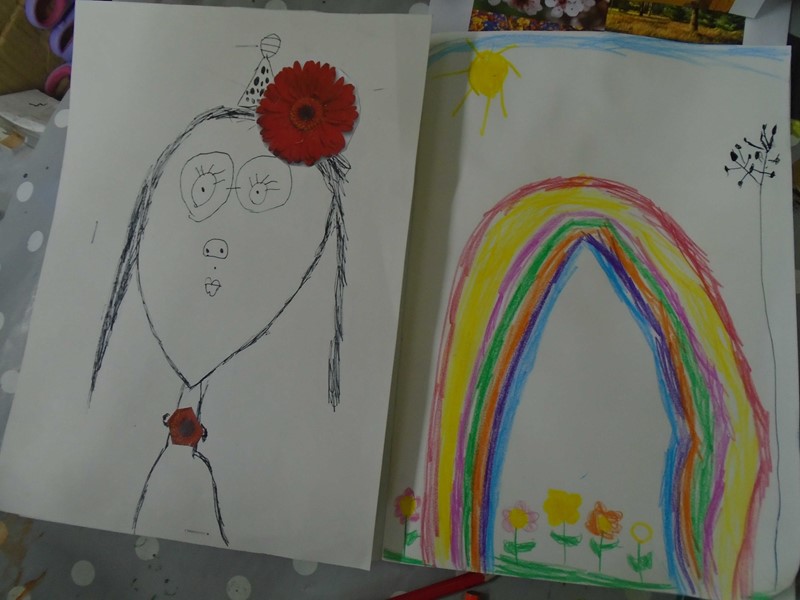
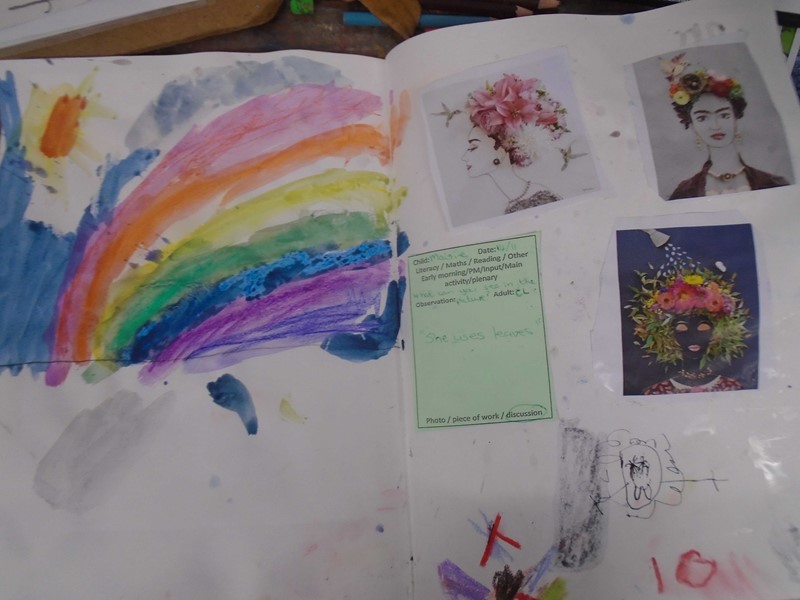
After that we thought about the vocabulary we can use to describe colours. We looked at a colour wheel and recapped what would happen when we mixed the primary colours together to make secondary colours. We recorded this in our Big Book. We talked about the colours in a rainbow and made our own rainbow art using oil pastels, candles and watercolour paints.
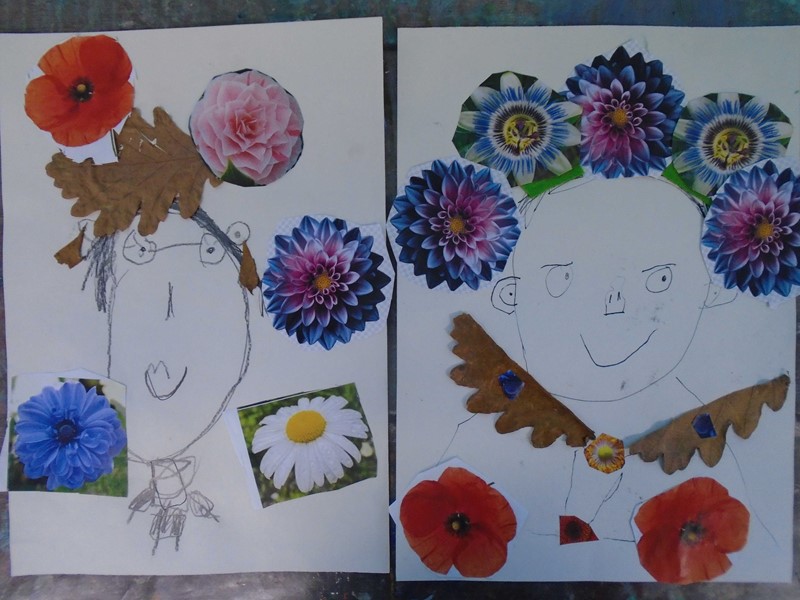
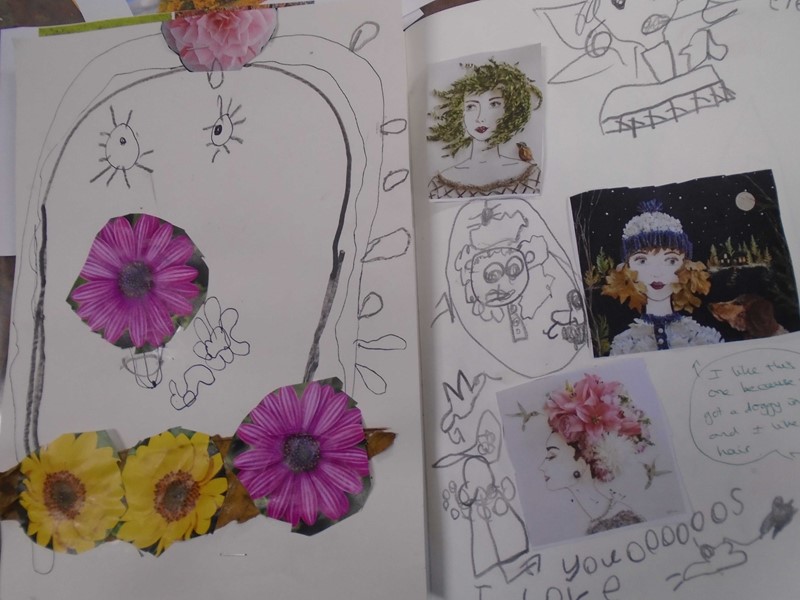
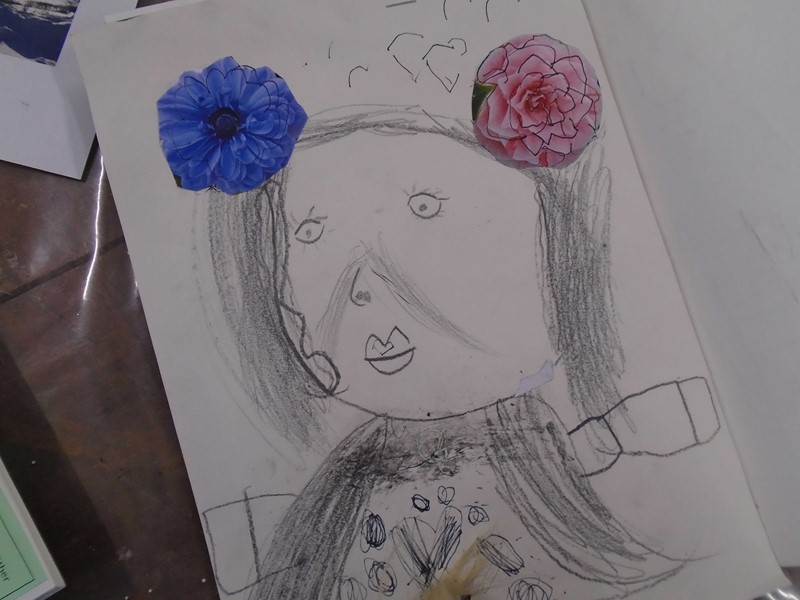
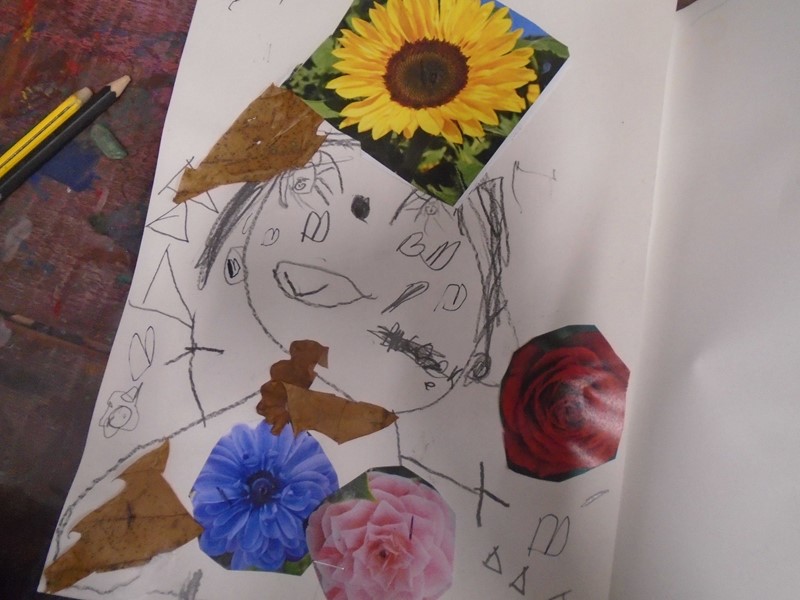
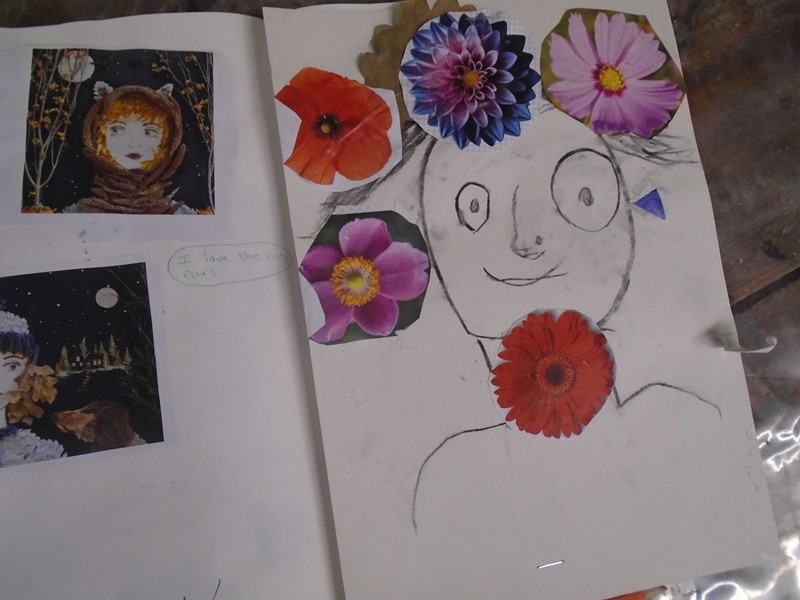
We looked at the work of artist Vicki Rawlins. She creates portraits using leaves and flowers and draws the faces on. We looked at some different work and talked about which one was our favourite and why. We copied some of her work into our books. The following week we created our own portraits using leaves and flowers.
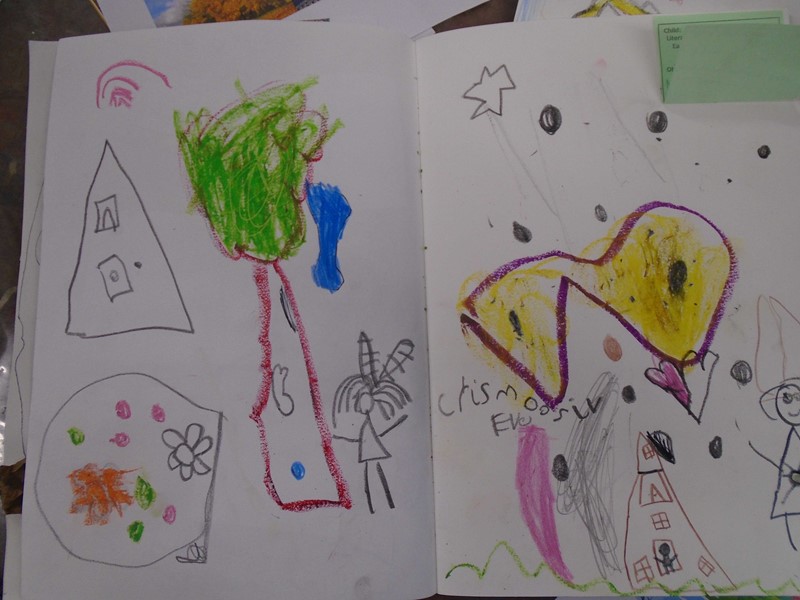
At the end of the term we did some experimental drawings to share how we feel. We listed to Vivaldi’s 4 seasons and drew whatever we thought of choosing whichever materials we liked.
Term 3
This term we have been experimenting using a wide range of tools for drawing such as soft pencils, charcoal and pen. We have explored mark-making and have learnt to make different textures by using our drawing tools in different ways. We watched some films about birds and did some very quick sketches of them thinking about the different shapes that we could see.
We then further developed our drawing skills by doing some observational drawings of feathers. We tried doing some blind drawings which was when we could see the feather we were drawing but had to put our paper in a bag so we couldn’t see our drawings. Our feathers didn’t look perfect but we learnt to carefully observe what we were drawing. We also looked at how drawing on different papers can have different effects. We thought the tissue paper was quite difficult to draw on because it was bumpy but we quite liked the sugar paper.
After that we looked at lots of different ways of turning paper from 2D to 3D. We looked at the work of origami artist, Hoang Tien Quyet and discussed how he made his work and how much detail he chooses to include or leave out.
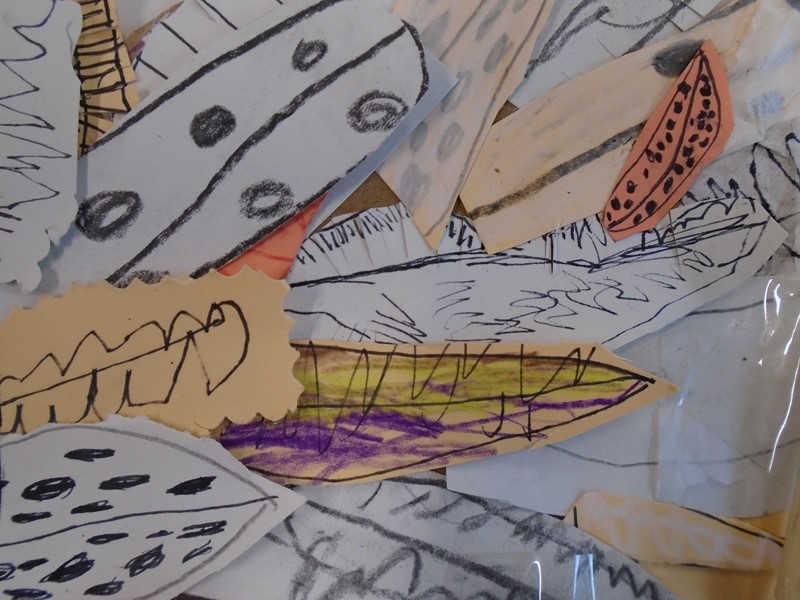
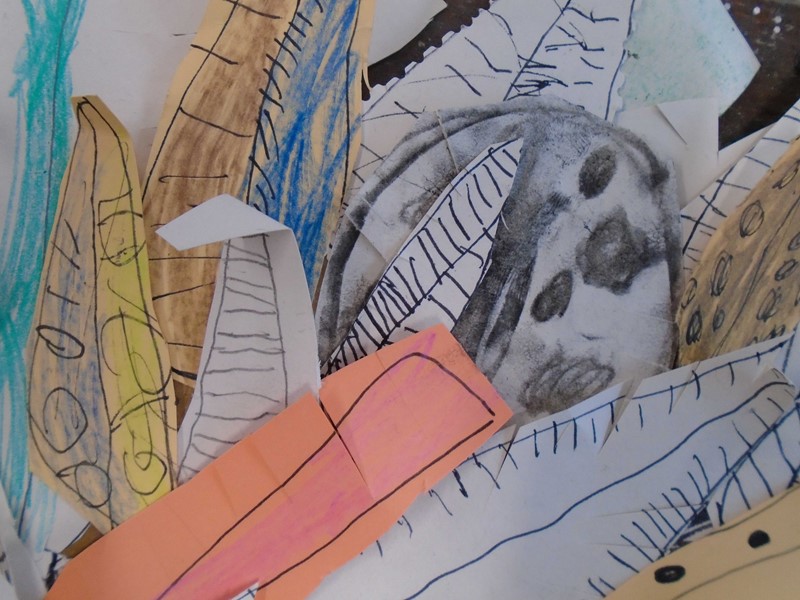
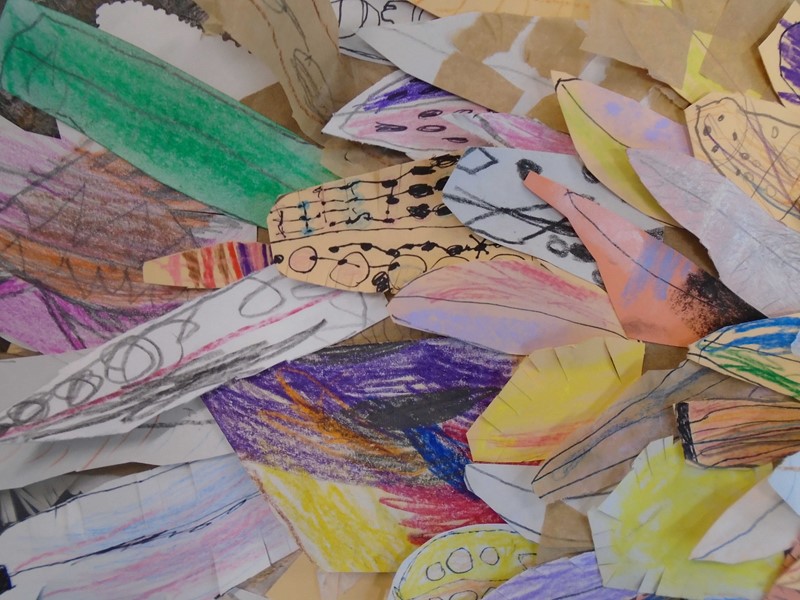
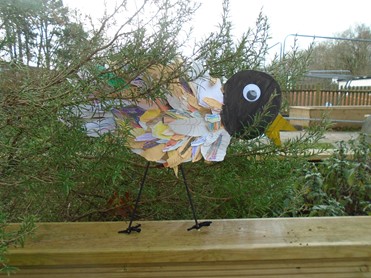
After that we made feathers using all sorts of different materials. We cut them out and then made a 3D bird which we stuck the feathers on to. We all really enjoyed creating our bird and learning how to make 3D art.

Term 4
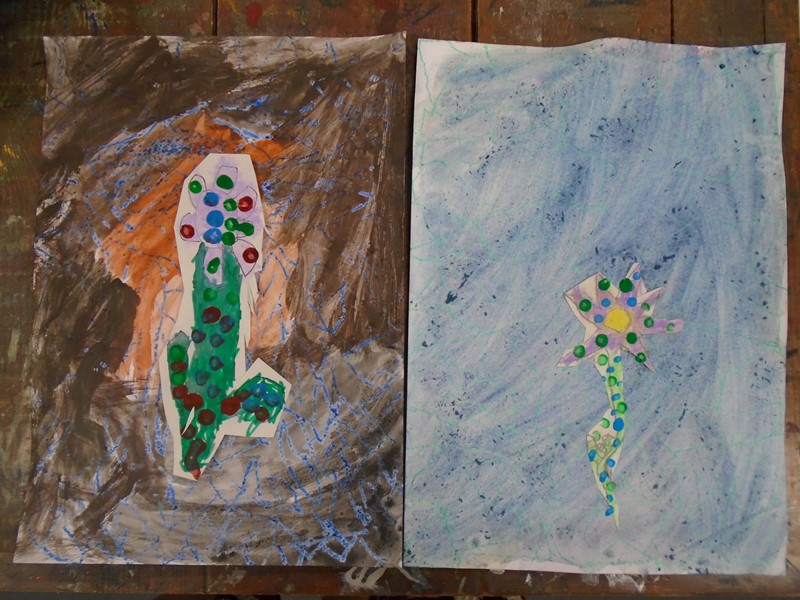
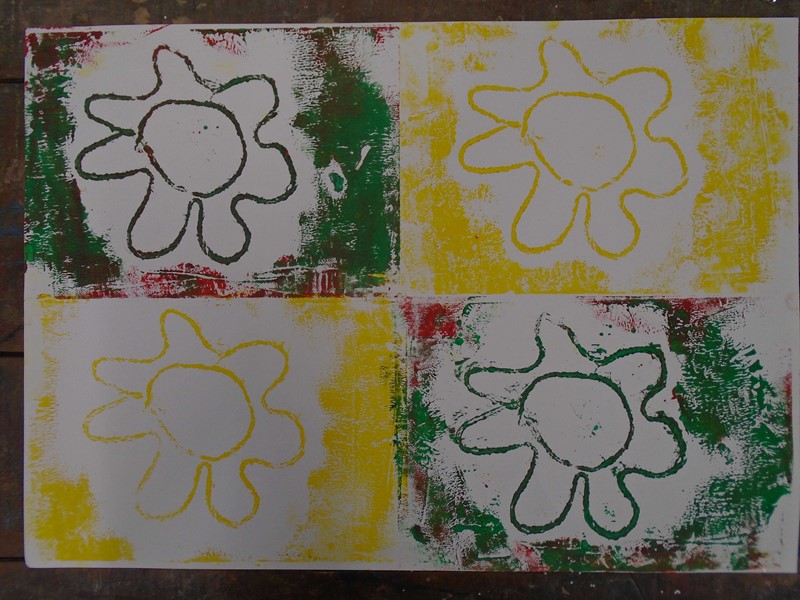
We started off the term by talking about printing. We experimented with printing using objects like lego, duplo, counters, Numicon and sponges and we looked at different effects of layering the prints. We also experimented with colour mixing as we worked. After that we had a go at printing using our hands. We tried to create prints which looked like flowers and then once they had dried we worked in groups to draw flowers over the top using felt tip pens. Some of us added foliage and patterns to our flowers too.
We also looked at positive and negative space. We looked at a picture of a vase with two faces. Some of us could see the vase and some of us could see the faces. We learnt that positive space is the area of interest in a work of art. We then used objects such as shells to press into plasticine and printed using these. We talked about positive and negative space as we worked.
After that we learnt about the green man. He is a legendary being, who represents new birth. We compared some different green man sculptures and talked about how they had been created. We then had a go at designing our own using natural materials such as leaves, flowers, twigs, mud, acorns etc. We then worked with a partner to create our own green men which we stuck in the trees by the playground. We talked to our partners and shared what we enjoyed about the process and what we liked about the end result.
Finally, we looked at some work by the artist Andy Goldsworthy. We thought about how his work is similar to our Green Man artwork and we went outside to have a go at creating our own art, inspired by his work, on the playground. We drew some pictures of our artwork afterwards.
Year 2
Term 1
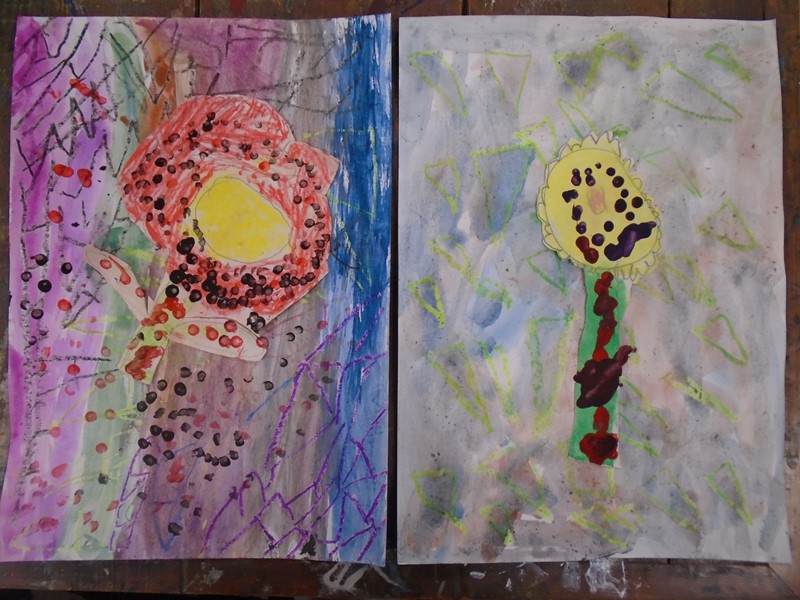
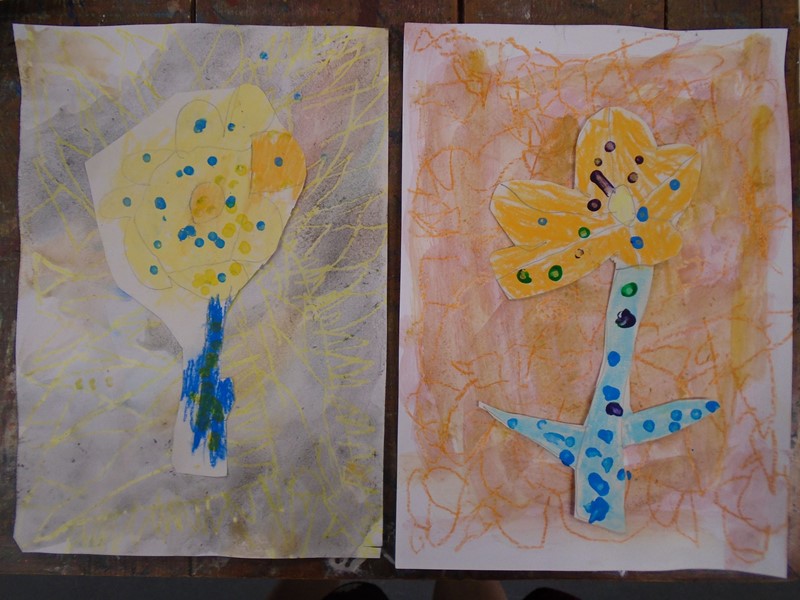
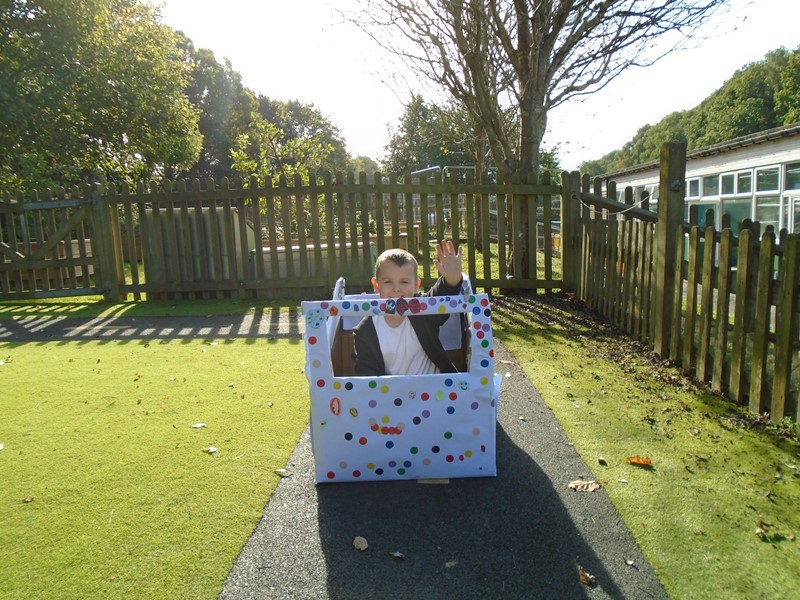
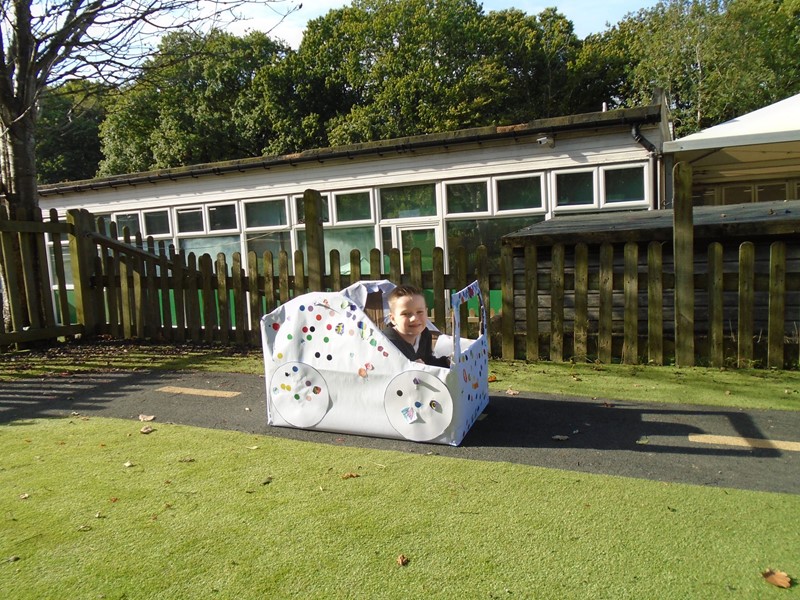
This term we have been learning about Japanese artist, Yayoi Kusama. Kusama is a contemporary artist that uses polka dots in her work. She creates sculptures and paintings and she covers objects in dots such as whole rooms, people, objects and even a horse!
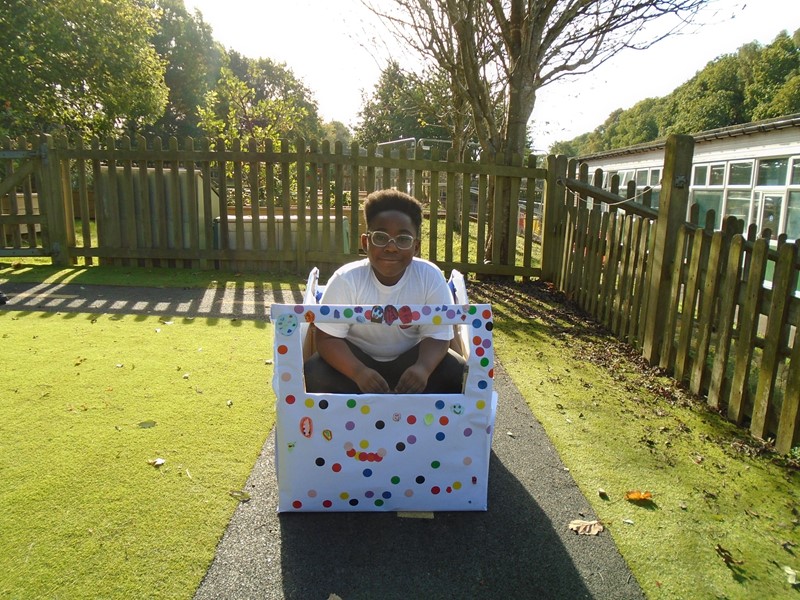
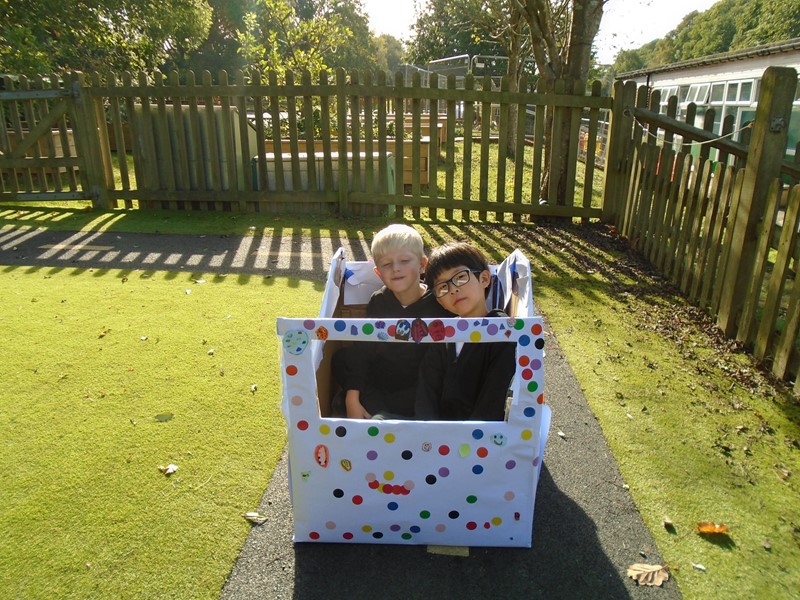
We all created some artwork using cotton buds to create dots and we then had a class discussion about what we would like to do for our final piece. Eloise suggested having a dotty gallery with our flower work and Daisy said we could cover a chair or stool in dots. We decided that we’d like to make a piece of art that we could become part of so we made a cardboard car, covered it in white paper and then went dot crazy! We took photos in our car and added dots digitally.
We created our exhibition and invited our parents in to come and have a look. Everyone really enjoyed looking at the artwork and our visitors enjoyed getting into our car!
Term 2
This term we have been learning about the architect Hundertwasser and using his work to inspire our own designs for mosques and synagogues. We started off by watching a video and talking about what birds would see if they were to fly over our school. We looked at Google Earth and zoomed in on the school, Mote Park, Leeds Castle and Maidstone Museum and discussed the shapes that we could see.
After that, we used different drawing tools and had a go at drawing different buildings. We talked about continuous line drawings and using the positive and negative shapes that we could see to help us. We then looked at photos of buildings designed by Hundertwasser. We watched a video about his work and learnt that he hated straight lines and often had bright, primary school colours on his buildings. We drew some of the buildings in our sketch books and write some notes.
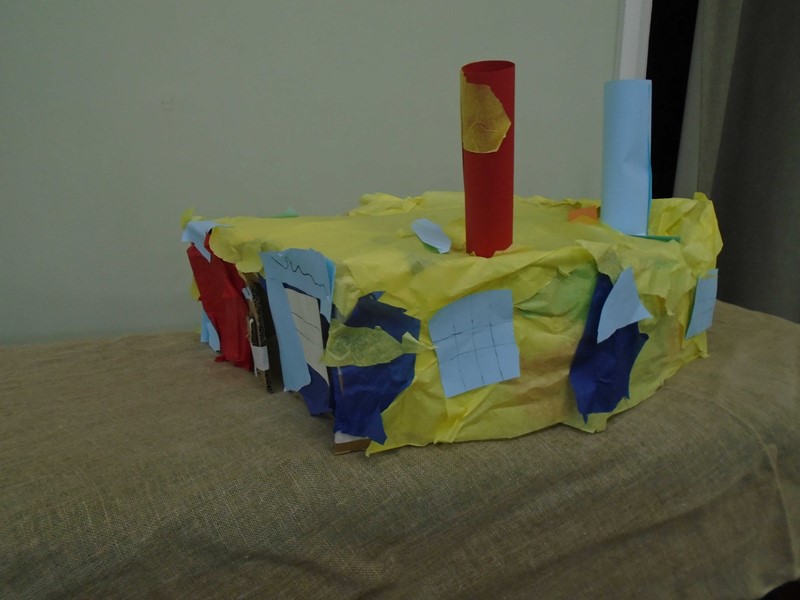
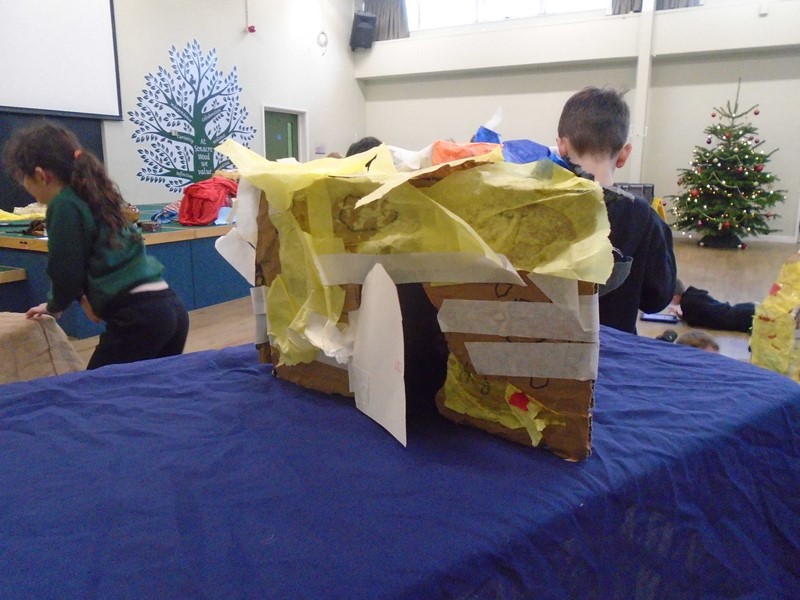
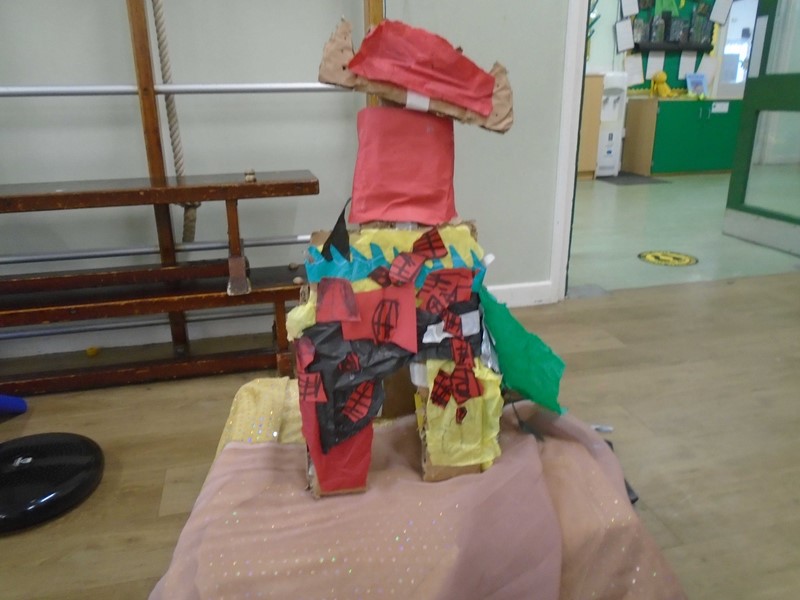
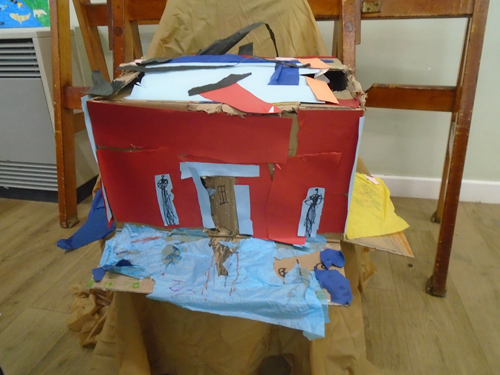
We then worked in small groups to design and build our own architecture. We had the choice of a mosque or a synagogue as this linked to our recent work in RE. We learnt how to make L Brackets to join the pieces of cardboard together.
Once we’d constructed our buildings we then had to cut out windows and doors and then decorate them. We reminded ourselves of the colours and shapes that Hundertwasser used and incorporated some of these into our buildings.
Finally, we discussed how our work could be presented. We looked at some video clips showing different museums and galleries and then we agreed in our small groups how to display our work. We took photos and videos of our architecture and uploaded them to Seesaw, talking about our work.
Term 3
This term Beech Class have been learning about dragons. They started off the term by looking at some pictures and a video of Wawel Dragon by Polish sculptor Bronislaw Chromy. It is 6m tall and breathes real fire. The children discussed how the sculpture makes them feel and talked about any other sculptures that they might have seen before.
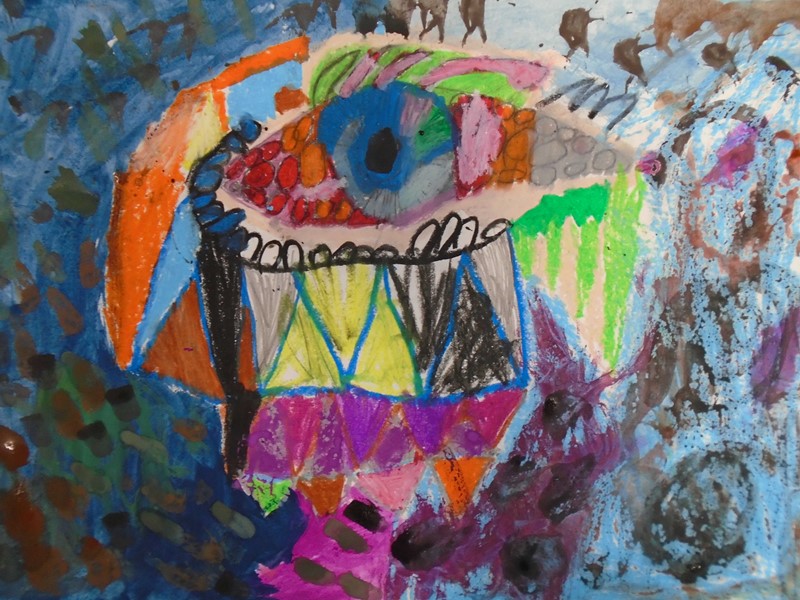
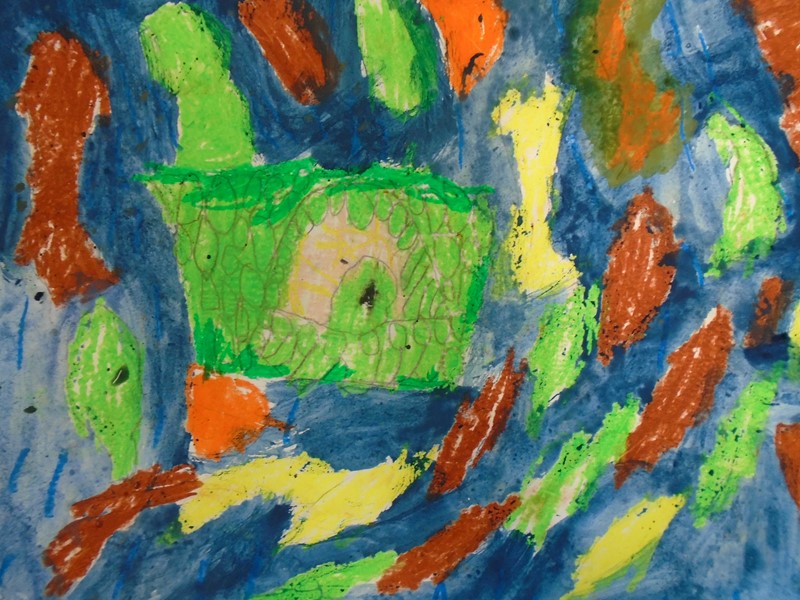
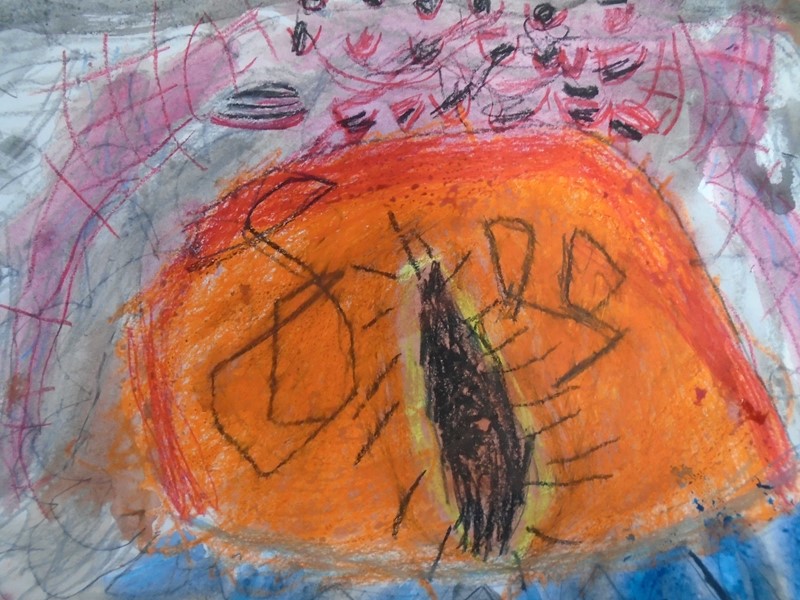
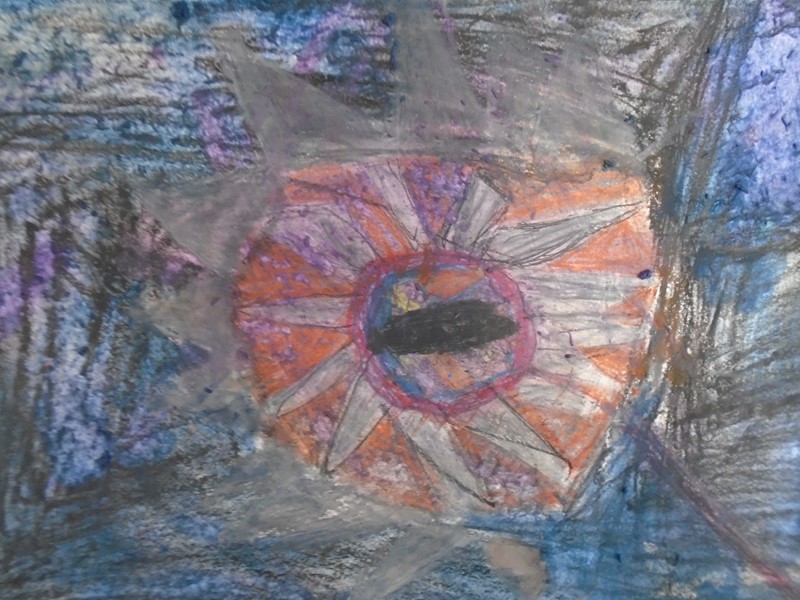
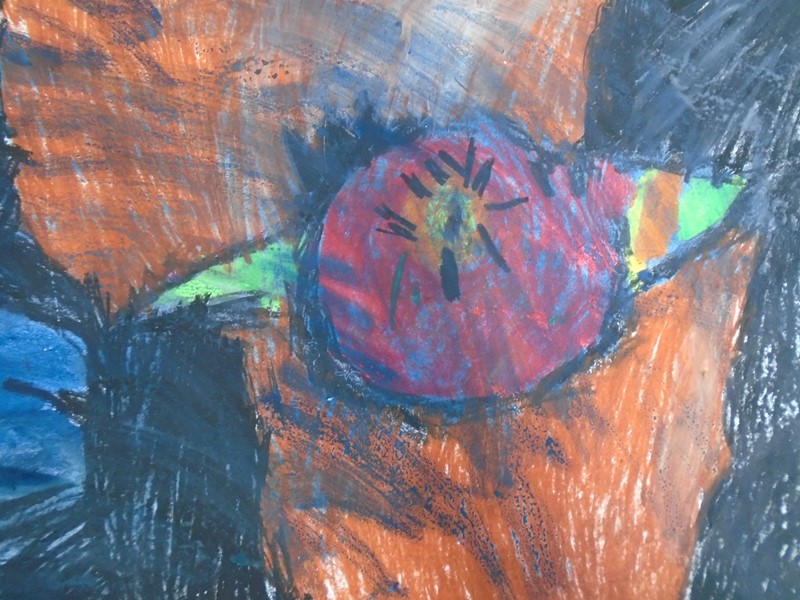
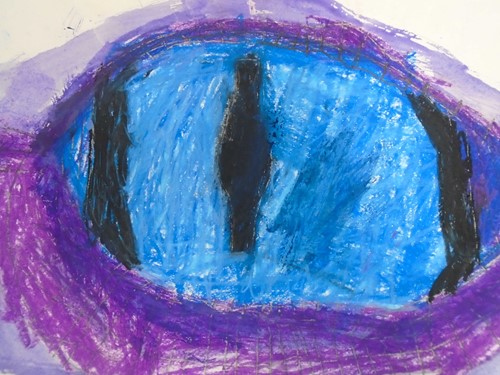
They then looked at some digital art showing dragon’s eyes by a selection of different artists. We talked about how to replicate patterns and textures in 3D and had a go at using all the different tools to make a close up of a dragon’s eye.
After that we looked at some drawings showing close ups of dragons’ eyes. We learnt how to look really carefully at the shapes that we could see and how to add the scales around the edge. We used oil pastels to draw the eyes and then painted over the top using watercolour paint.
Finally, we evaluated our work describing what we liked about it and why, how it makes us feel and what we most enjoyed doing this term. The children photographed their own work and uploaded it onto Seesaw so that it could be shared with their families at home.
Year 3
Term 1
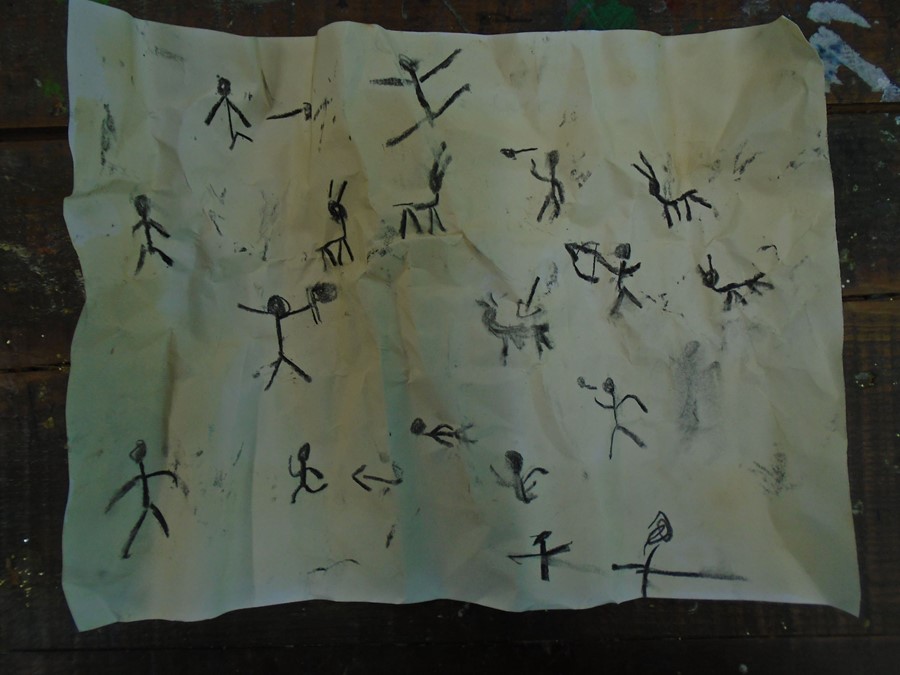
We started off our unit of work by reading the first story in Vincent’s Starry Night and other stories. We talked about what it would be like to draw on cave walls and what the surface would feel like. We scrunched up paper into tight balls and then flattered it out and we had an experimental lesson, drawing underneath the tables, on the walls and on the path outside. We talked about the difficulties of what the cave people would have experienced. We also talked about what Stone Age people would have used to make their clothes and why.
After that we looked at photos and videos about Lion Man, an ancient carved sculpture believed to be around 40,000 years old. We had a go at making a page in our sketchbook all about him. After that we used clay to make our own lion man sculpture. We talked about what would have happened if the original lion man had been made out of clay instead of a mammoth’s tusk.
We spent a lesson experimenting with different paints and tried to make as many different hues of brown using the primary colours. We learnt that adding white makes a tint and adding black makes a shade. We then used tea stained paper and did some anatomical drawings of woolly mammoths on it. We tried to copy the drawings accurately, looking carefully at the scale and proportion.
Finally, we used all of the skills we’d learnt this term to produce our own piece of cave art. We talked about what we enjoyed about the process and what we like about the end result. We discussed the problems that came up and how we solved them and what we might like to try next time.
Year 4
Term 1
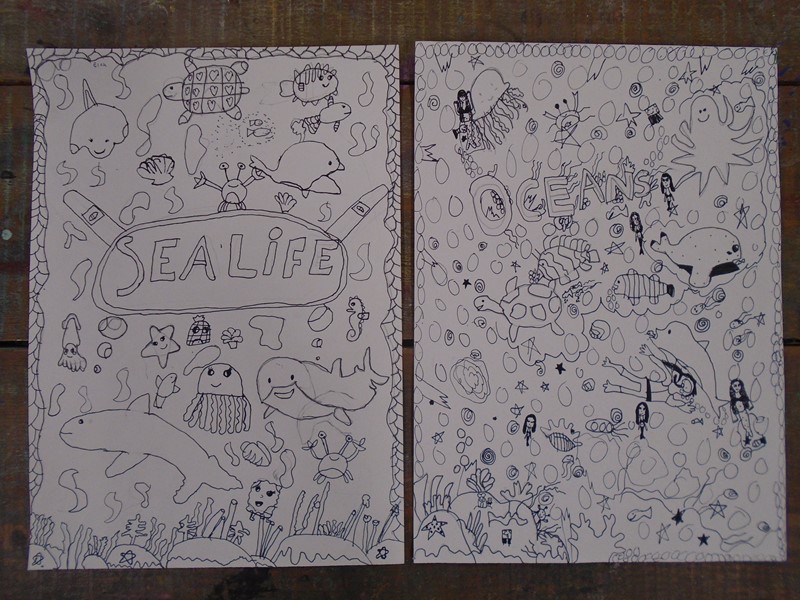
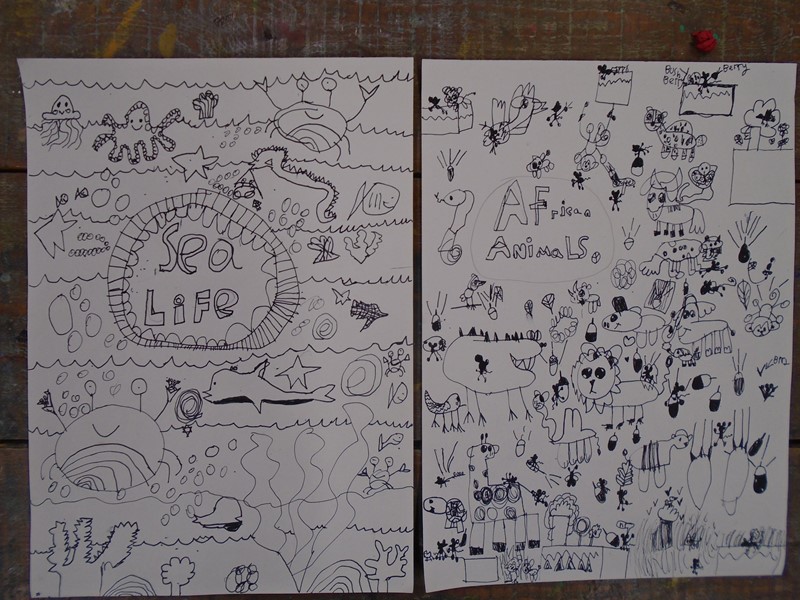
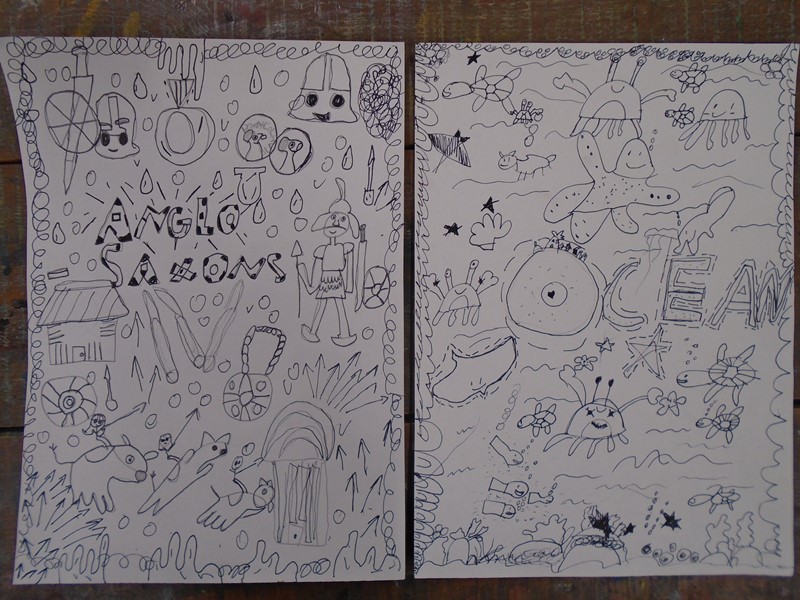
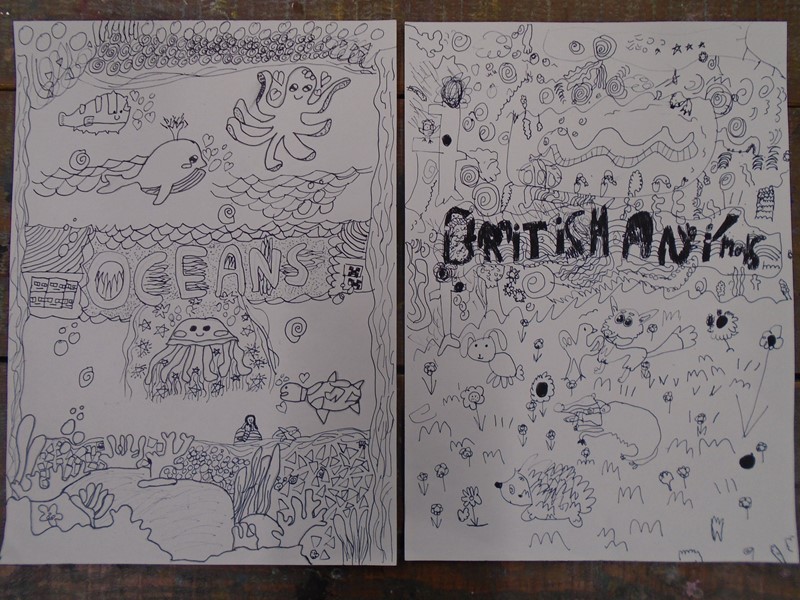
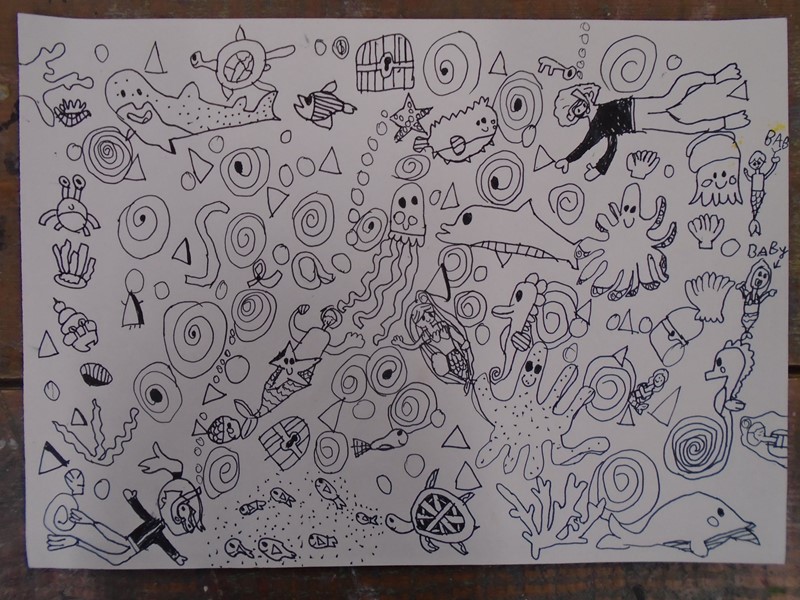
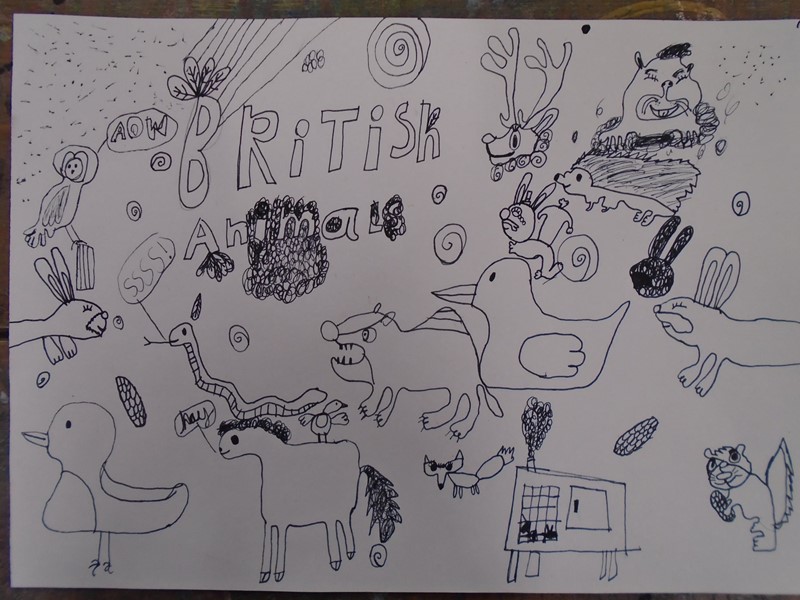
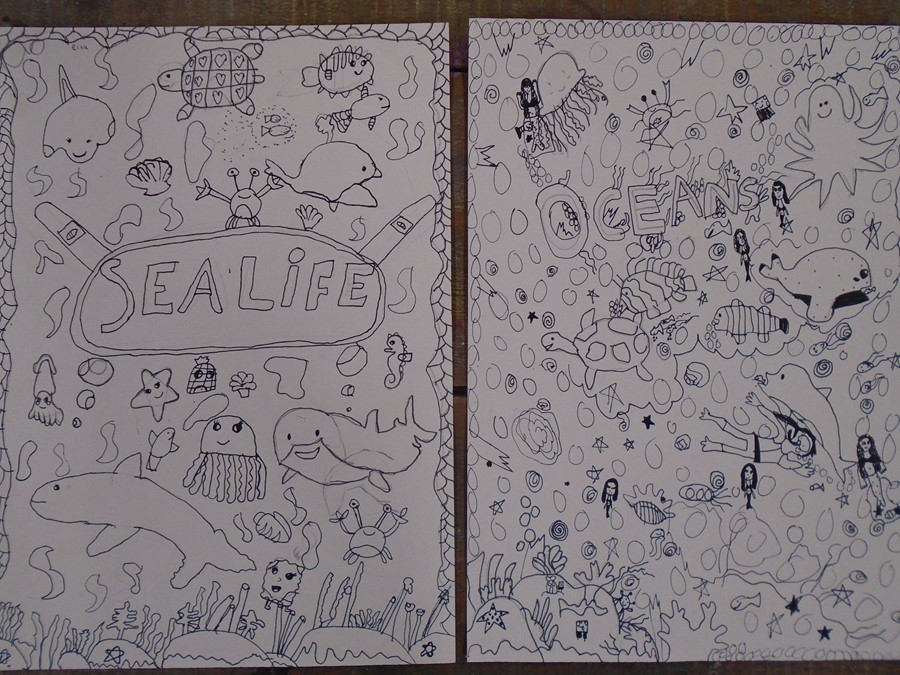
This term we have been studying the work of Ukranian artist, Olka Kostenko. She is a graphic designer that makes clothes, colouring books and doodle illustrations. She draws most of her work on paper and then scans them into the computer. First of all we did some research on the artist. We created a page in our sketchbooks all about her work.
We then got to choose our own topics based on what we were learning in class. We had the choice of Anglo Saxons, ocean animals, African animals or British wildlife. We had a selection of pictures around our topic and we had to cut the pictures out and play around with compositions to decide what looked best.
Once we had designed our work we learnt how to do the lettering. We then drew the main pictures around the edge. Finally we added doodles into all the gaps to complete the work. We talked about the strengths of our work and why the artwork was effective. We also talked about how these ideas could be used to do artwork for any other subject and what we would change if we were to do another one in a similar style.
We turned our doodle art into colouring books to sell at the Christmas Fair. We also photocopied our work and gave it to the Strode Park Foundation, Gillingham for their disabled residents to enjoy colouring in.
Term 2
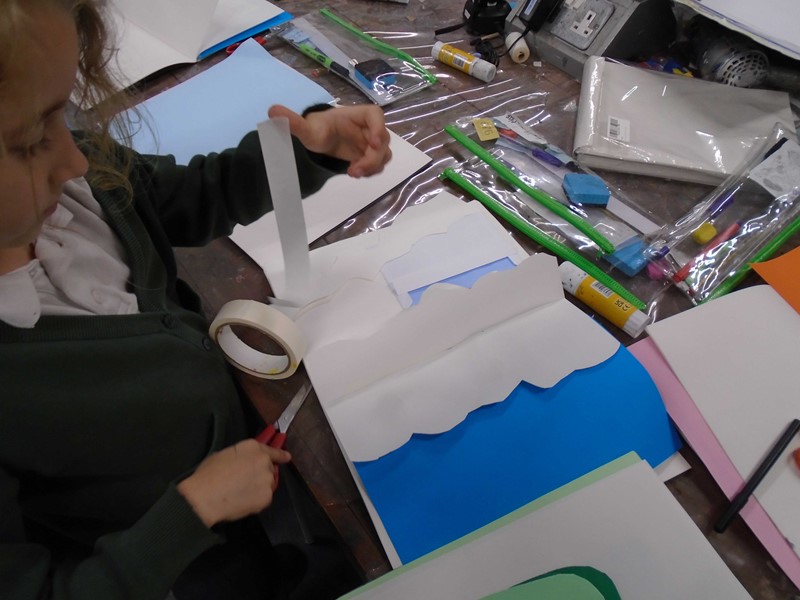
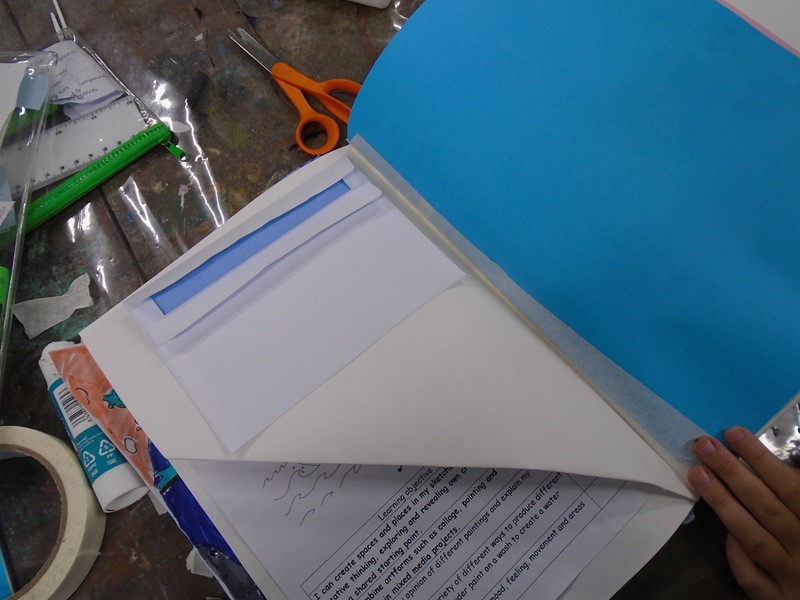
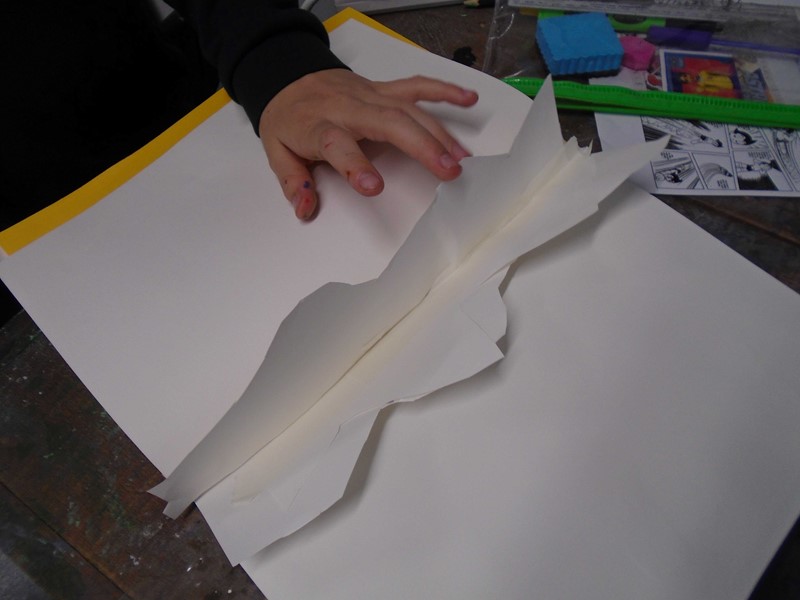
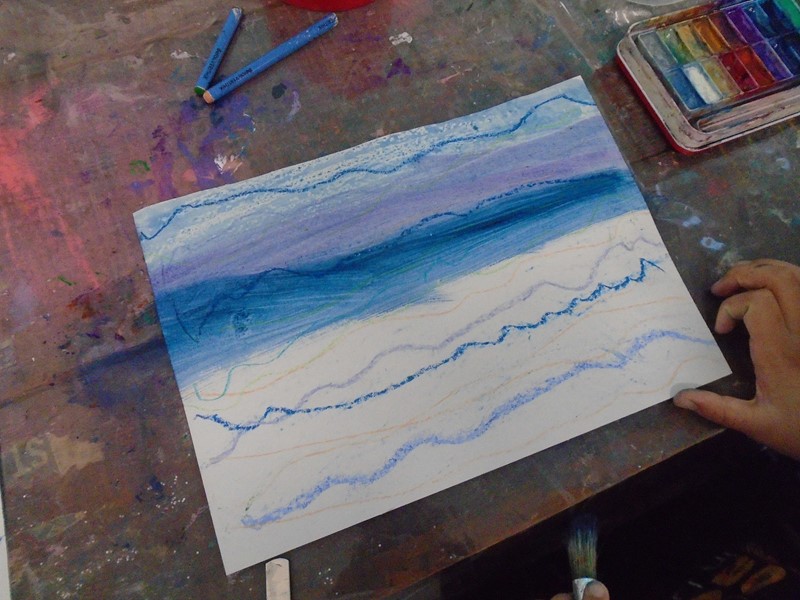
In art this term we have been looking at seascapes, particularly focusing on the paintings by Winslow Homer. We talked about ways of making our sketchbooks our own and learnt how to make little pockets for work, how to add a page, how to fold larger sheets of paper so that they come out and how to use different papers to make different surfaces. We also looked at cutting into our sketchbook pages to make the edges wavy and had a discussion about why it’s good in art to have everyone’s work looking different.
We looked at some seascapes by Homer and chose three each. We ranked them from our favourite to least favourite and wrote about what we liked or disliked about them. We also did some sketches of his work and talked about how the sea made us feel.
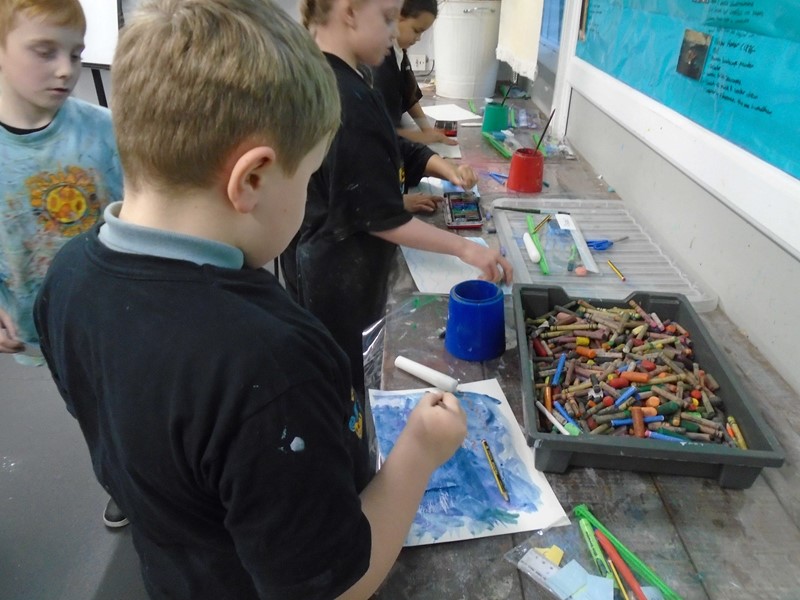
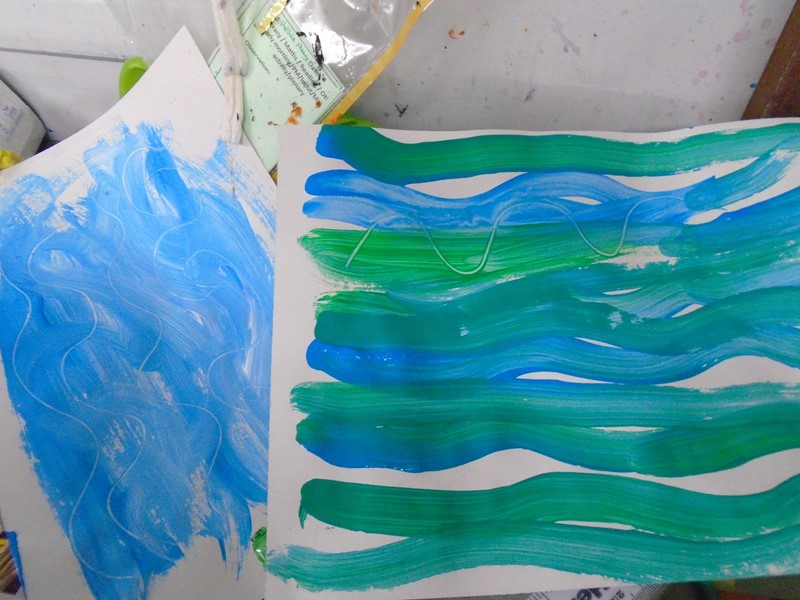
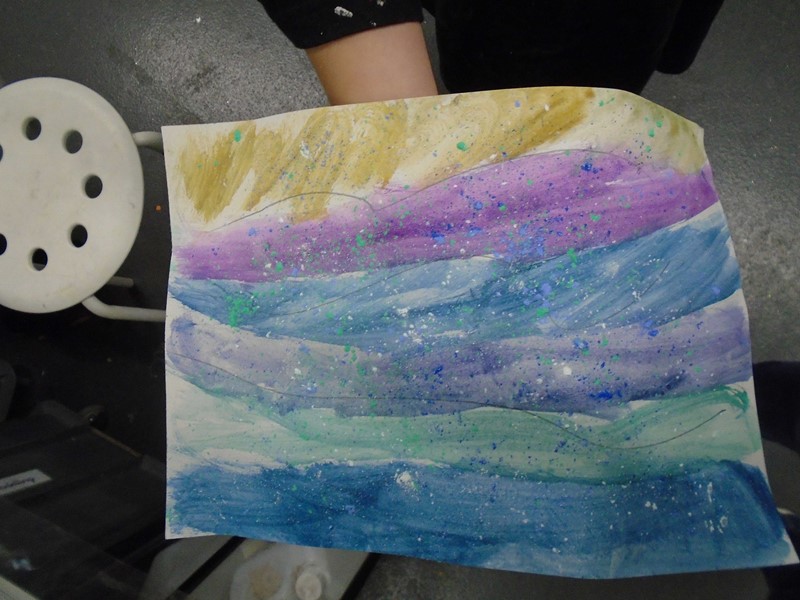
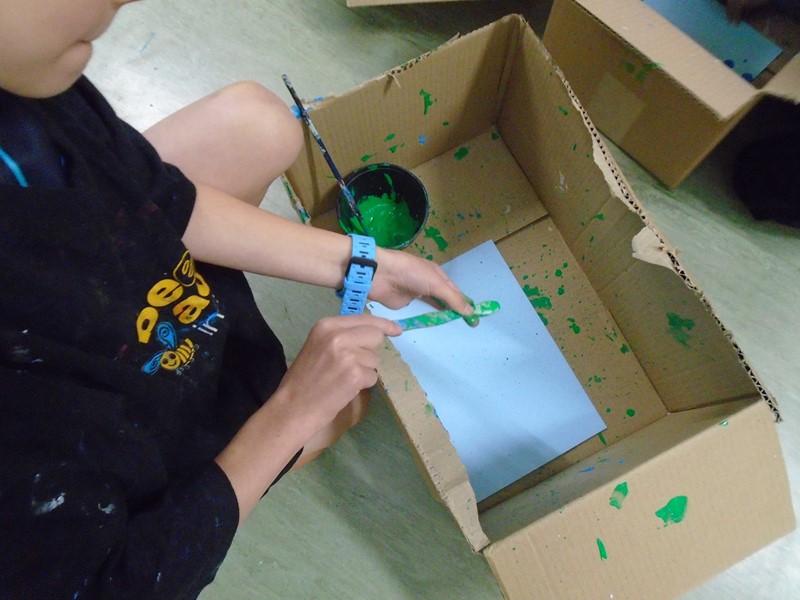
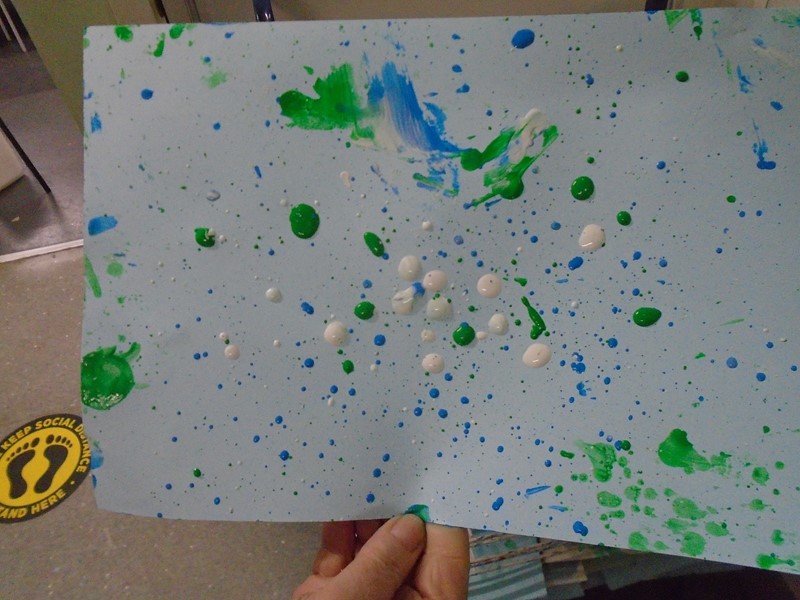
After that we used paints in a variety of ways to produce different effects. We had a go at blending colours and experimented with brush techniques to achieve smooth waters or crashing seas. We were then given the challenge of creating 4 different painted sheets of paper by flicking paint, using watercolour paint over wax crayons, using powder paint and dragging sticks through wet paint.
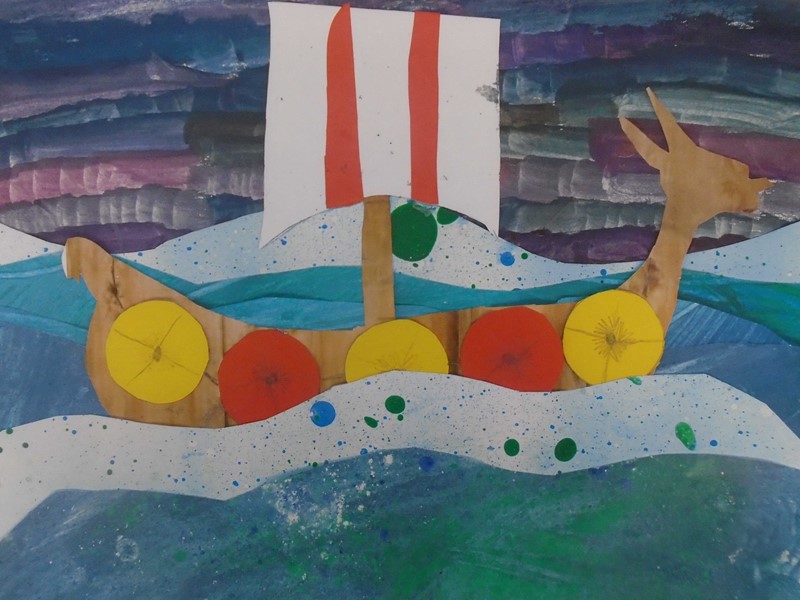
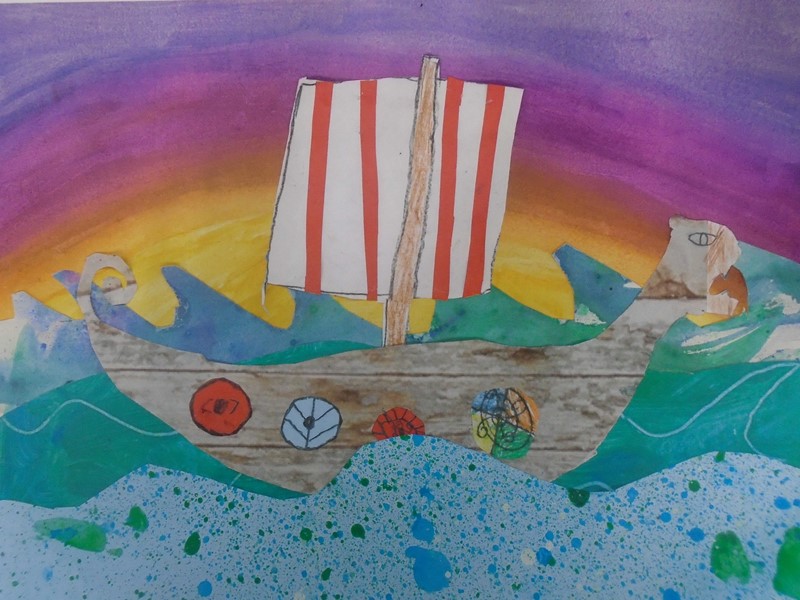
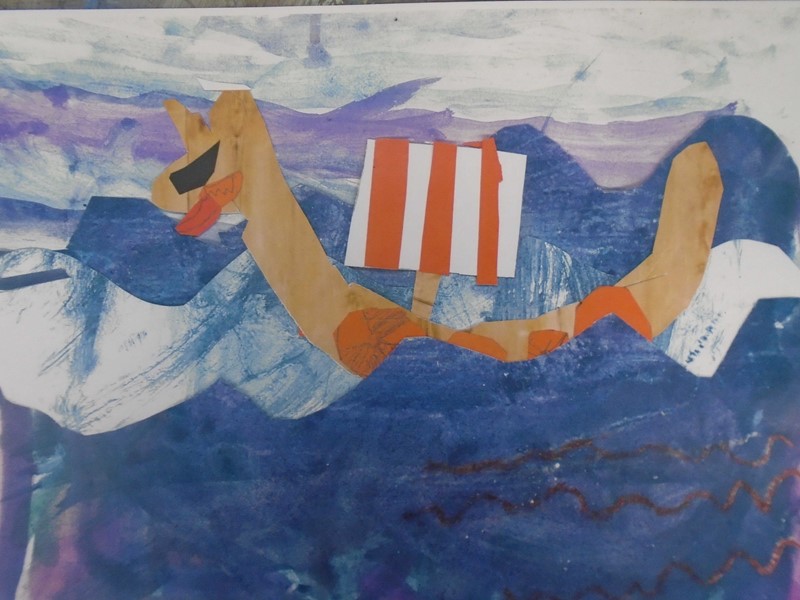
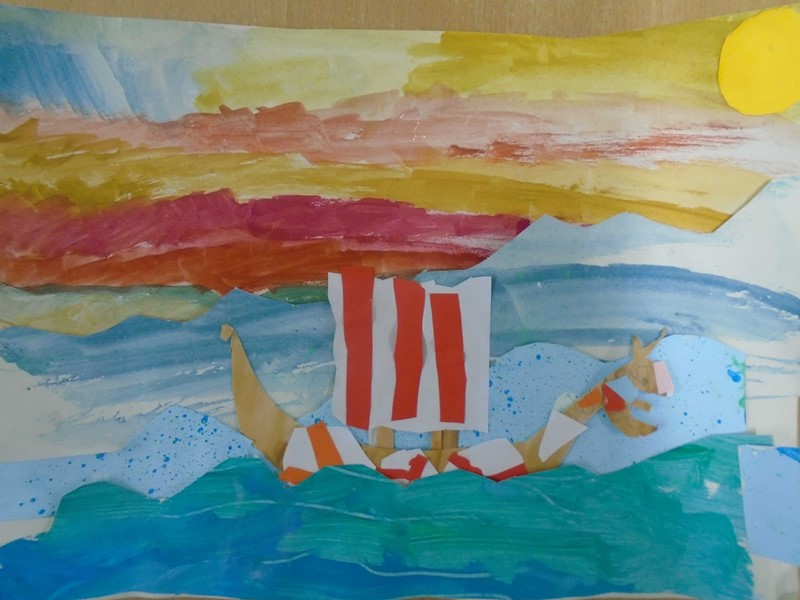
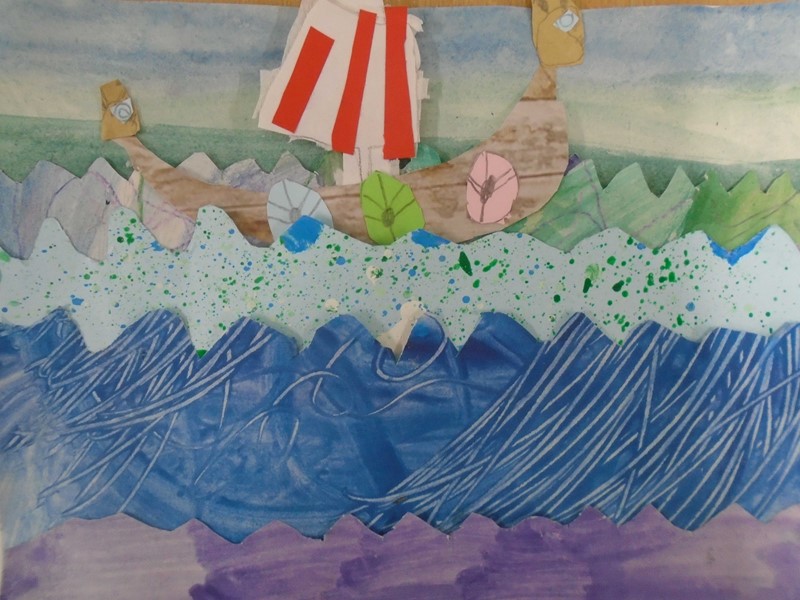
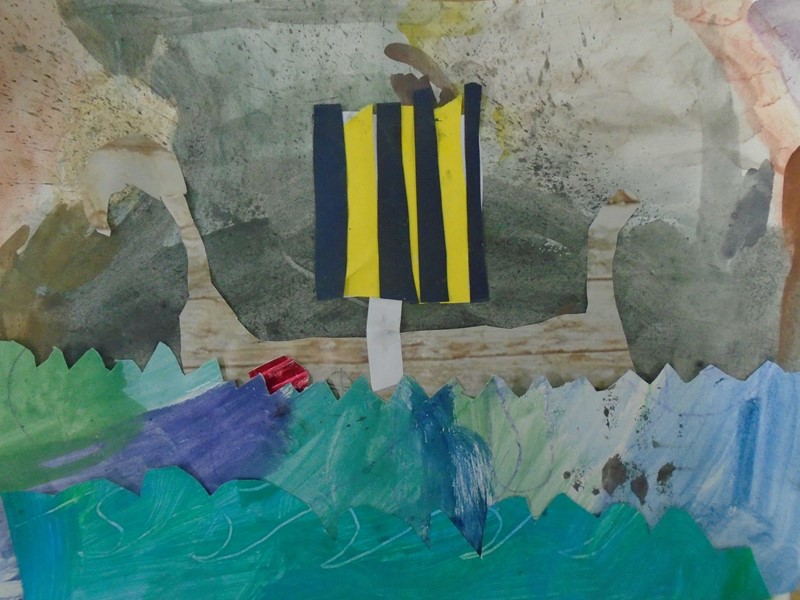
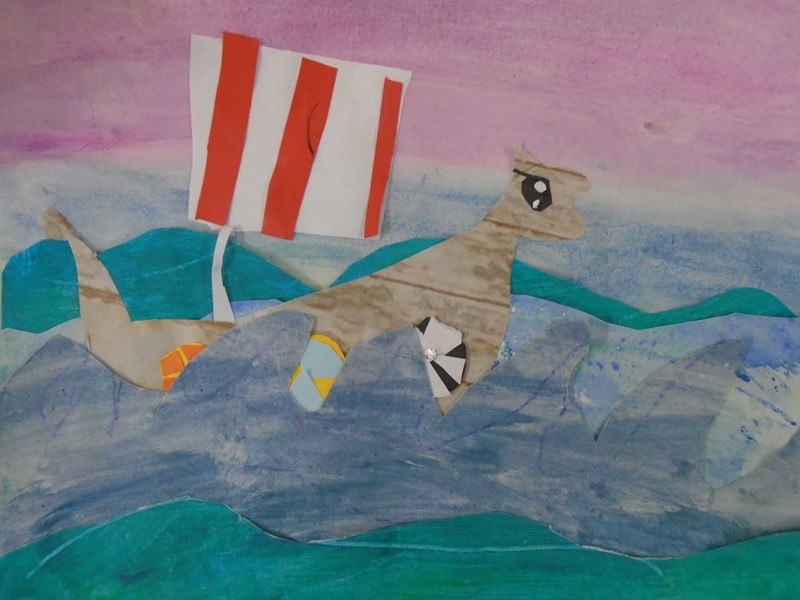
Once our papers had dried, we then had to create a Viking ship collage. We had to think about how we wanted the audience to feel. Some of us wanted huge, stormy waves and some of us wanted calmer waters. We had to create a sky that represented these emotions and make a ship using different materials. We made shields to stick on the side of the boats.
Finally we evaluated our work. We talked about the composition, how the colour and shapes made us feel and what we would like to improve next time.
Term 3
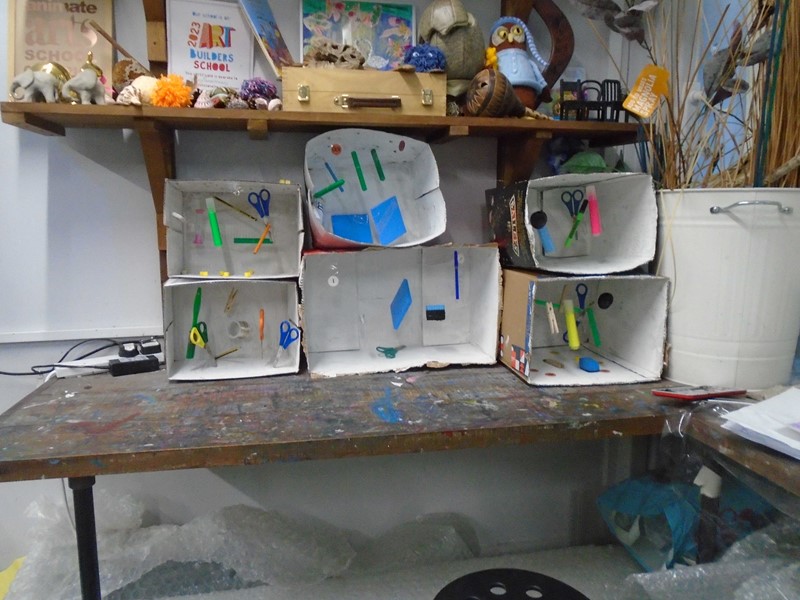
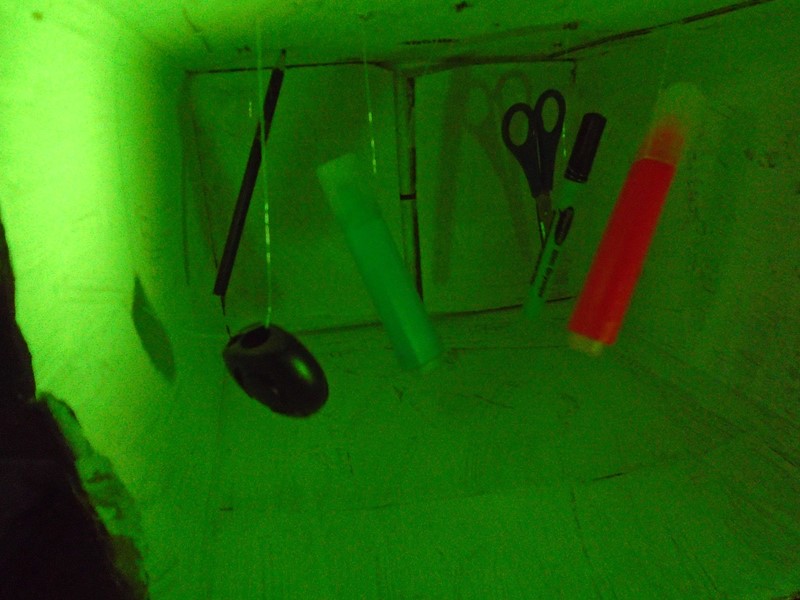
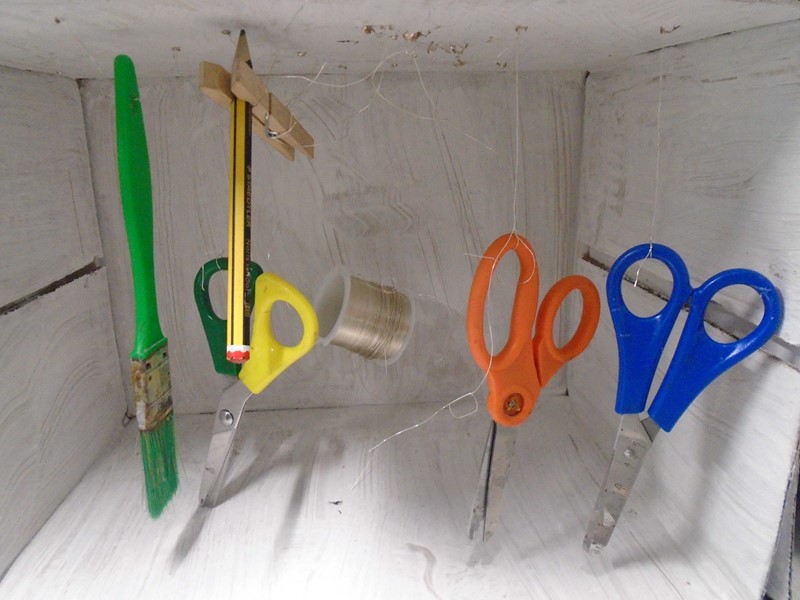
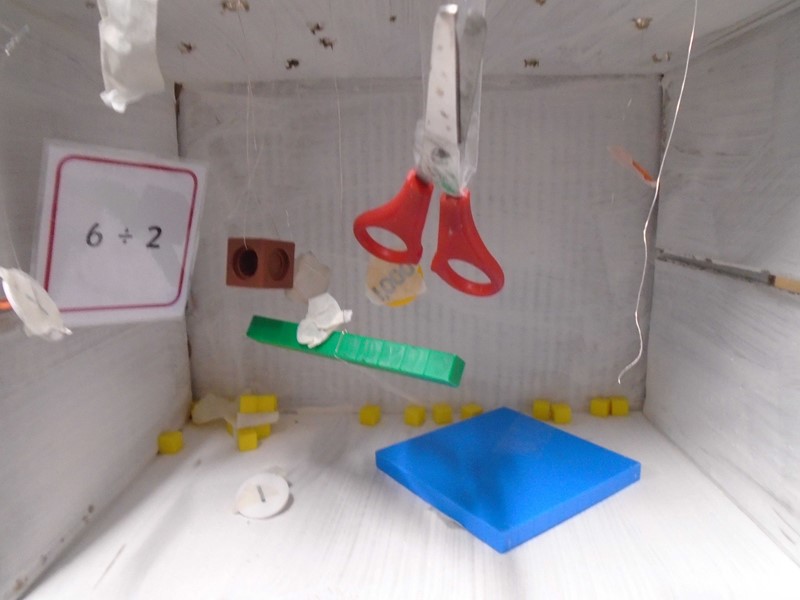
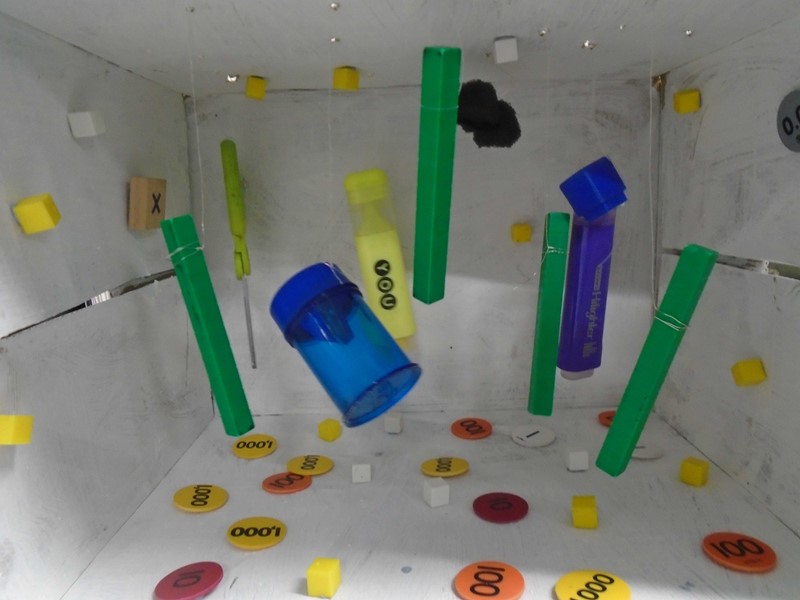
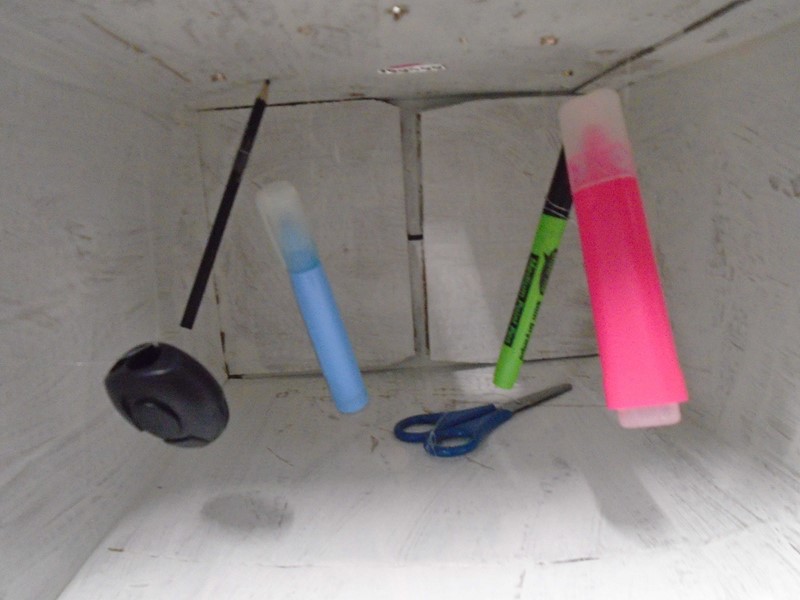
We looked at an installation by Cornelia Parker and talked about how we thought she made it. We discovered that she asked the army to help her blow up a shed and then she hung all of the pieces around a huge light bulb which created shadows on the walls.
This made us start thinking about collections of different objects so we wrote a list of all the things that could make up a collection. We experimented using them to create shadows using torches and had a go at drawing what we could see. We found drawing the shadows really tricky so the next lesson we watched a video clip about tones and had a go at creating different tones and drawing some objects with shadows.
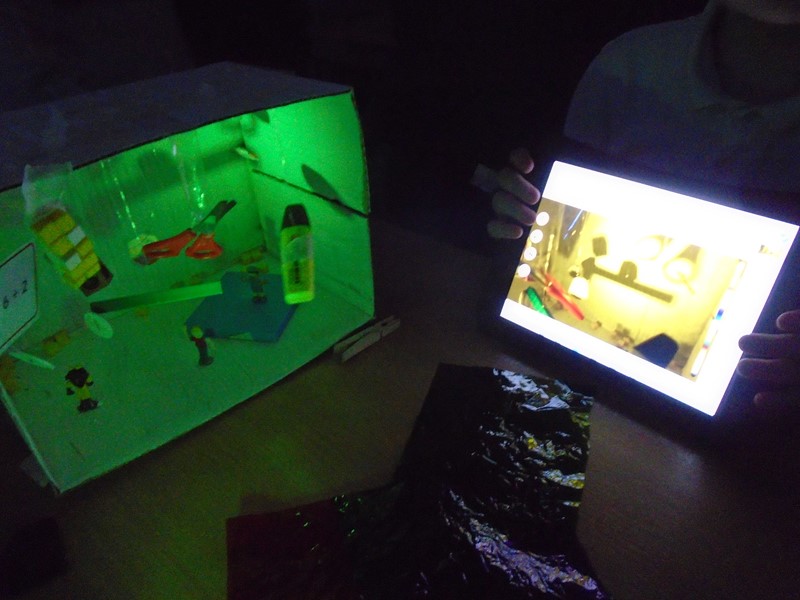
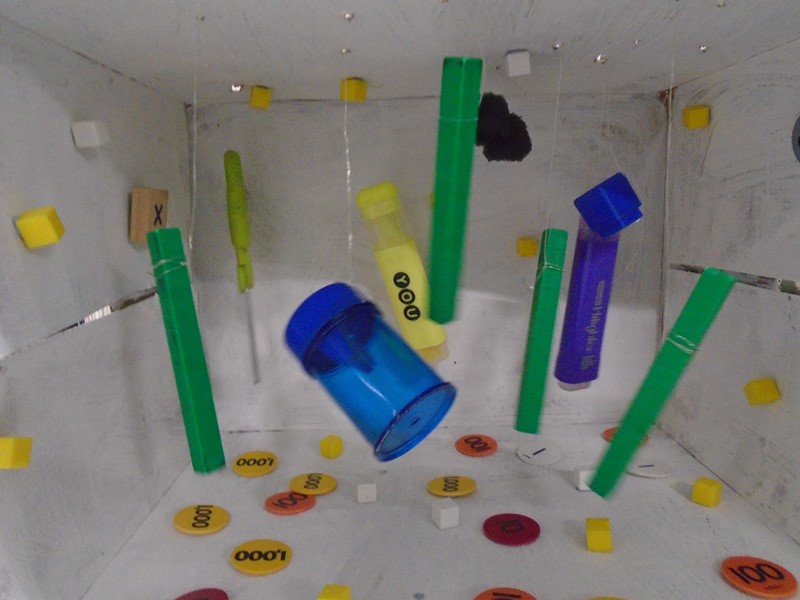
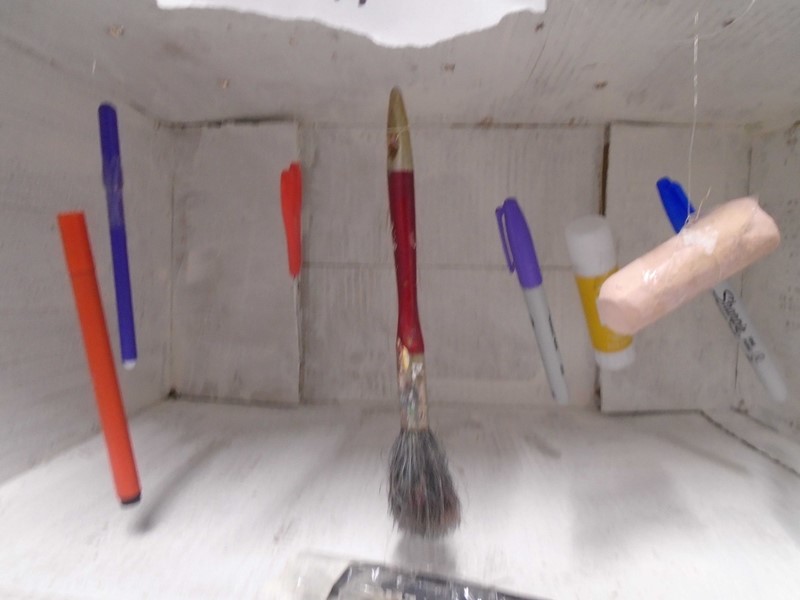
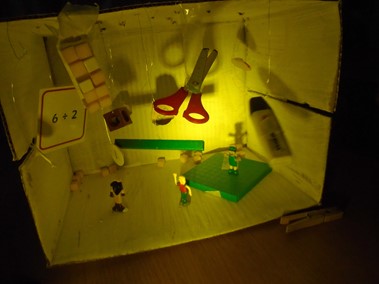
After that we worked in small groups and painted the inside of a cardboard box white. This was going to become our “room” for our installation. We then chose what our collection was going to be and had to gather up the objects ourselves. We chose things like stationery, maths equipment and art materials. We hung the objects in our boxes to make installations and then used torches to create shadows on the walls. One group even decided to turn their items into an aeroplane which looked fabulous!
Finally, we took photos and/or videos of our installations and we evaluated them, answering the questions on Seesaw.
Year 5
Term 1
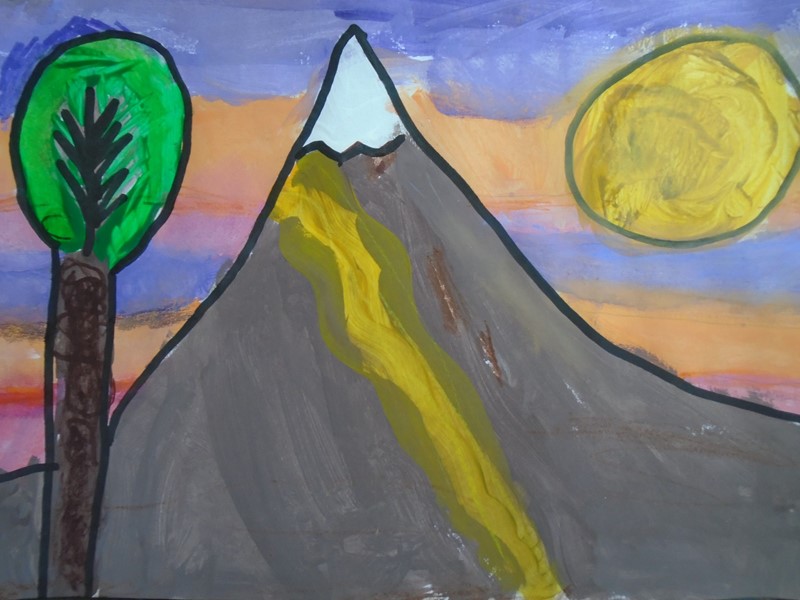
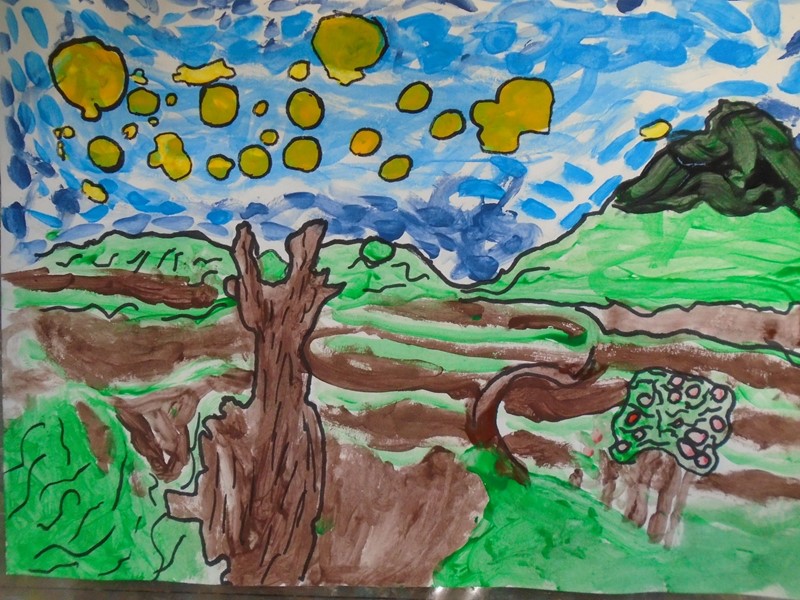
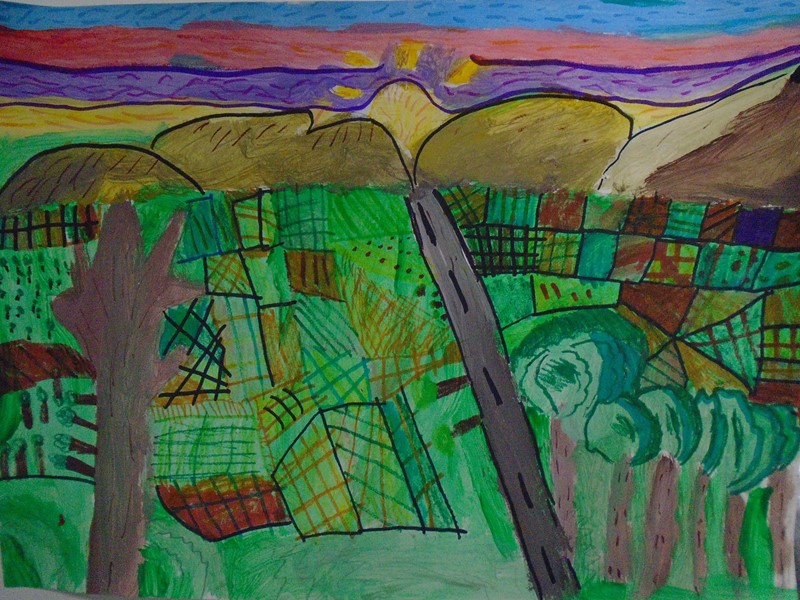
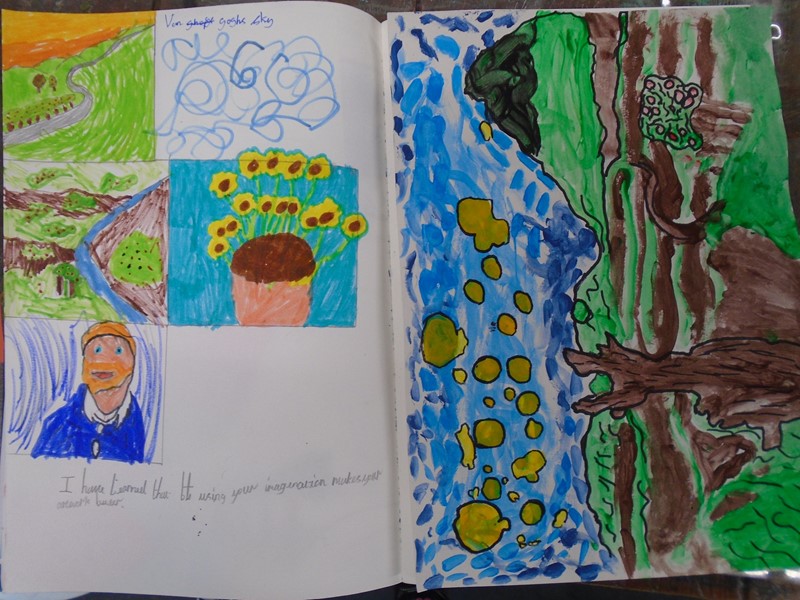
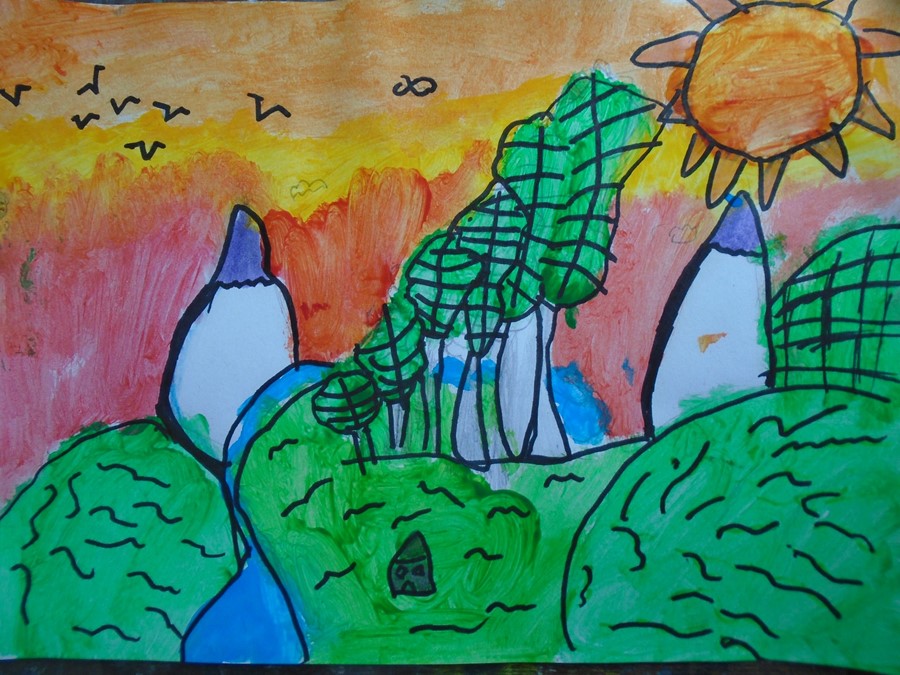
This term we have been learning about the artists Vincent Van Gogh and David Hockney. We looked at the paintings Starry Night and Garrowby Hill and talked about the different techniques that the artists used in their paintings. We discussed the similarities and differences between the paintings thinking about the themes, composition and colours and recorded these on a Venn diagram.
We also looked at tone (how light or dark it is), shade (adding black to darken something) and hue (a colour family). We looked at mixing different blue hues and looked at stippling, cheques, waves, swirls, patterns etc. We challenged ourselves to make each square on the grid completely different.
After that we had a look at how to draw the painting Garrowby hill. We learnt about composition and perspective and had a go at drawing our own. We then looked at photos showing different landscapes and drew our own compositions in our books. Some of us did our own paintings using our compositions and some of us had some extra support following a modelled drawing.
Finally we painted our compositions choosing to either paint in the style of Vincent Van Gogh or David Hockney or a combination of the two. At the end we had the choice of whether we wanted to draw over the lines using Sharpie pens or not. We evaluated our work in small groups.
Term 2
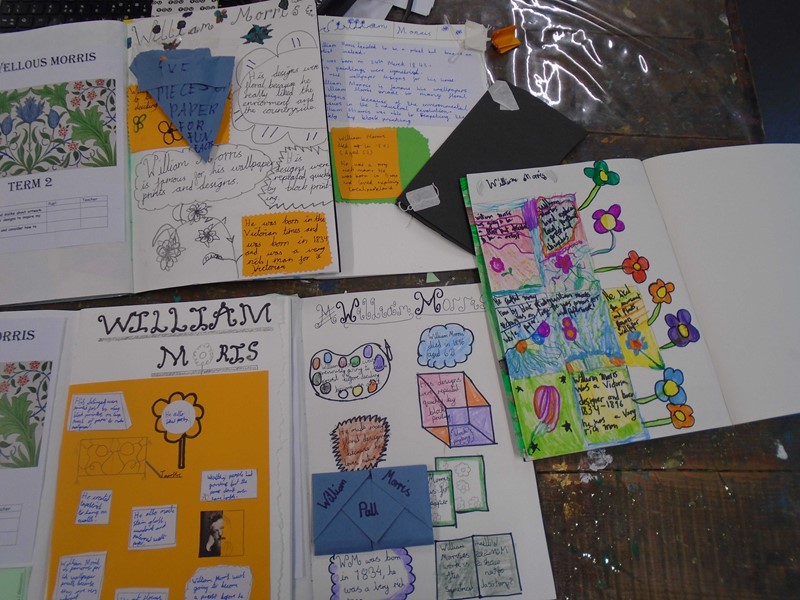
This term we have been using the work of William Morris as our inspiration. We researched him and made some notes and sketches about his work and we discussed what we thought of his work. During this lesson we also discussed how to present work in our books and looked at adding coloured paper for backgrounds, making little booklets, putting our facts in different shaped boxes (like flowers), making pockets, thinking about our font and having pull-out parts.
We then sketched some of our own designs inspired by his work. We included lots of leaves, flowers, dragonflies and birds.
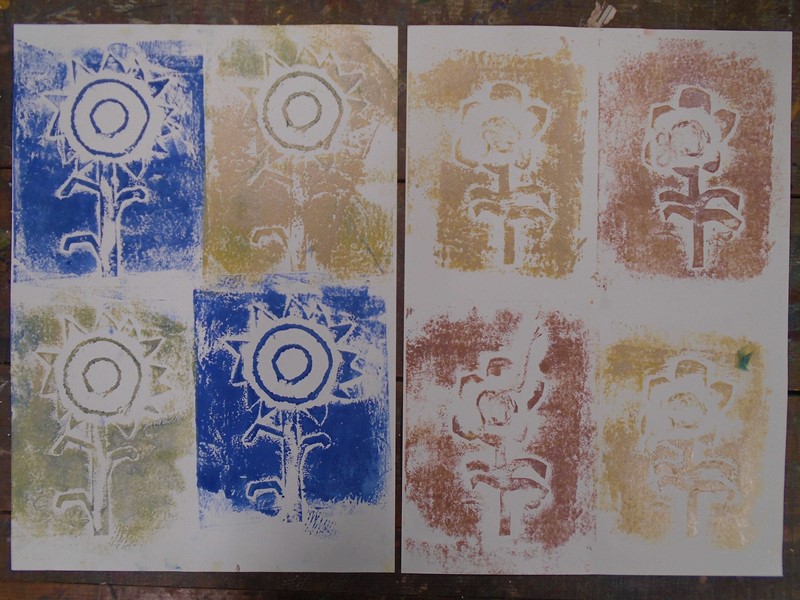
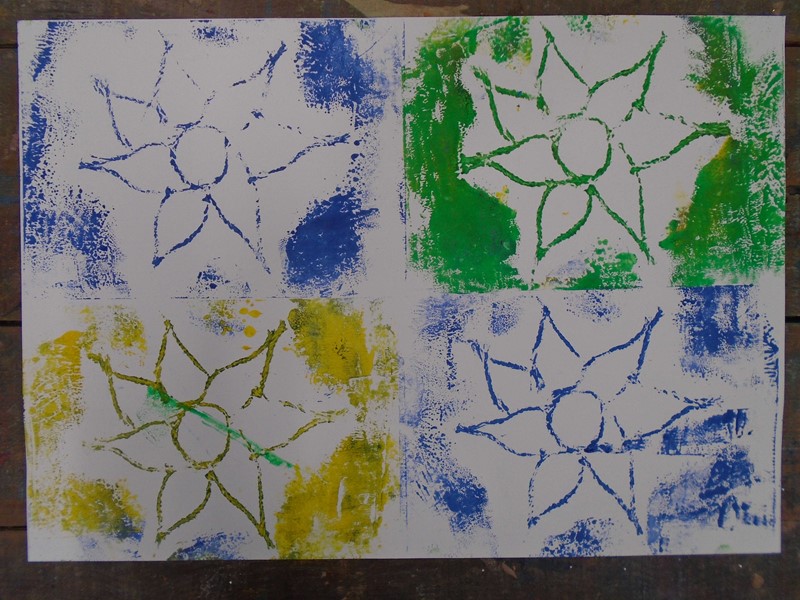
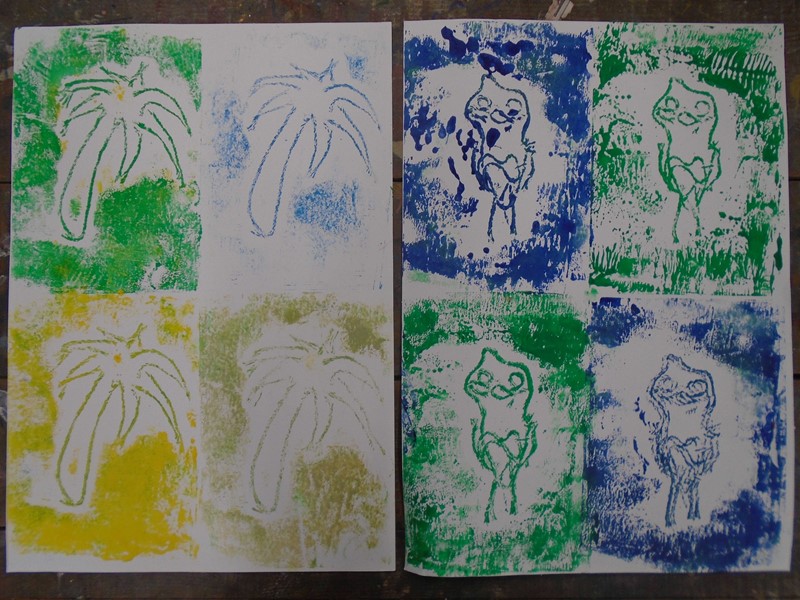
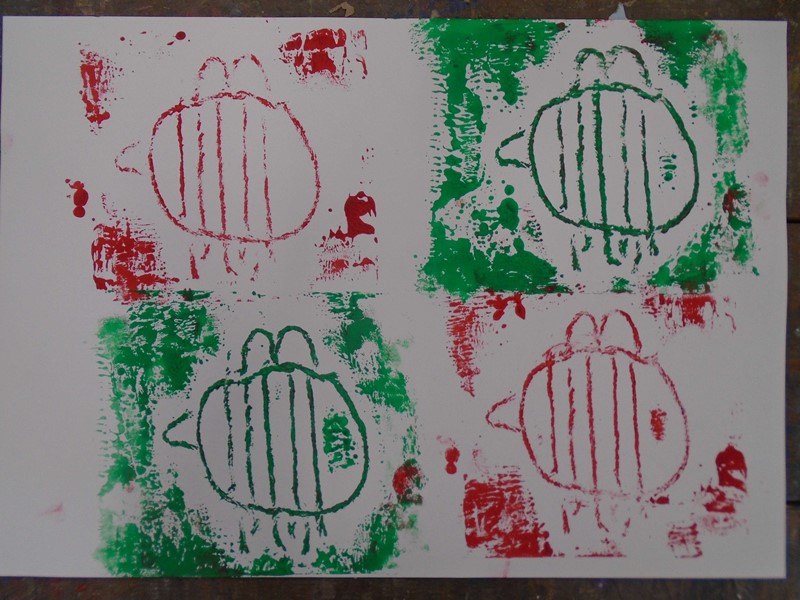
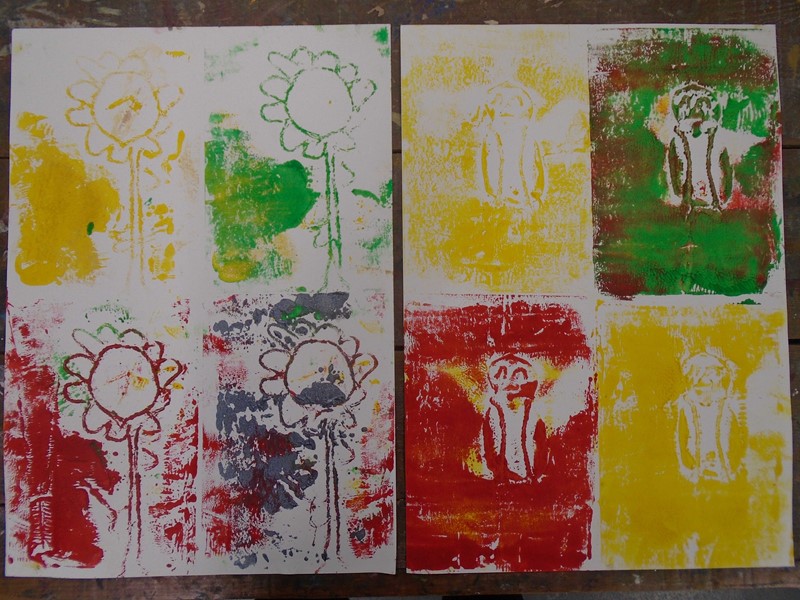
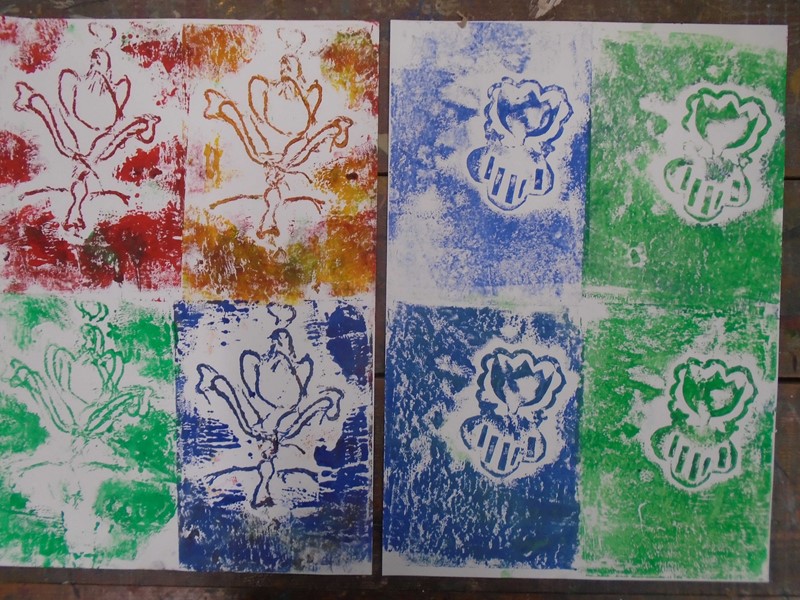
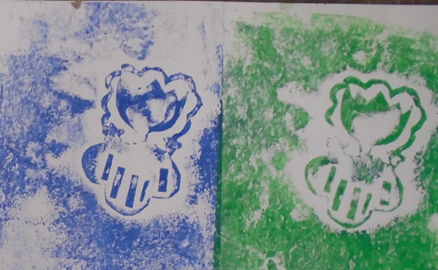
Once we had decided on our final design we had to make our printing plates. We looked at Mrs Clarkson’s examples and decided if we wanted to use string or card for our relief printing. We then spent time making our printing plates and some of us added extra detail to them.
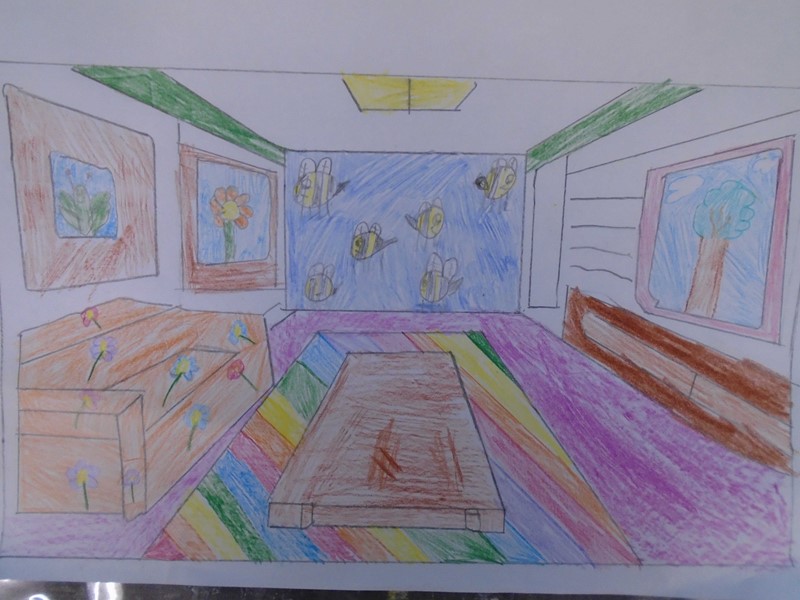
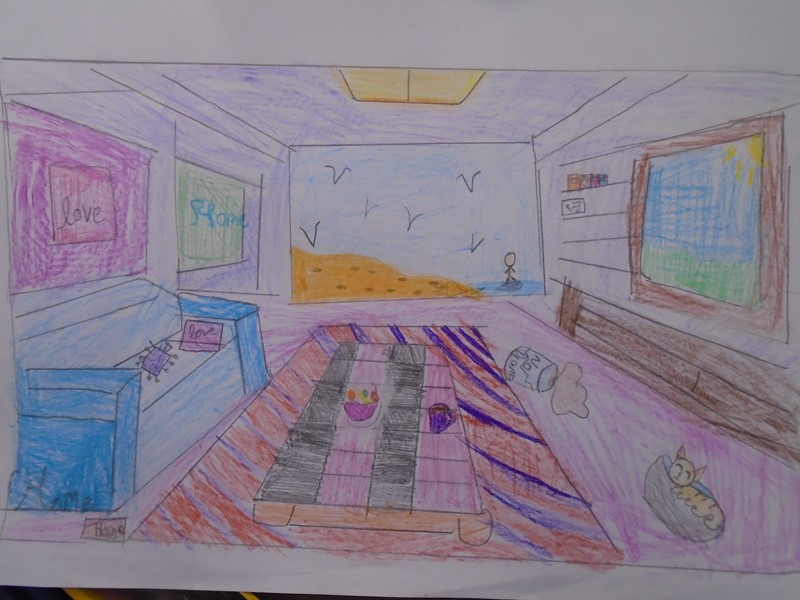
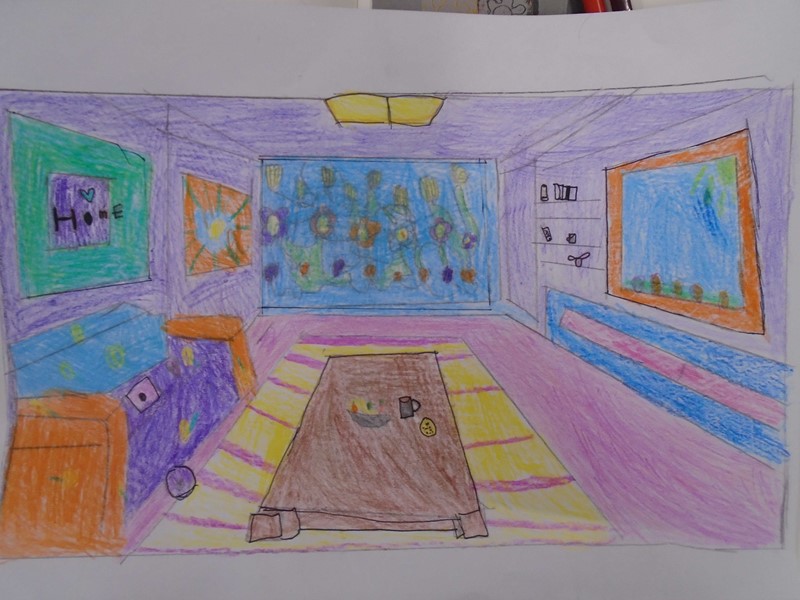
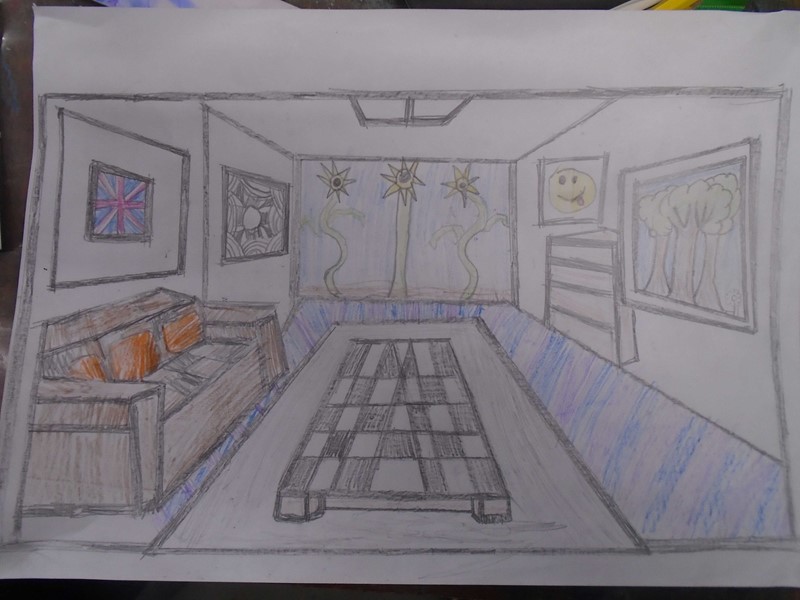
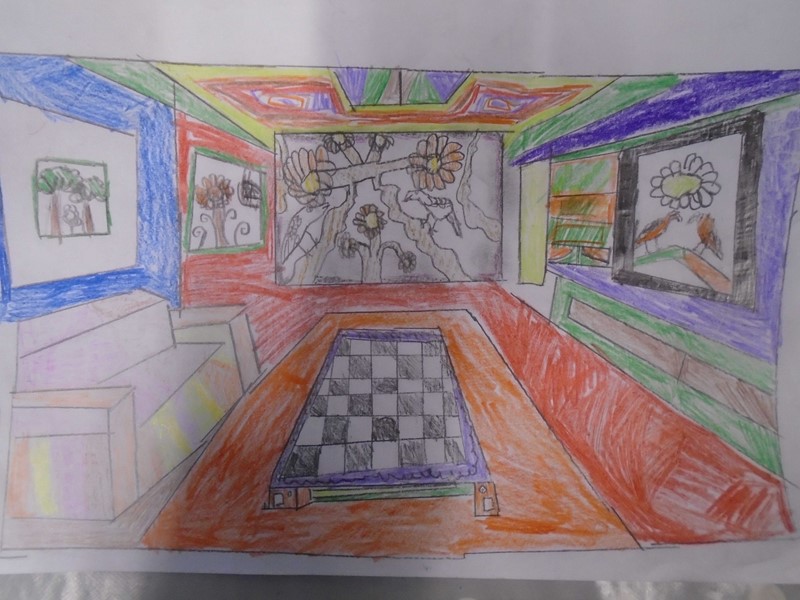
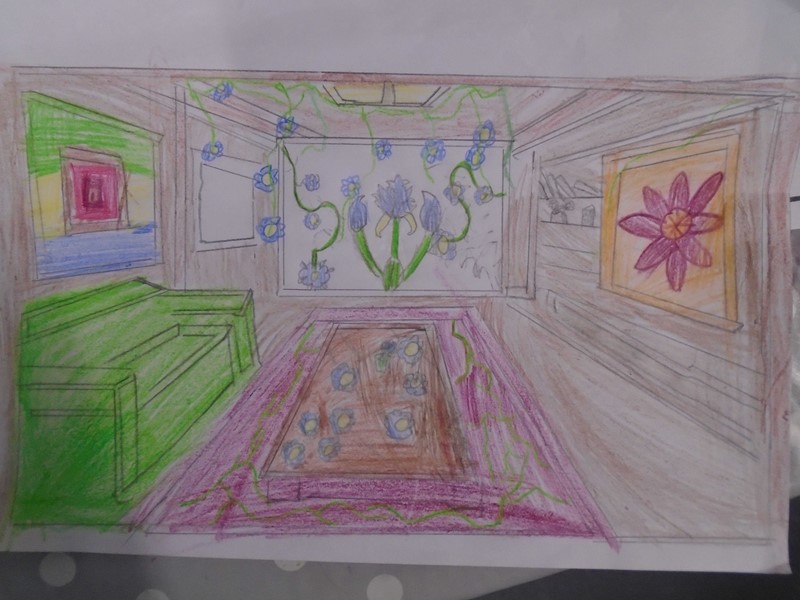
Then it was time for printing. We looked at rolling the paint on one way and then turning the printing plate and rolling it another way. We also looked at adding a second colour on top, referring to a colour wheel to think about the effect that we wanted to create. After we’d done our printing we watched a video about printing wallpaper and talked about how we could turn our own prints into wall paper. We drew a picture of a room, talking about perspective and did our wallpaper design on one wall.
Term 3
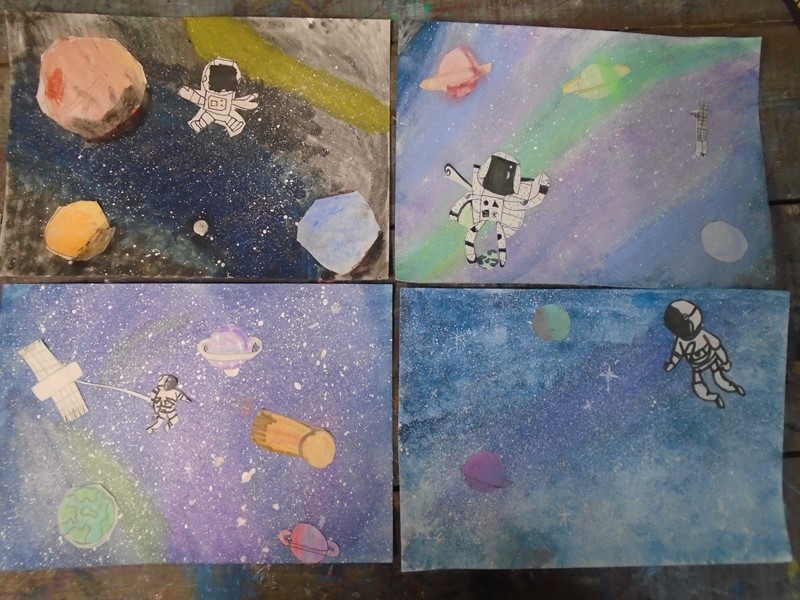
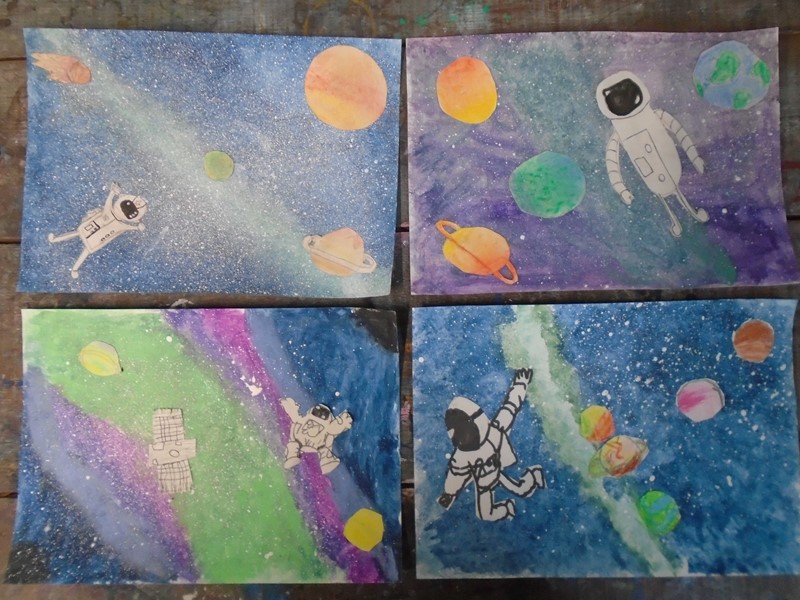
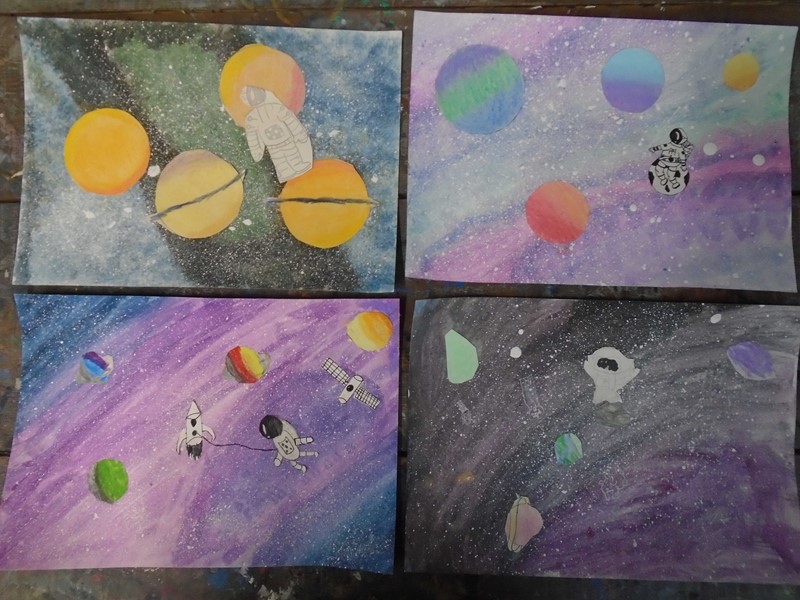
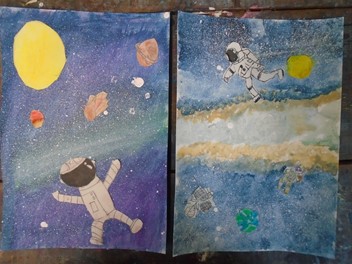
This term Year 5 have been looking at galaxy art by painter Cathrin Machin. Machin produces stunning paintings based on images from the Hubble Space Telescope. She spends thousands of hours on each painting. We discussed the kinds of things we would need to learn to be able to do our own galaxy painting and followed a tutorial which showed us how to create galaxies using watercolour paint, watercolour paper, paint and white gel pens.
We then thought about other things that we might find in space such as planets and astronauts. We looked at photos of planets and drew planets using chalks. We also looked at clipart pictures of astronauts and used black pens to draw our own astronauts. We cut out the astronauts and the planets.
After that we played around with the composition by moving the objects around and decided where to place them on the page. We stuck them down and evaluated our work, thinking about what went well and what we would like to improve next time.
Year 6
Term 1
This term we have been learning about and producing our own digital art. We started off the topic by discussing what we already knew about digital art and by making a mind map about it. We looked at the work of digital artist David Hurtado and learnt about his digital map illustrations.
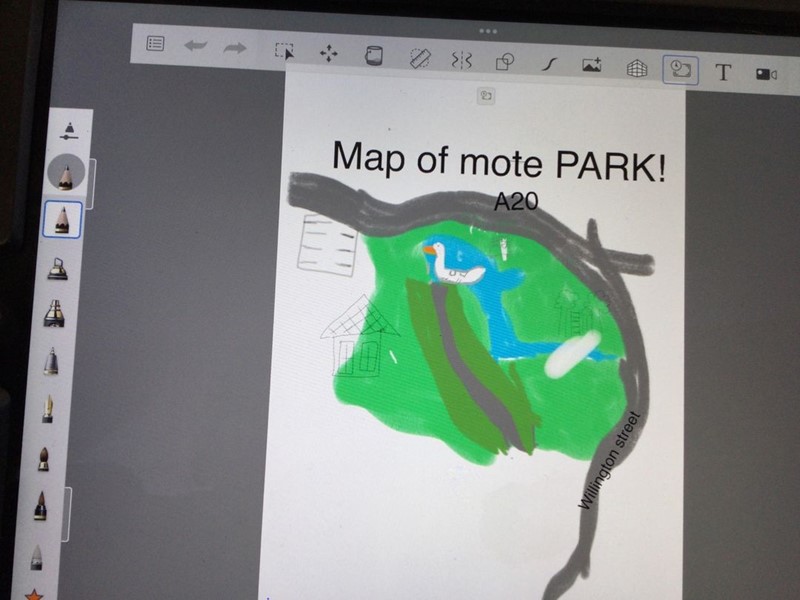
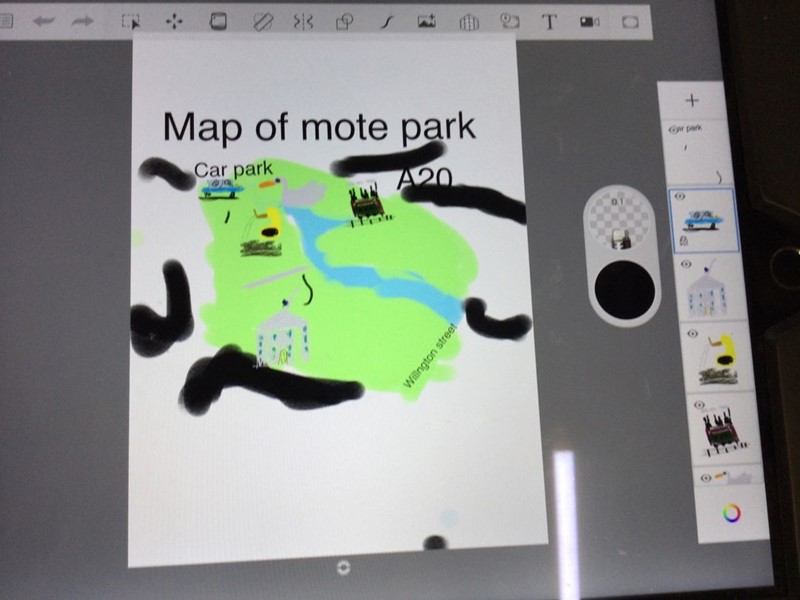
After that we started learning how to use the Sketchbook app. We learnt how to select and use different pens, brushes and tools and how to change the colour using the colour wheel. We also learnt how to select colours that we’d already used. Mrs Clarkson modelled how layers can be used in art to make adjusting work much easier and we had a go at drawing some flowers in a vase and then moving the flowers around and making changes to them.
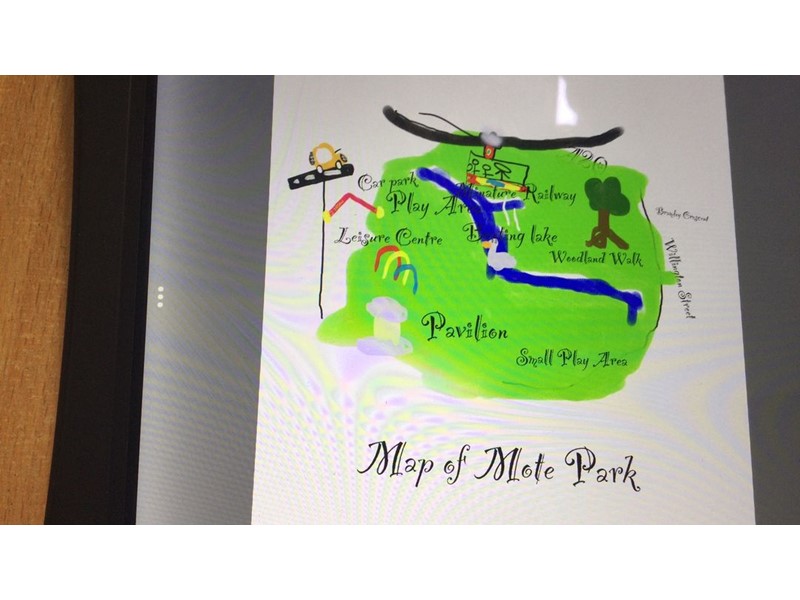
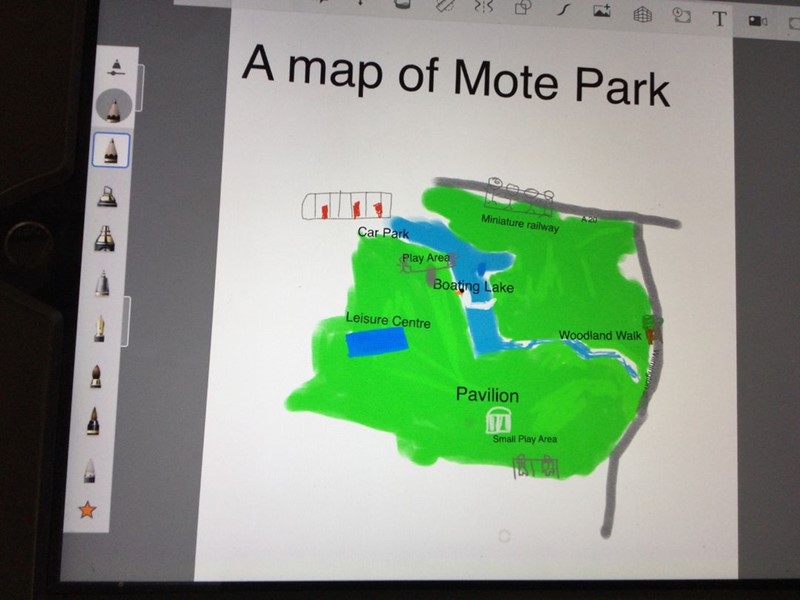
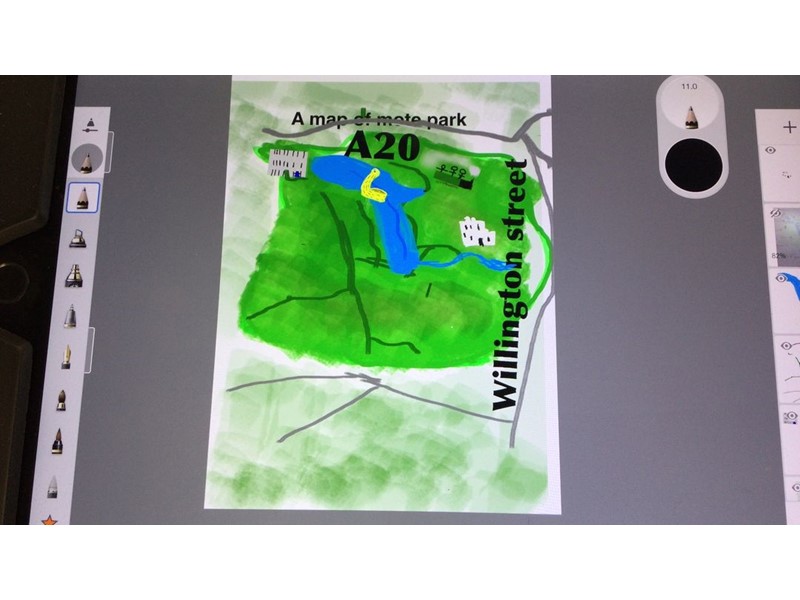
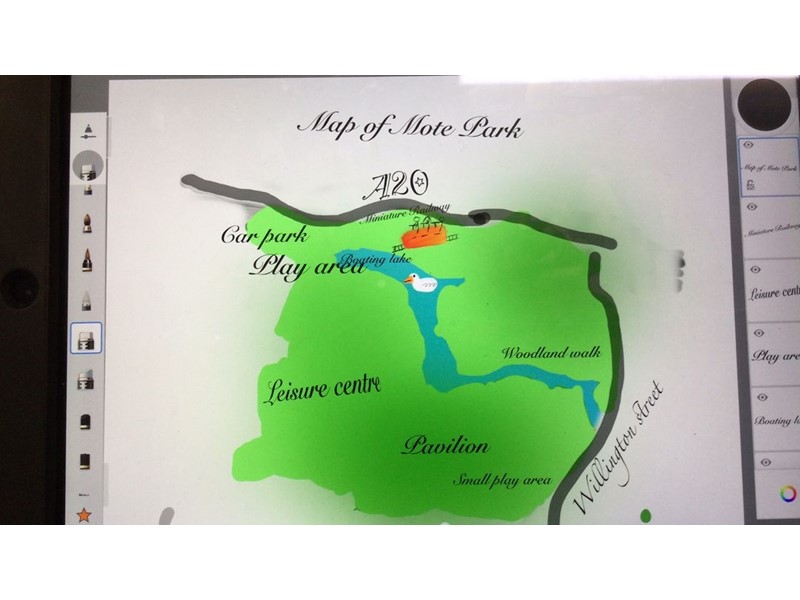
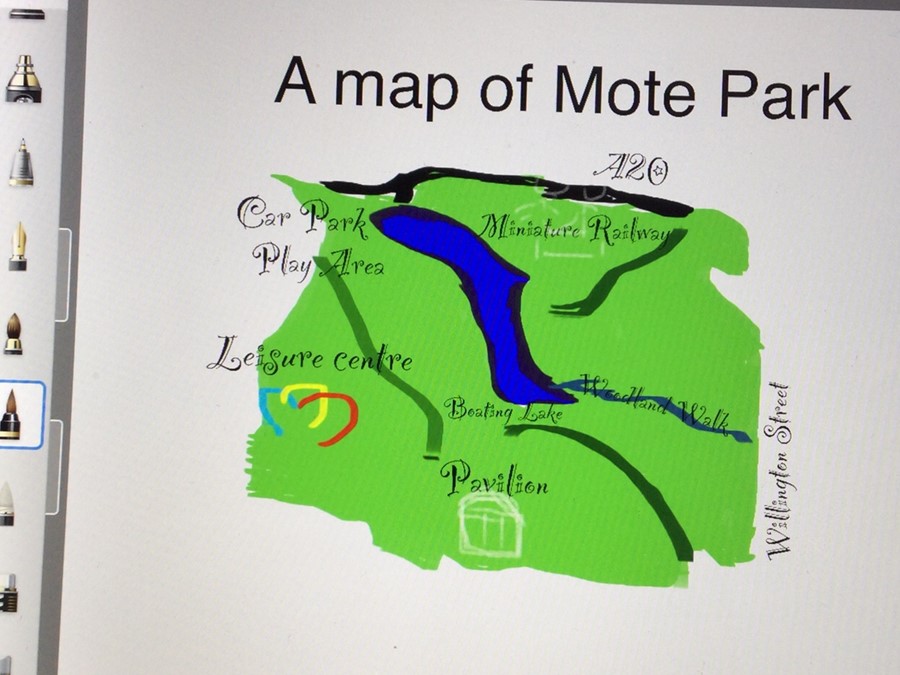
Then we looked at Google Earth and had a go at drawing an aerial view of both our school and Mote Park. We got to decide what we wanted to use to draw with and talked about how our drawings could be made to look like maps.
Finally we created an illustrated map of our local park. We used Google maps and took a screenshot of Mote Park. We then drew the lake and the grassy area on a separate layer, changing the opacity so we could use the map as a guideline. We added the roads around the edge, some footpaths and then added on all the main tourist attractions such as the miniature railway, boating lake, pavilion etc by drawing a picture on different layers, reducing them in size and putting them in the correct place.
At the end of the project we discussed all the new skills that we had learnt and talked about how we could apply them to different projects.
Term 2
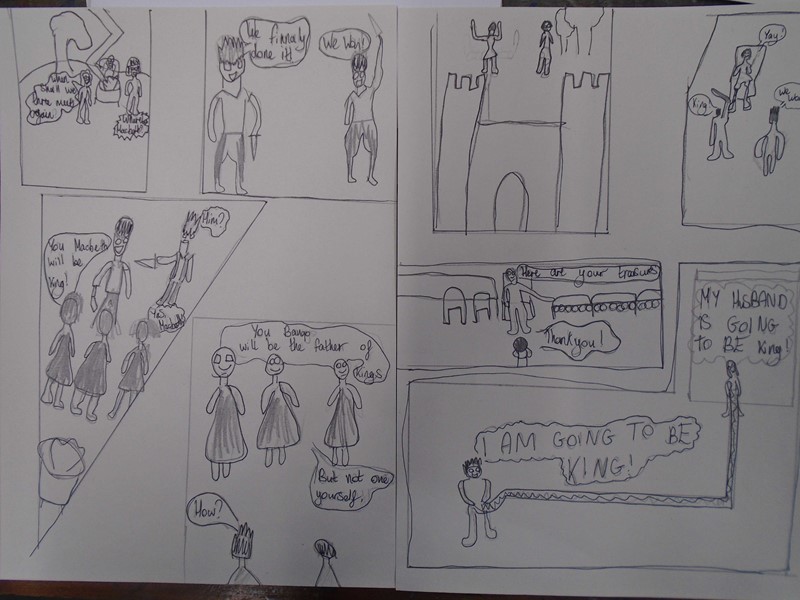
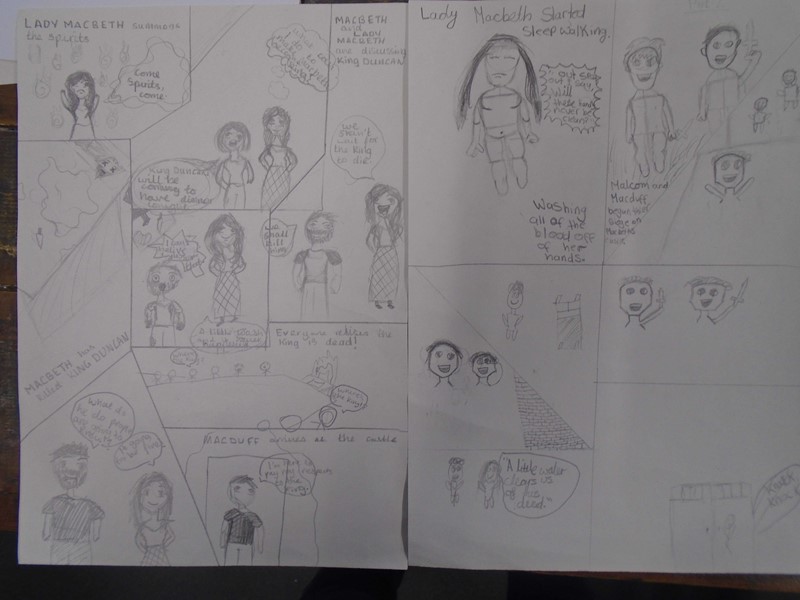
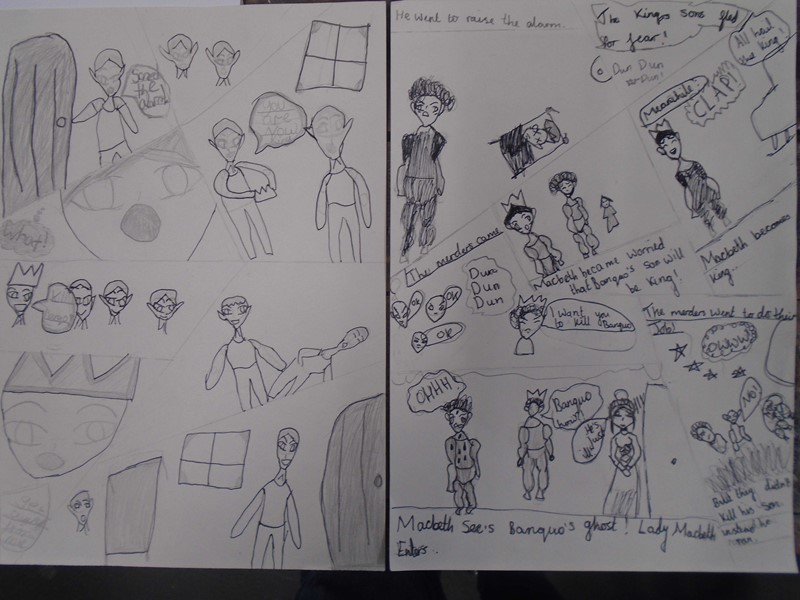
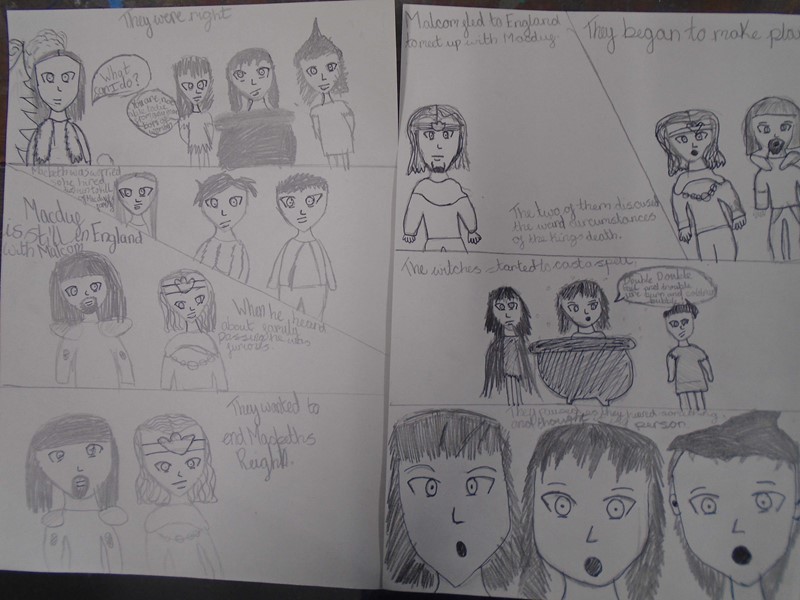
This term Y6 have been learning about manga. Manga are Japanese comic books and graphic novels and were made famous by the manga artist Osamu Tesuka. We started off the term by looking at the Astro Boy manga. We talked about features in the work such as different sized and shaped boxes, reading from right to left and have different shaped speech bubbles.
We then followed some tutorials looking at showing how characters are feeling. We learnt how to change the eyes and the mouths and then we followed instructions to draw people by looking at a tutorial on Youtube and by positioning and drawing manikins.
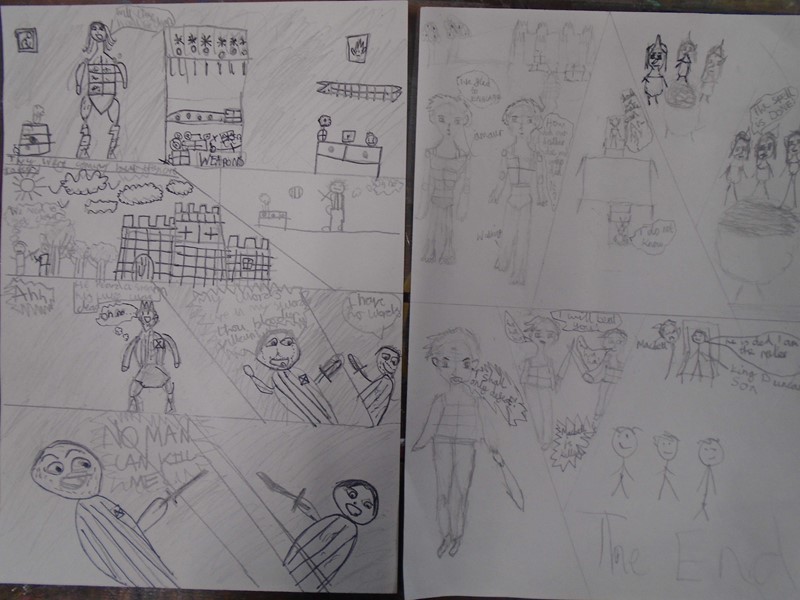
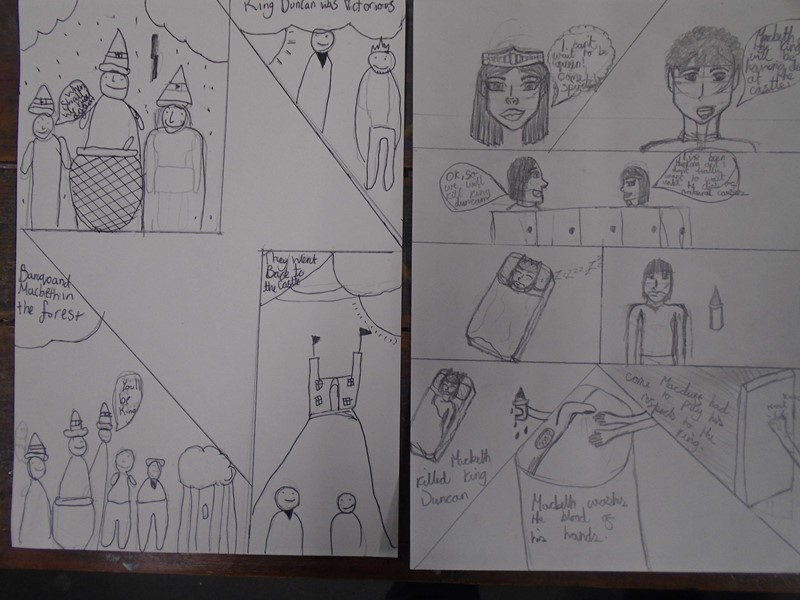
We each took part of the story of Macbeth and had to design and draw our own manga to tell our part of the story. Finally we put all of our work together to make the completed play and evaluated our work thinking about what made our artwork effective and who would appreciate our work.
Term 3
This term Y6’s topic was World War 2. We looked at some of Henry Moore’s wartime drawings and created a page in our sketchbooks all about him and his work. We then watched a video to recap our work on tones by using different pressures to show the different shadows and highlights and also looked at drawing curved lines to show the shapes of objects. The children then took it in turns lying down with a sheet covering them so we could really focus on the use of contours to depict sleeping people.
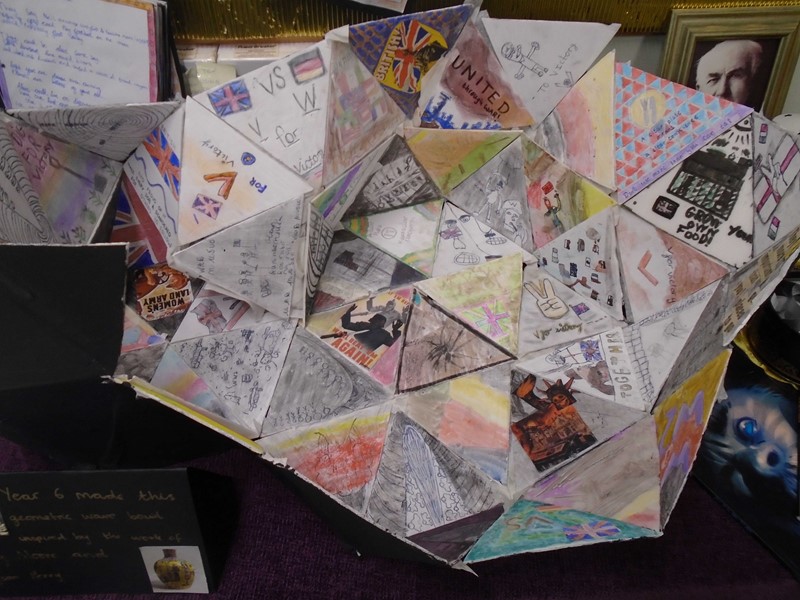
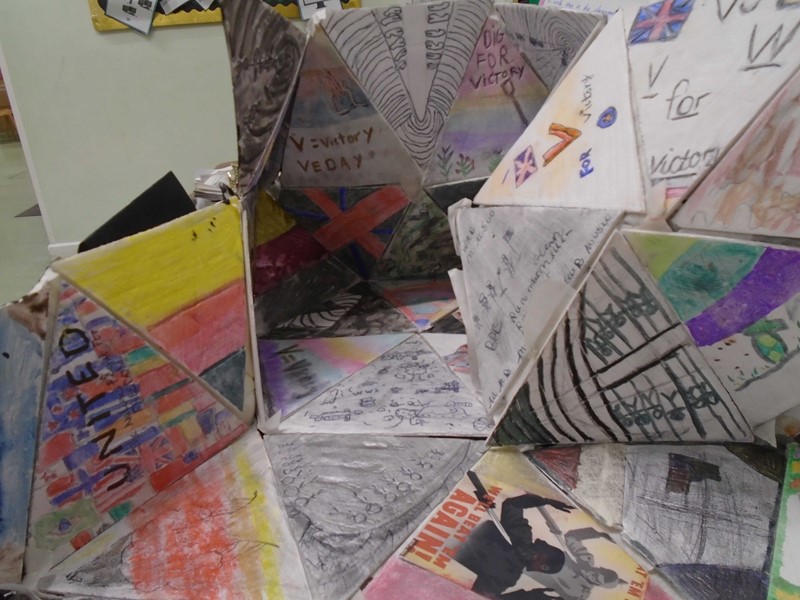
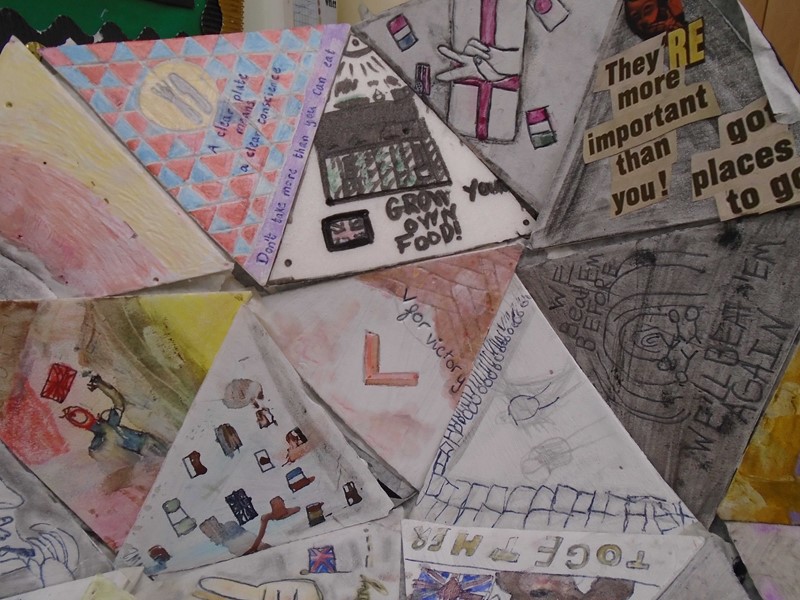
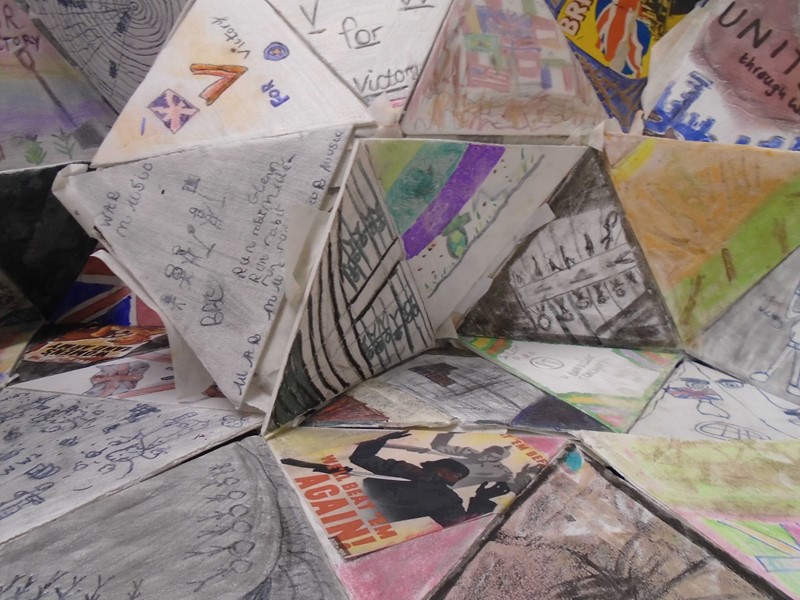
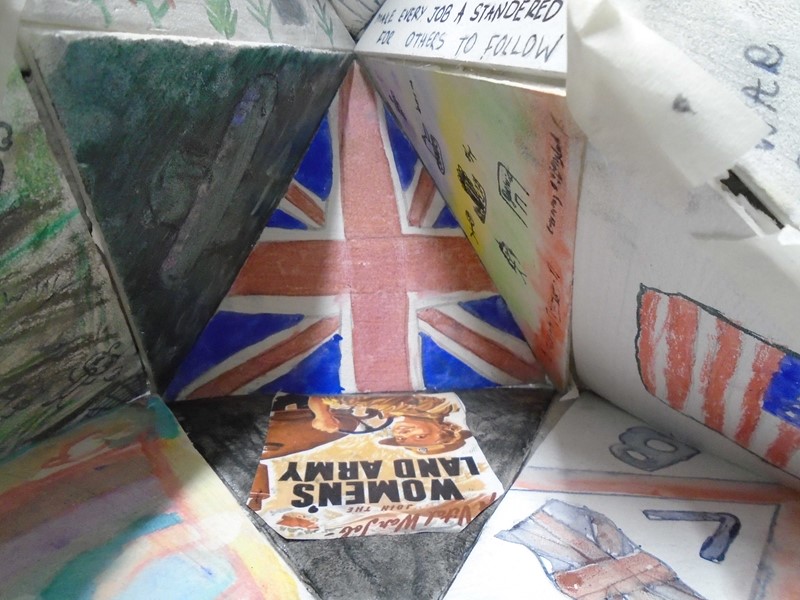
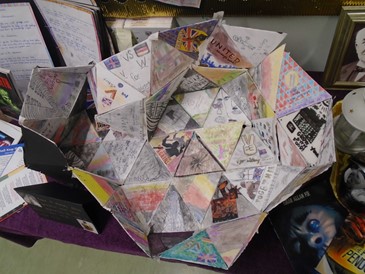
After that we looked at some work by the artist Grayson Perry, particularly focussing on his ceramic work. We were each given some equilateral triangles and we had to create a picture depicting a WW2 scene. We had the choice of which materials we used. Once we’d done this we started joining the triangles together to create a wave bowl. We didn’t really follow a regular pattern but joined triangles together which we thought looked good and let the bowl evolve organically.
Finally, we took videos and photos of our work and uploaded them onto Seesaw along with our evaluations.

Term 4
This term we have been learning about portraits. We looked at portraits by Mike Barrett who is an illustrator and digital designer. We watched some video clips of him talking about his work and learnt that he used chalks, inks, mud, coffee, pencils, pens and anything else that makes a mark to create his work. He also uses cardboard, bubble wrap, newspaper etc to add textures and collages to his work and he usually adds several layers. He always starts his work on paper and then scans it into the computer and manipulates the images using Photoshop. We had an experimental lesson where we tried out lots of new materials such as drawing inks and fountain pens and had a go at painting with coffee and mud which we really enjoyed.
Each of us decided whether we wanted to create a portrait of a famous artist or if we wanted to create a self-portrait. We talked about how we would measure the success by the expressiveness and energy contained in the images, rather than the actual likeness to the person.
We created the backgrounds by layering all sorts of papers such as crosswords, word searches and different papers. Once this was done we looked at adding more layers to our work by printing, drawing and splatting using lots of different materials. After that we added the portraits themselves to the work and we added on further detail using the Ipads.
Finally, we evaluated our work, thinking about what our artwork said about the person that we portrayed, what we learnt during the process and how we would make it more valuable if we were going to sell it

Maidstone Borough Council Competition
Maidstone Borough Council ran an art competition to produce a piece of art to celebrate the beauty of Mote Park. Congratulations to Lilia and Isabelle in Year 5, whose work has both been shortlisted in the under 18s. Their work will go on display in the new Mote Park Learning Space from Saturday 21st October – Friday 3rd November, and will be open to the public and free to visit.

Senacre Wood Secret Artist January 2024
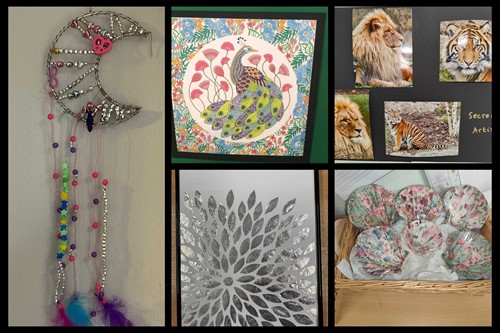
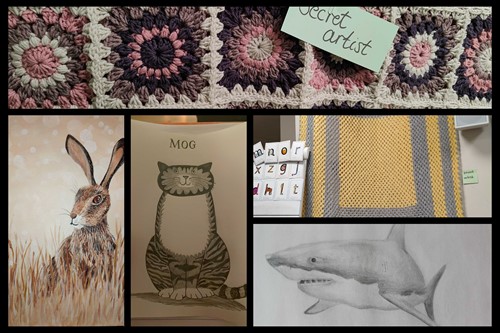
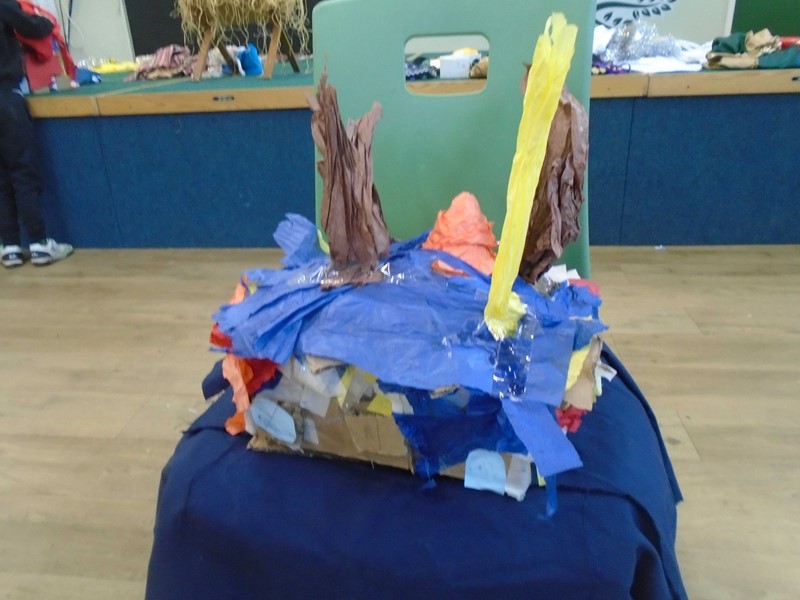
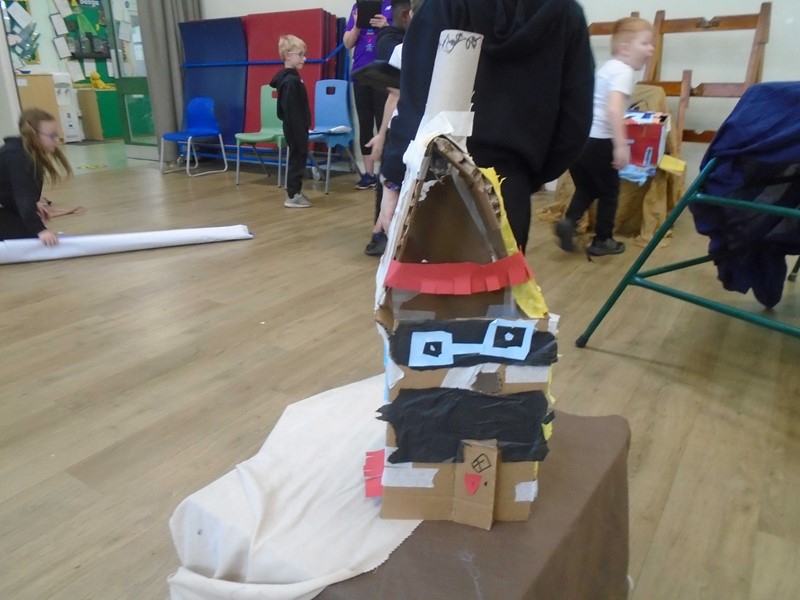
This term has been very exciting because we had the return of Secret Artists. This is a game that we play every year where staff members and children produce art and leave it on display around the school. Everyone has great fun trying to guess who the secret artists are. Can you work out which staff members created these artworks?
